Create a signature rule
This article will help you create your first signature rule in CodeTwo Email Signatures 365. A signature rule contains the layout of your email signature (or disclaimer) as well as conditions that need to be met to add this signature to messages sent by users in your organization.
Signature rules are configured and managed through a web interface available at app.codetwo.com (the Signatures app). You can create two types of signature rules:
- Cloud (server-side) signature rule adds a signature after an email is sent and works with any email client or device (including mobiles).
- Outlook (client-side) signature rule adds a signature in Outlook and OWA as users compose their emails. For users to see and use this signature, you need to deploy the CodeTwo Signatures Add-in in their Outlook.
For more information about the available signature modes, see this article.
Only global administrators and authorized users can manage signature rules. Learn more
How to create a cloud (server-side) signature rule
To create a cloud signature rule, watch our video tutorial or follow the instructions below.
Tip
If you already have Outlook (client-side) signature rules, you can easily convert them to cloud rules. Learn more
To create a new cloud signature rule, sign in to app.codetwo.com, click CREATE RULE and select Cloud (server-side) (Fig. 1.).
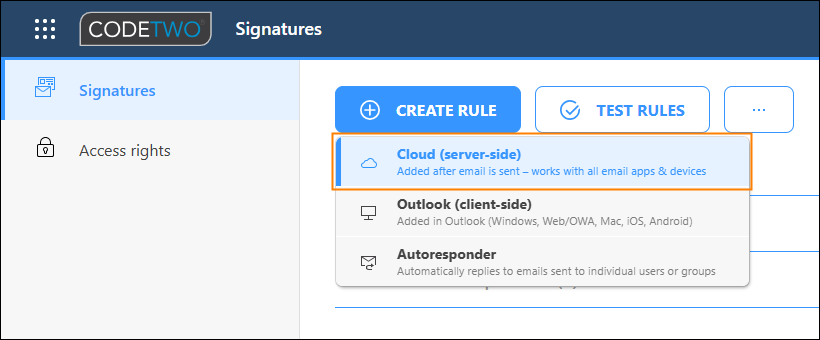
Fig. 1. Adding a new cloud (server-side) signature rule.
The rule editing pane opens to the right of the screen. In the first step (Name), enter the name of the signature rule and - if you want - add a description (Fig. 2.).
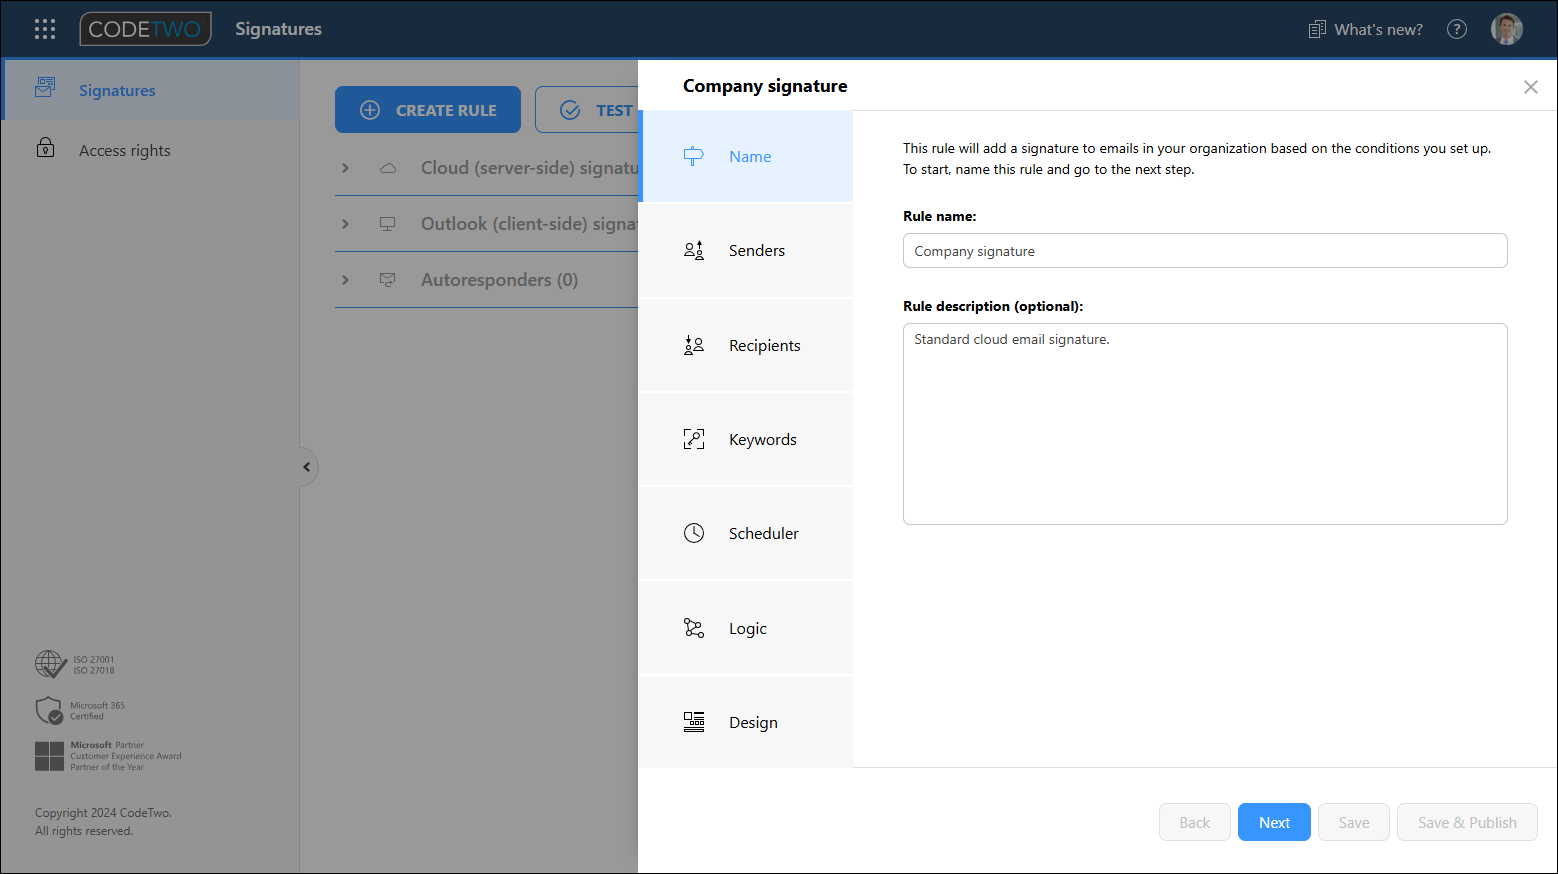
Fig. 2. Entering a name and description for the new cloud signature rule.
The three steps that follow (Senders, Recipients and Keywords) allow you to configure conditions (and optional exceptions) which need to be fulfilled to add your signature to emails. To learn more about configuring conditions and exceptions for a signature rule, see this article.
Move on to the Senders step to apply the rule to the right users (Fig. 3.). In the upper section (top list) you can define senders whose emails will get this signature. You can add cloud (server-side) signatures to messages sent from user, shared and resource mailboxes. The lower section (bottom list) allows you to add exceptions or, in other words, users who will not get this signature. In the example shown in Fig. 3., the signature will be added to emails of all users (All senders) except the members of the Sales and Marketing group (for example because we plan to create a dedicated signature rule for them later).
Make sure to define at least one user in the top list. If you leave this section empty and decide to save your rule anyway, All senders will be automatically added to the upper list (meaning that this rule will apply to all users specified in the connectors wizard).
Note that the All senders condition applies to the group of users included in the scope of licensed users. Learn more about this scope
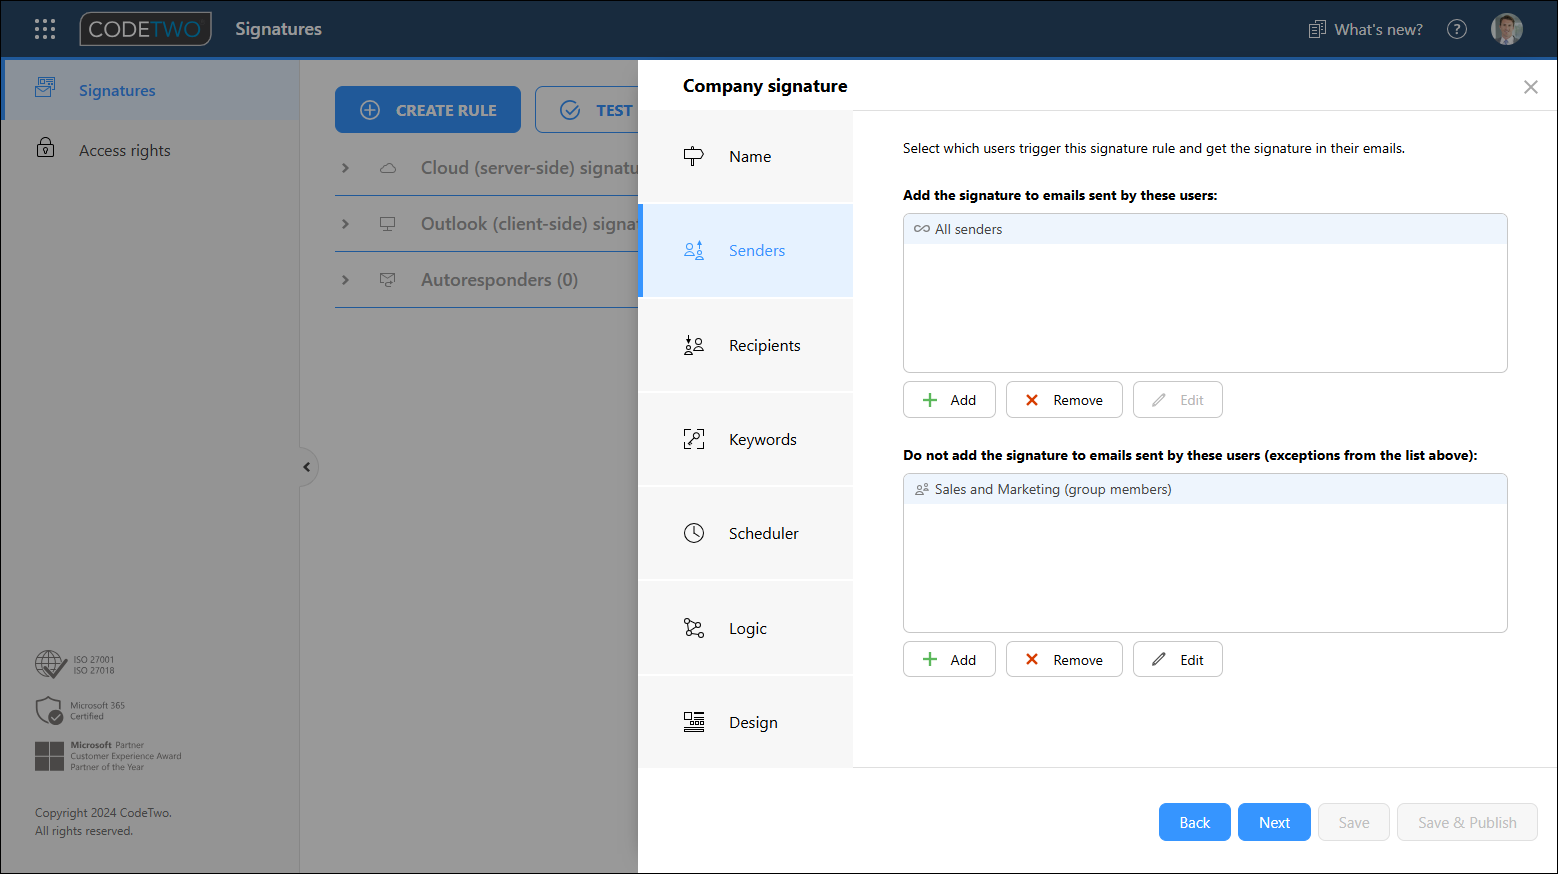
Fig. 3. The Senders step with one condition (All senders) and one exception (Sales and Marketing) selected.
In the Recipients step, you can decide if this signature rule should be applied to emails sent to anyone, to internal/external emails only, or to emails sent to specific recipients (e.g. email addresses or domains) – use the top list to define the recipients. You can also exclude your signature from emails sent to selected recipients (that is, email addresses, domains, members of selected groups in your organization, etc.) by specifying them on the bottom list. In this example, we would like our signature to be added to emails sent to any recipient, so we only add All recipients in the top list (Fig. 4.).
If you don’t define any recipient and decide to save your rule anyway, All recipients will be automatically added to the upper list (meaning that this rule will apply to all outgoing emails).
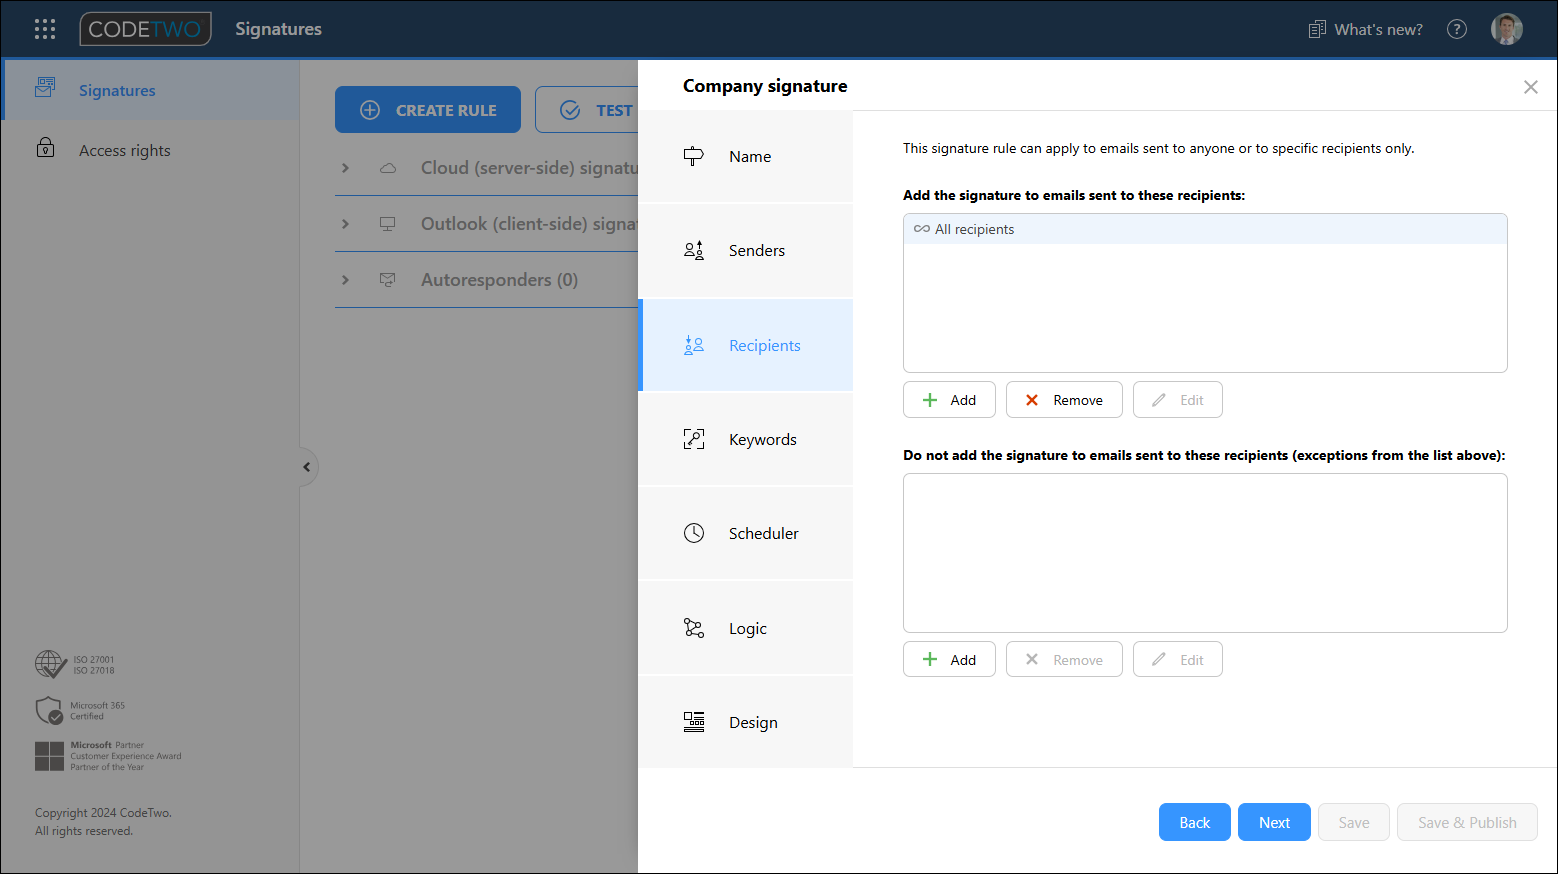
Fig. 4. Choosing the recipients. Here, the cloud signature rule is set to apply to emails sent to anyone.
The next step – Keywords – is optional. Here you can define specific phrases that will trigger or suppress your cloud signature rule. When adding keyword phrases, you can use asterisks (*) as wildcards (as a substitute for other characters). The keyword settings might be very useful, for example, if you want to quickly remove your signature from a specific message. In this example (Fig. 5.), typing #nosignature (or any longer phrase that includes #nosignature – hence the surrounding asterisks) in the email subject or body will prevent the rule from being applied. Learn more about this feature

Fig. 5. The Keywords step.
The Scheduler step is also optional. This is where you can specify when this rule should be active. If Scheduler is turned off (the default setting), the rule is active continuously (Fig. 6.). If you want the rule to be active only during the defined time ranges, you need to enable Scheduler and configure recurrence pattern. Scheduler’s activity is based on the chosen time zone. Learn more
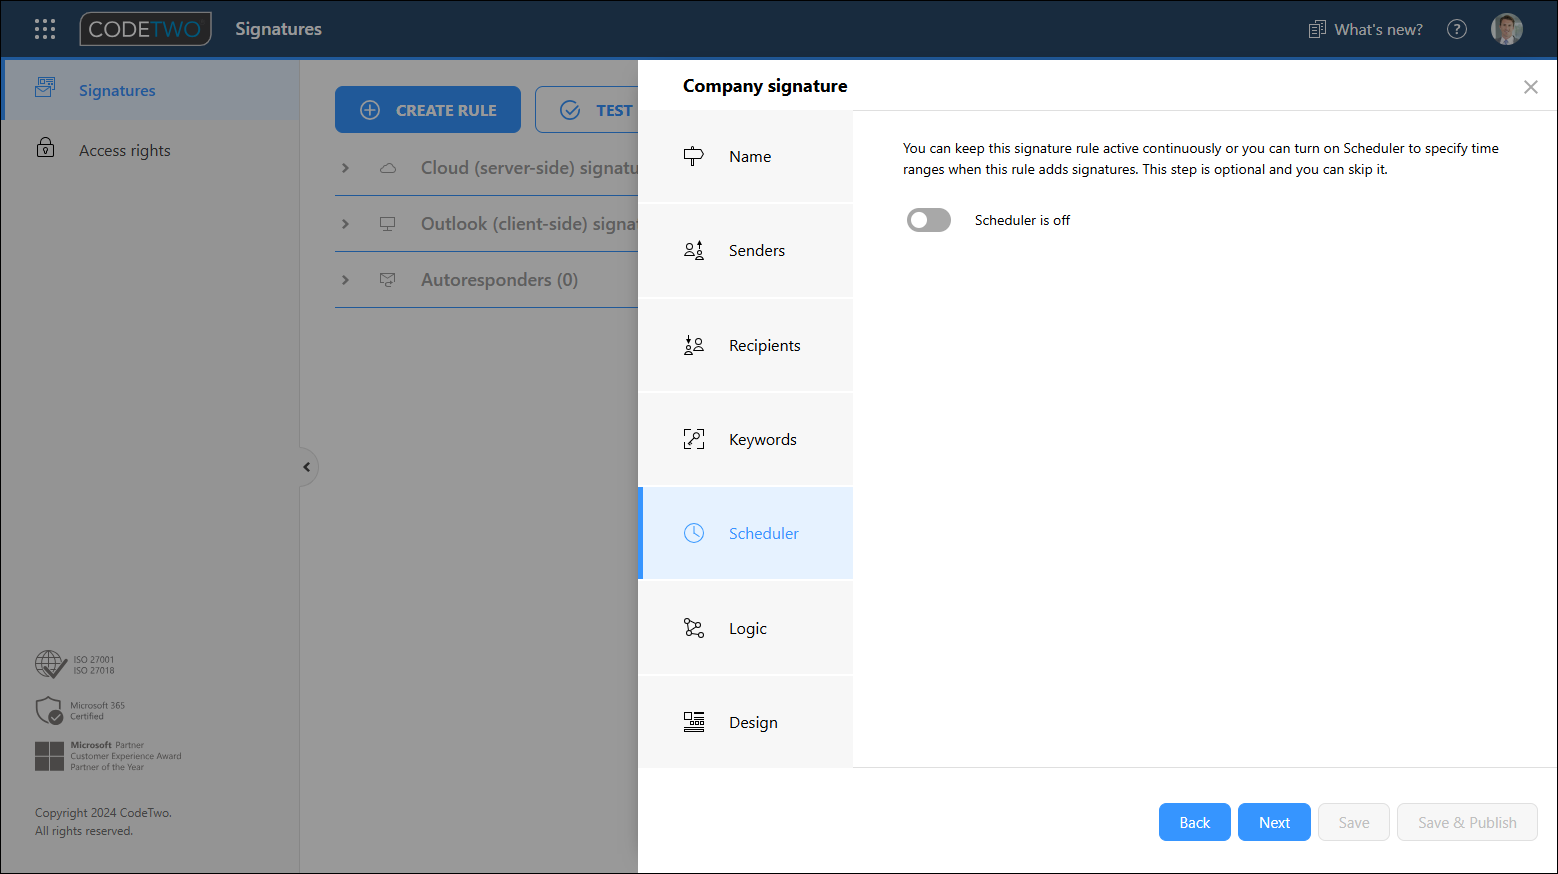
Fig. 6. Scheduler.
In the Logic step, you can decide what the software should do if this rule is (or is not) applied (Fig. 7.). These settings are useful when you configure many rules and want to create a conditional rule flow, or when you add multiple signatures. Learn more
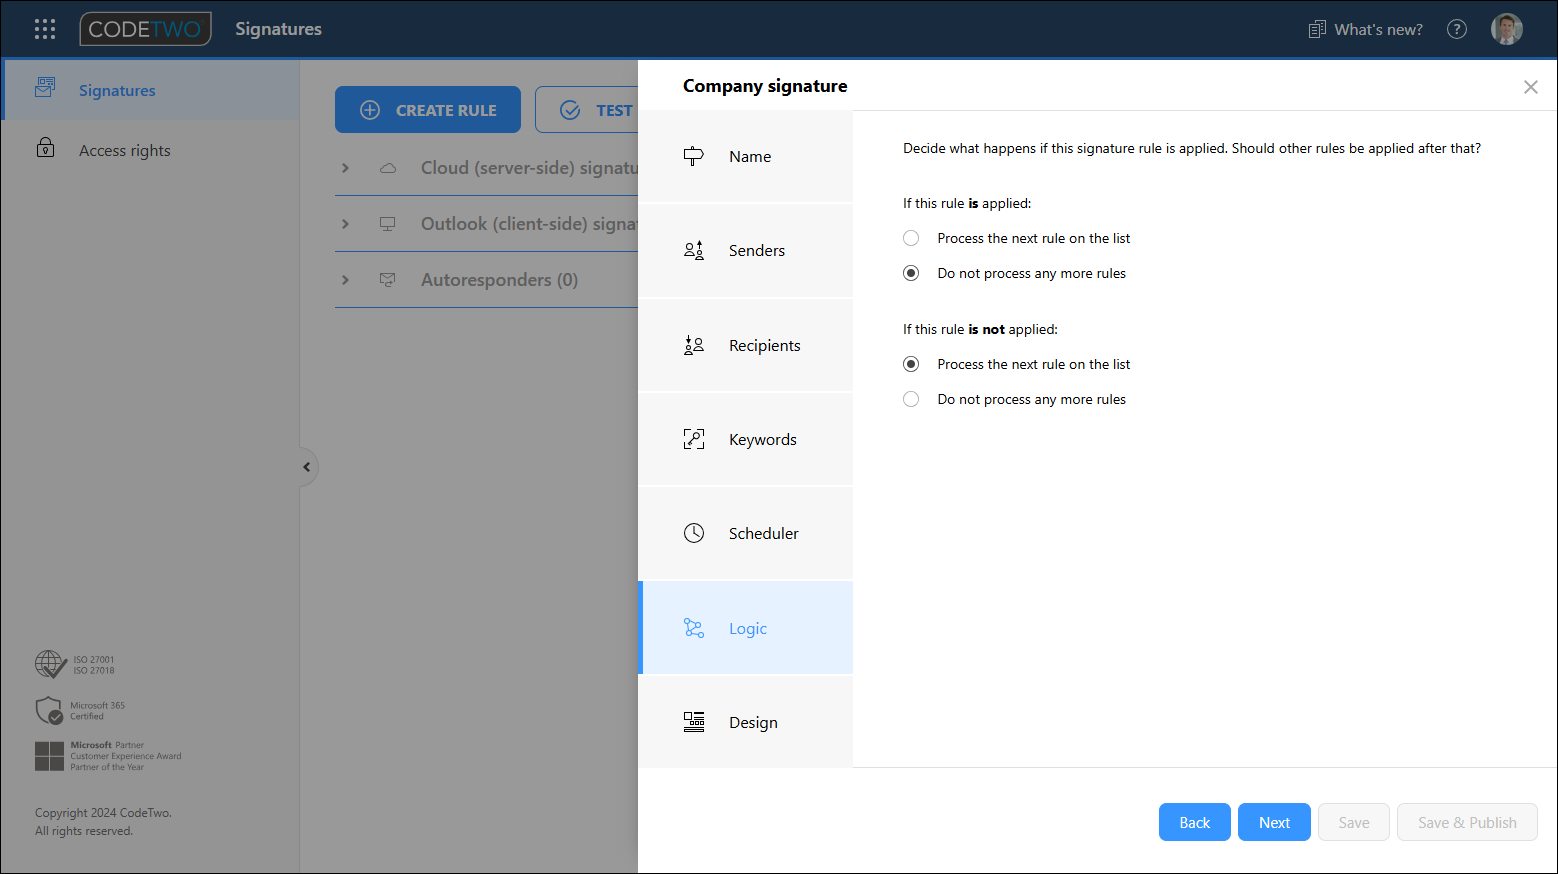
Fig. 7. Rule processing options.
Proceed to the Design step. Here, you can compose a signature template for this rule and decide how the signature will appear in email conversations (Fig. 8.A). Start with the email thread settings by selecting one of the options available in the drop-down list to have:
- The same signature in every email
- Different signature in the first email and different in subsequent emails
- Signature in the first email only
- Custom setup (manually configure how you want your signature to be handled in email conversations).
You can learn more about these settings here.
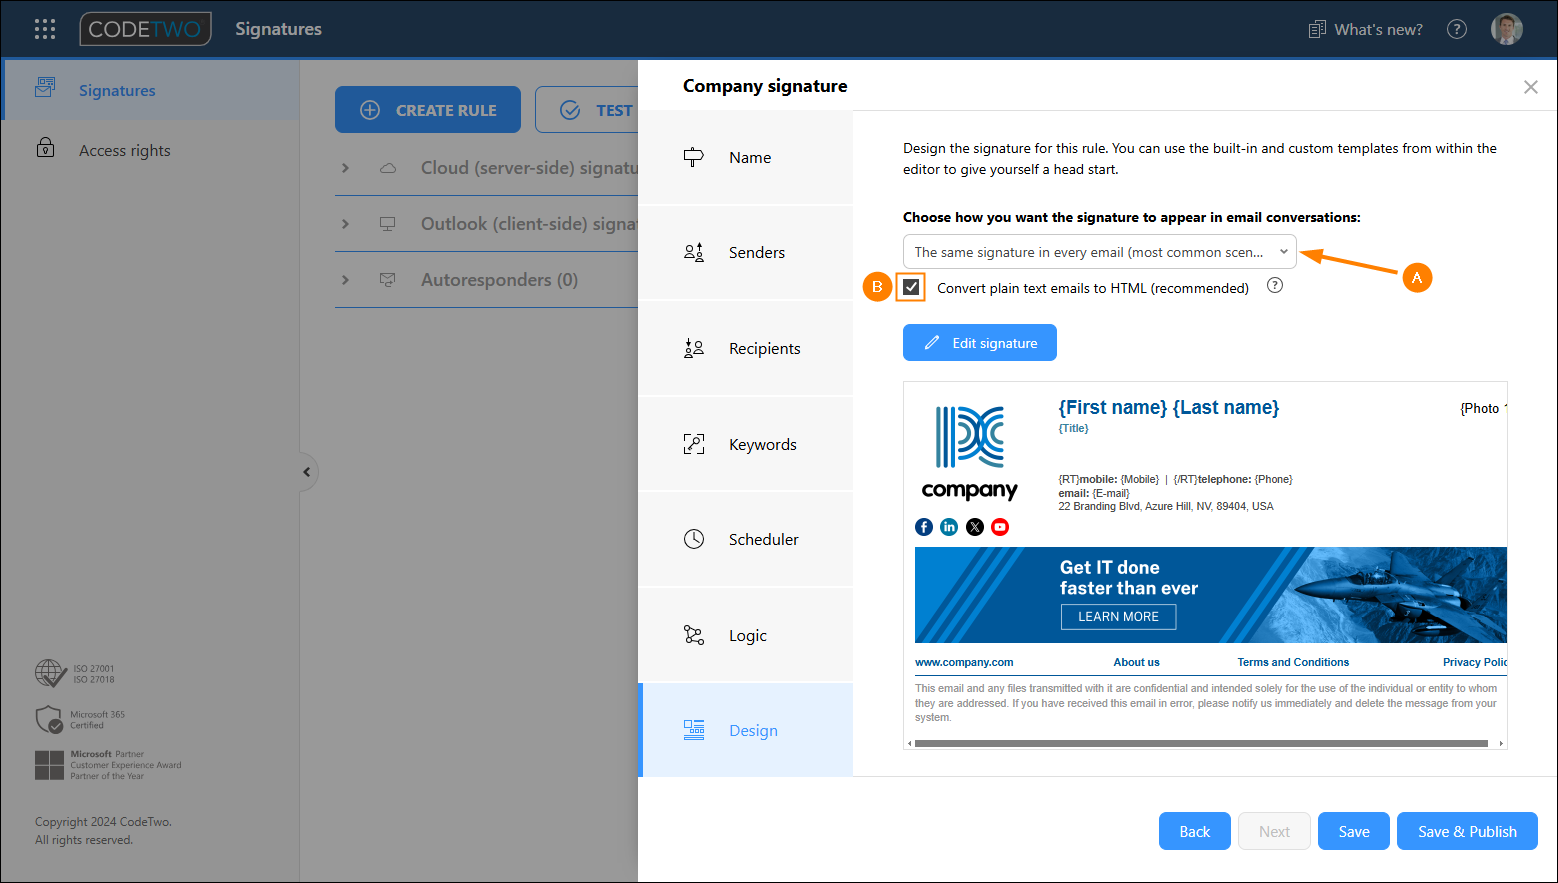
Fig. 8. The Design step.
To create or modify a signature template for your rule, click the Edit signature button. This will open a signature template editor. Follow our dedicated articles to design your signature:
In the example shown in Fig. 8., we created a signature based on one of the built-in templates.
The signature template editor lets you create signature templates in the HTML and plain text formats. If you leave the Convert plain text emails to HTML option enabled, as shown in Fig. 8.B (the default setting), all plain text emails (e.g. from mobile devices) sent by users defined in the Senders step will be converted to HTML. HTML signatures offer more customization options. If you turn this setting off, be sure to create a separate plain text signature template for this rule in the editor. Learn more
Finally, click:
- Save & Publish to save the rule and apply it in your organization immediately.
- Save to save the rule without publishing it to your organization. You can apply (publish) it later at any time.
Once you are back to the main view (rules list), you can create another rule or use additional rule management options.
How about some real-life use examples?
Explore our guides to learn how to set up CodeTwo signatures in your organization for different scenarios:
- Signatures added to emails sent from all email apps (including mobiles)
- Different signatures for first and subsequent emails
- Different signatures for internal and external emails
- Different signatures for emails sent from alias addresses
- Signatures for shared mailboxes
Looking for more examples of use? See the full list here
How to create an Outlook (client-side) signature rule
To create an Outlook signature rule, watch our video tutorial or follow the instructions below.
Tip
If you already have cloud (server-side) signature rules, you can easily convert them to Outlook rules. Learn more
To create a new Outlook signature rule, sign in to app.codetwo.com, click CREATE RULE and select Outlook (client-side) (Fig. 9.).
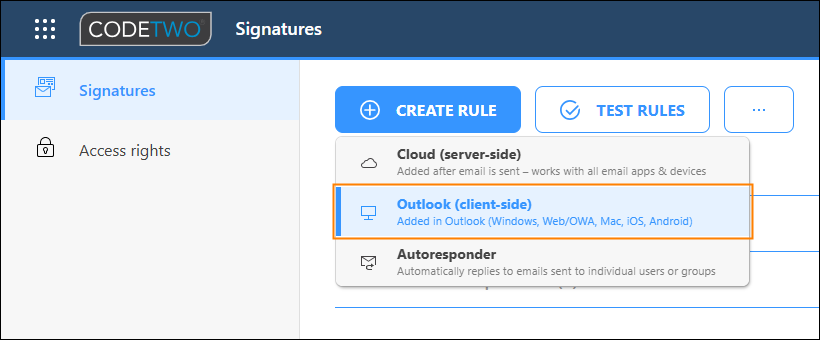
Fig. 9. Creating a new Outlook (client-side) signature rule.
The rule editing pane opens to the right of the screen. The first step, Name, lets you enter the rule’s name and, optionally, provide a short description (Fig. 10.).
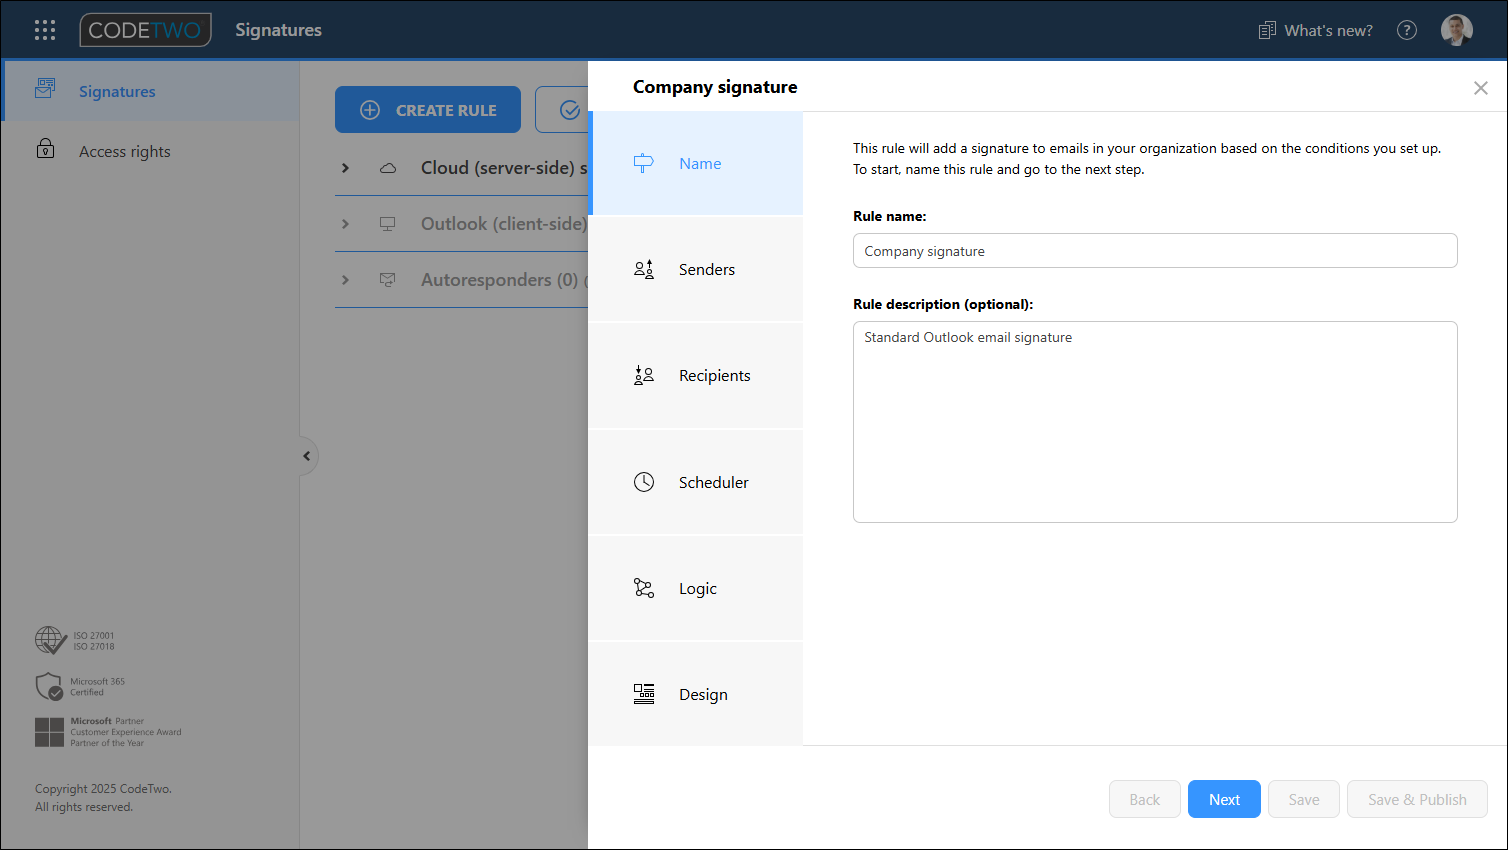
Fig. 10. Providing a name and description of the Outlook signature rule.
In the Senders step, specify which users in your organization will have access to that signature from their Outlooks (after you have deployed the dedicated CodeTwo Outlook Add-in). Use the upper section (top list) to select users or groups of users that will get the signature. The bottom section (bottom list) lets you add exceptions to your Outlook signature rule, which means users that appear on that list will not get the signature (learn more about this condition). In the example shown in Fig. 11., our rule will apply to all users (All senders) except for members of the Sales and Marketing group.
Make sure to add at least one user to the upper list. Otherwise, if you decide to save your rule as it is, All senders will be automatically added to the upper list. This means the signature will be available to all users who use the CodeTwo Outlook Add-in.
Note that the All senders condition applies to the group of users included in the scope of licensed users. Learn more about this scope
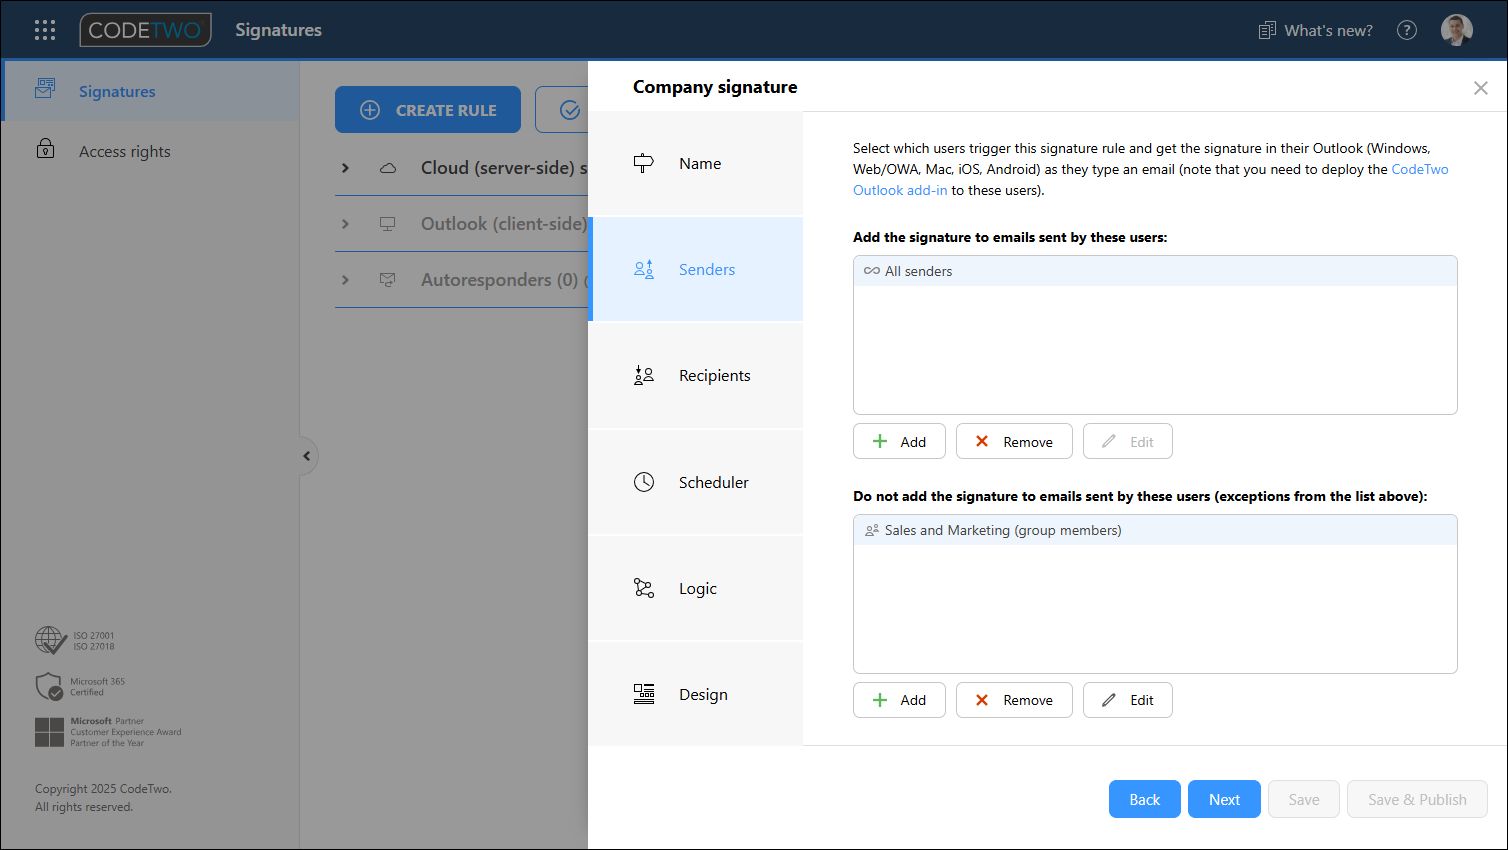
Fig. 11. Selecting users to which the Outlook signature rule will apply.
In the Recipients step, use the available conditions (see Fig. 12.) to decide if this rule should apply (and add an email signature) to emails sent to anyone, to internal/external emails only, or to emails sent to specific recipients (e.g. email addresses or domains). Click the Add buttons to define conditions (the top list) or exceptions (the bottom list) to your signature rule. In this example, we would like our signature to be added if at least one email recipient is external.
To better understand how different recipient-based conditions affect the signature inserted by the add-in, see these examples.
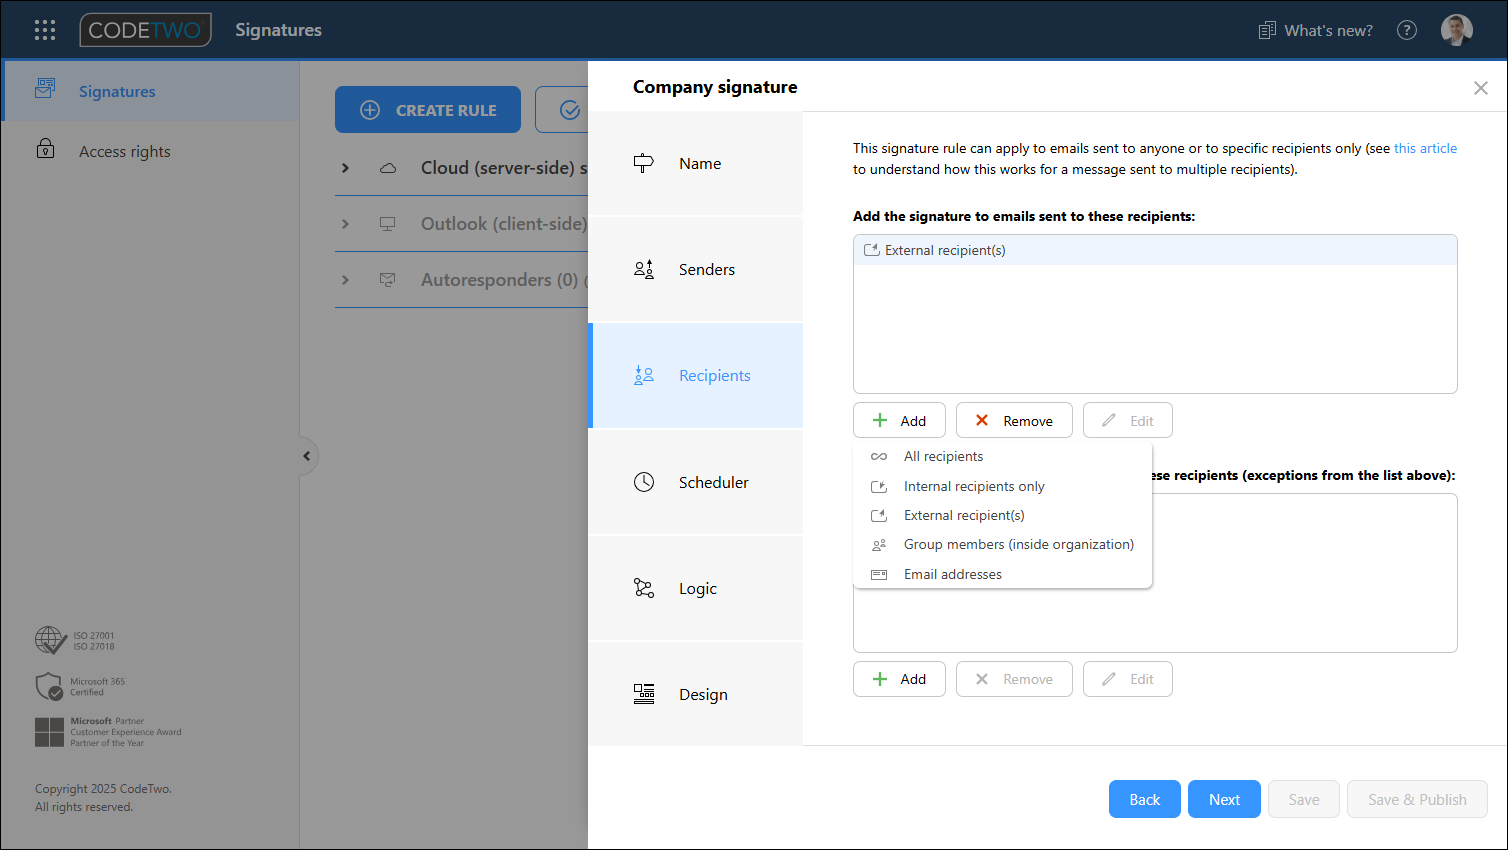
Fig. 12. Choosing the recipients. Here, the rule is set to apply to emails that include at least one external recipient.
In the next step, Scheduler, you can specify time ranges (based on the chosen time zone) during which the rule will be active. This step is optional, and by default the rule is active continuously – Scheduler is turned off (Fig. 13.). Learn more about Scheduler
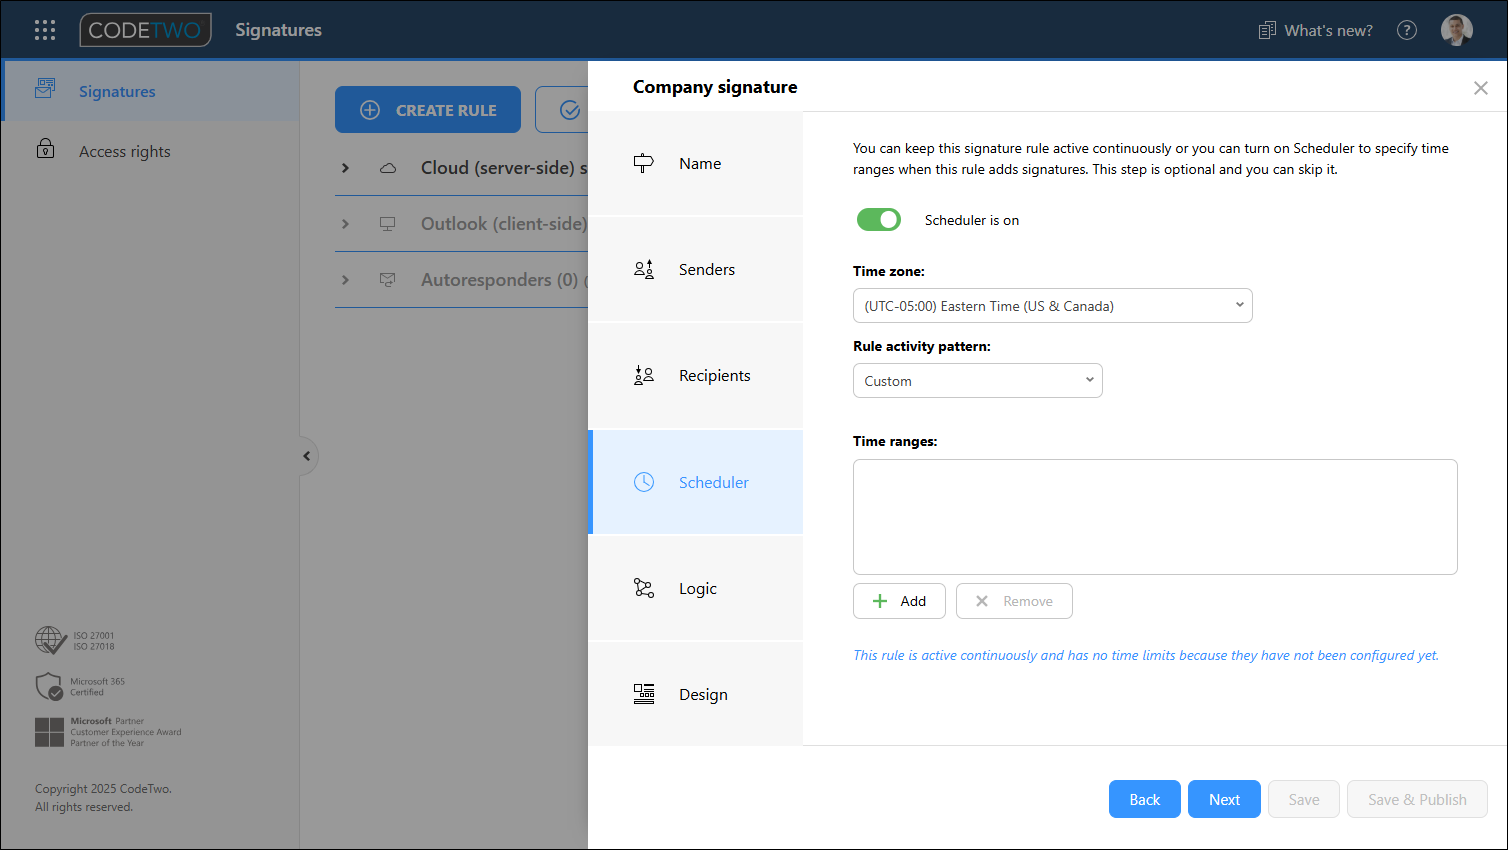
Fig. 13. Scheduler.
The options available in the Logic step (Fig. 14.) allow you to set the signature as the default one (added automatically) in Outlook:
- for all new messages,
- when replying to or forwarding a message.
If you have multiple CodeTwo Outlook (client-side) signature rules that are set as default, the add-in will automatically insert the signature from the first rule whose conditions are met (the rules are processed from top to bottom in CodeTwo’s Signatures app). Signatures from other rules that meet the conditions but were not added automatically will be available in the add-in pane and can be inserted manually by Outlook users.
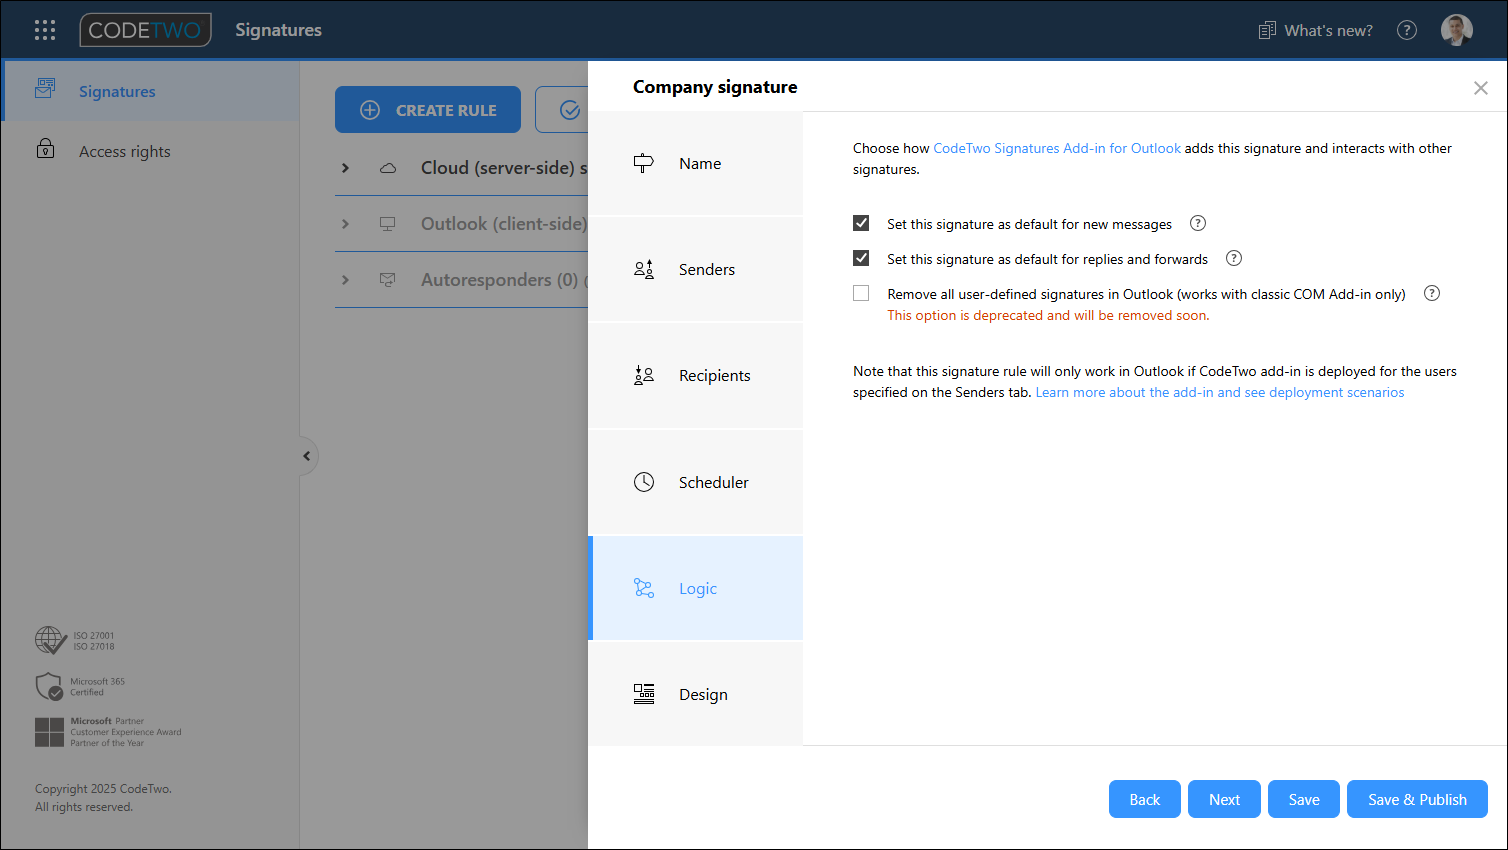
Fig. 14. Additional options available for Outlook signature rules.
The next step, Design (Fig. 15.), is where you create your signature template. Click Edit signature to open the editor. To learn how to design the signature, follow our separate guides:
Important
When you’re finished with designing your HTML signature template, you need to create its plain text version as well. Otherwise, messages sent from Outlook apps configured to send only plain text emails won’t get any signature if a template in that format is missing. See also: Create a template for different email formats
When you finish and save your template, the signature preview will appear in the rule editing pane (Fig. 15.).
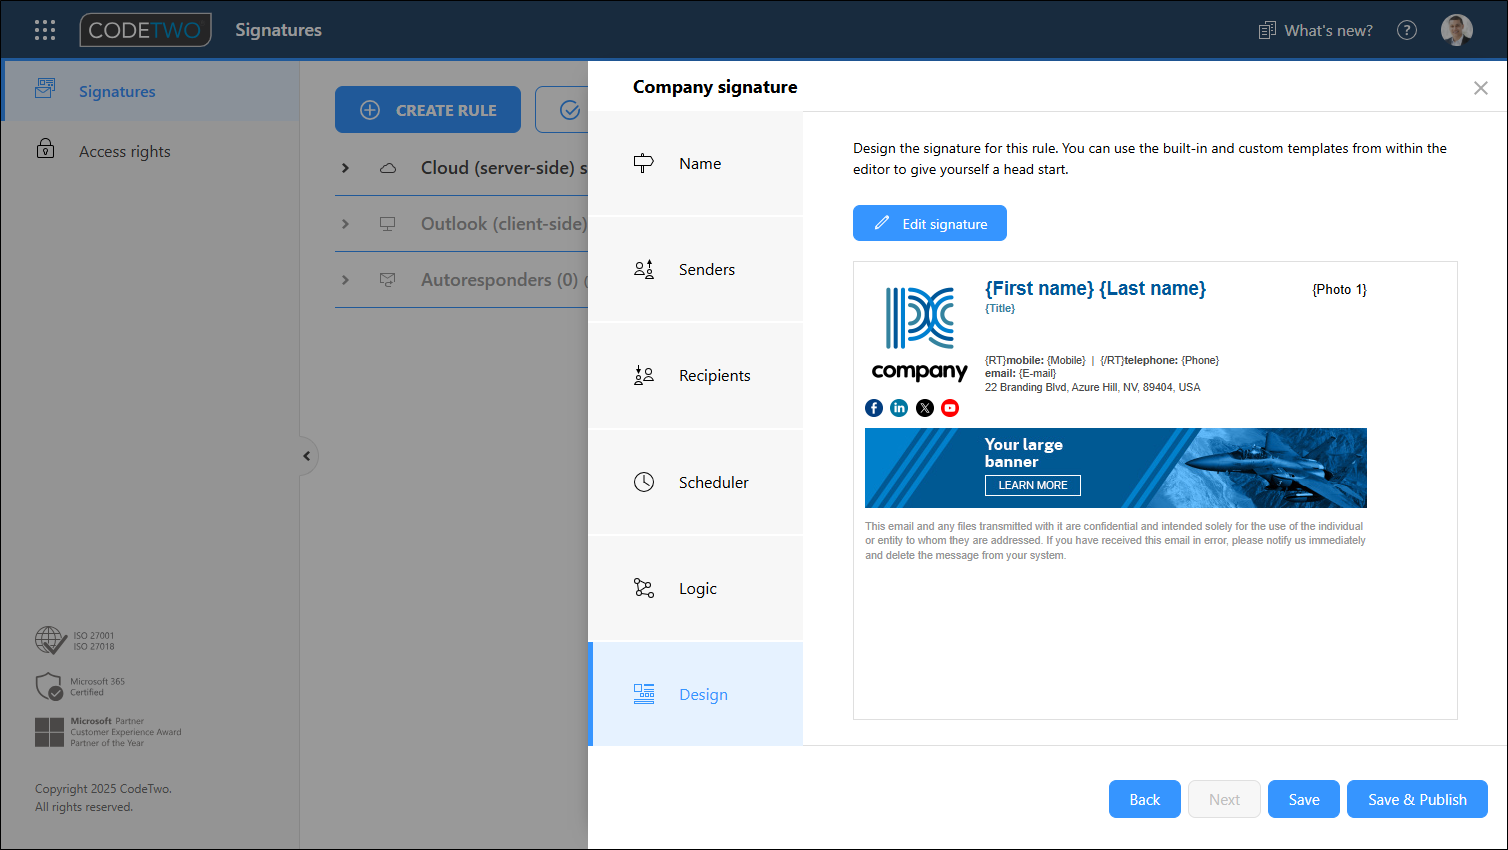
Fig. 15. Outlook (client-side) signature template preview.
When you’re done, click:
- Save & Publish to save the rule and apply it in your organization immediately. The Outlook (client-side) signature will now be added automatically to emails in Outlook as users compose them.
- Save to save the rule without publishing it to your organization. You can apply (publish) it later at any time.
Important
When you publish or update an Outlook signature rule, end users will see your changes in Outlook within up to 15 minutes. This is because the CodeTwo add-in caches Outlook signatures to insert them faster into emails. Learn more
How about some real-life use examples?
Explore our guides to learn how to set up CodeTwo signatures in your organization for different scenarios:
- Signatures added to emails sent from all email apps (including mobiles)
- Different signatures for first and subsequent emails
- Different signatures for internal and external emails
- Different signatures for emails sent from alias addresses
- Signatures for shared mailboxes
Looking for more examples of use? See the full list here
Managing signature rules
The main view of the signature management interface lists all rules configured for your Microsoft 365 tenant. From here, you can view details of each rule (e.g. to which senders/recipients it applies) and preview signature templates.
By using the Change view drop-down menu above the rules list, you can switch to your preferred view (Fig. 16.), e.g. a more compact one if you have a lot of rules.
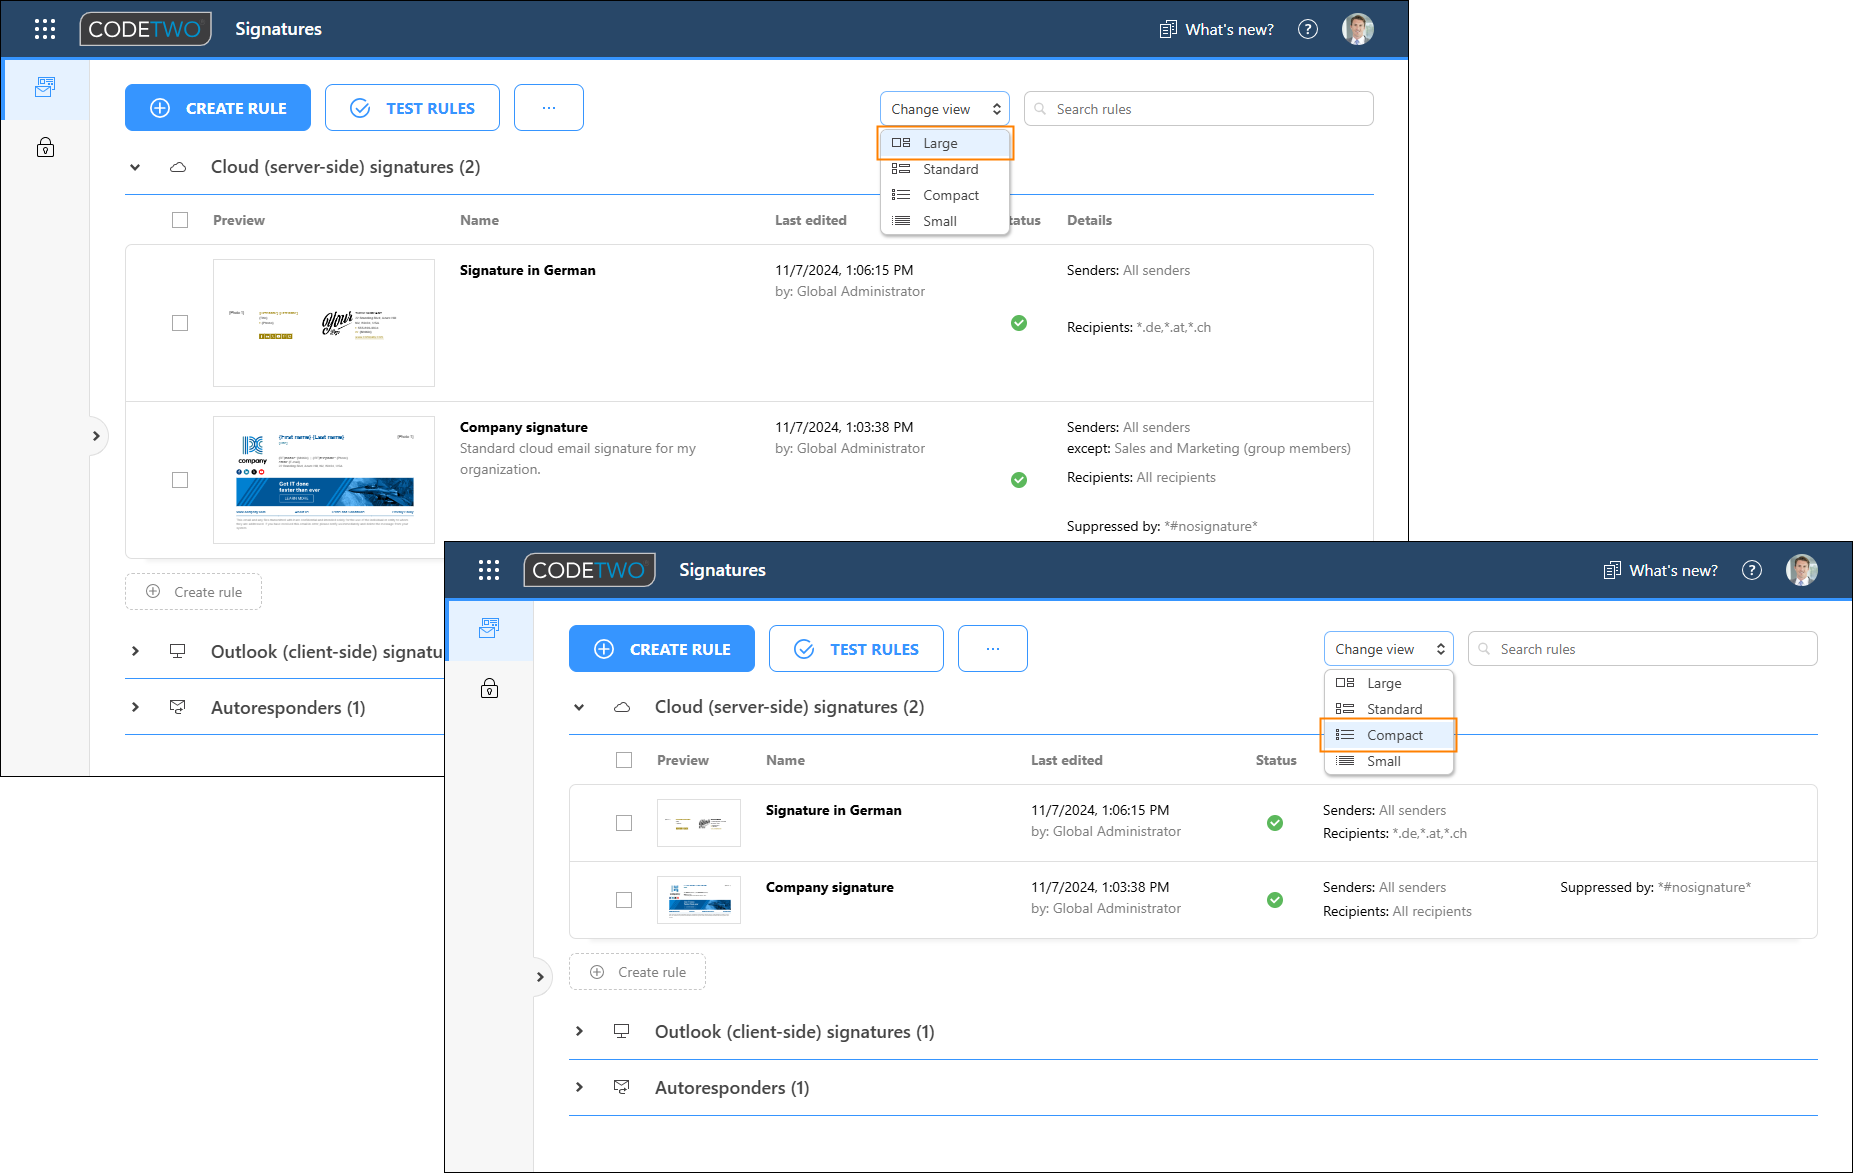
Fig. 16. The same rules list displayed using the Large view (left-hand side) and the Compact view (right-hand side).
Use checkboxes on the left side of the main view (Fig. 17.A) to select one or multiple signature rules. This will open a menu with additional options (some options are not available when selecting more than one rule):
- Edit lets you make changes to the selected rule. You can also edit a rule by clicking it in the list.
- Delete / Delete selected will permanently delete the selected rule(s).
- Publish / Publish selected will apply the selected rule(s) in your organization.
- Unpublish / Unpublish selected will deactivate selected rule(s).
- Export / Export selected will save selected rule(s) to your default downloads folder. Learn more about rule import/export
- Clone lets you create the exact copy of the selected rule (with the same conditions, exceptions, settings and signature template). The newly created rule will be set as Unpublished.
- Convert allows you to convert the selected rule from cloud (server-side) to Outlook (client-side) and vice versa. Learn more about this feature
- Move up / Move down let you change the order in which rules are placed on the list. This order is important when configuring rules processing settings for cloud (server-side) rules and Outlook signature adding options for Outlook (client-side) rules.
In addition, when you move the mouse over the signature preview (Fig. 17.B) you can click Edit signature to open the signature template editor. This allows you to make changes to the signature template without editing the rule itself.
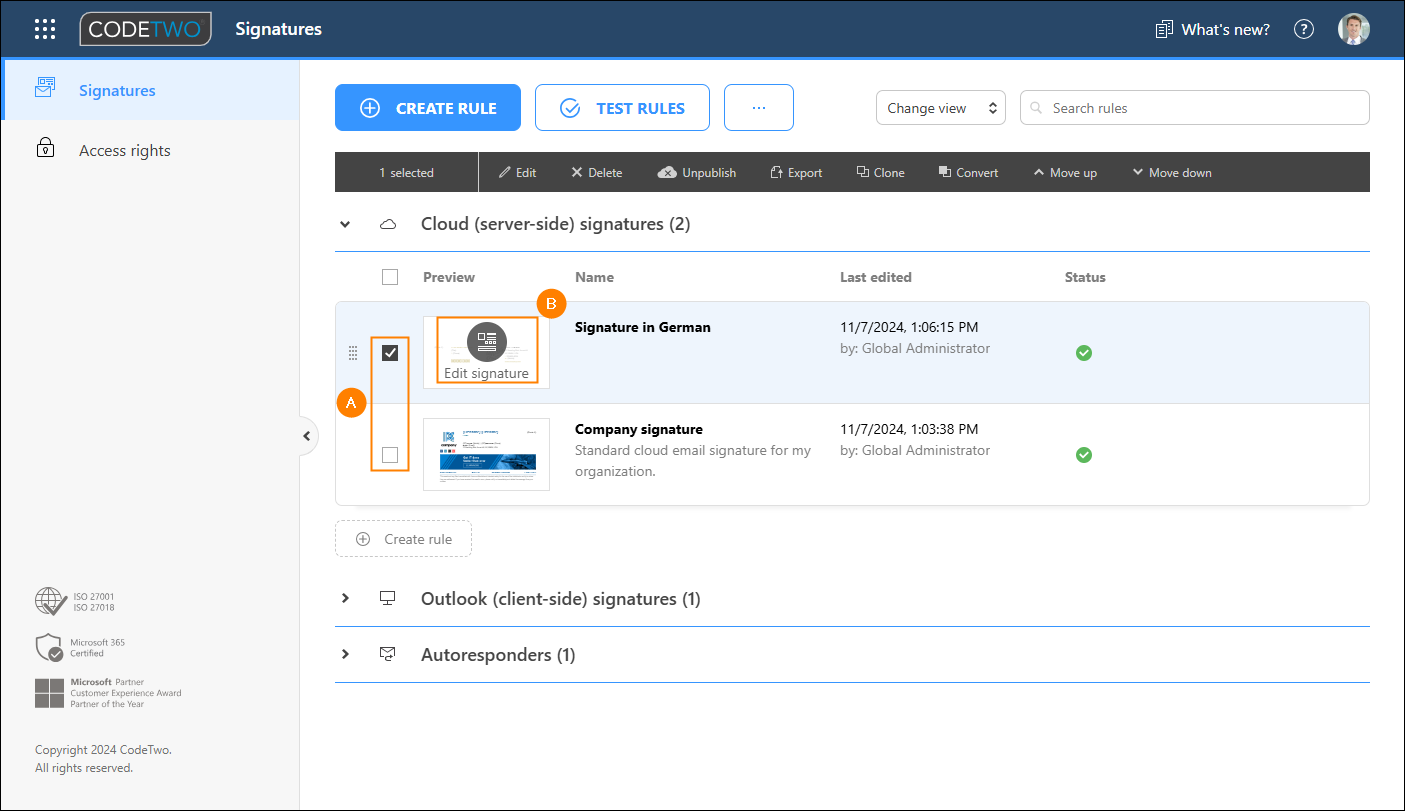
Fig. 17. Additional rule management options.
Rule editing lock
If a rule is being edited by one user in the Signatures app, it is automatically locked for other users (Fig. 18.). This prevents any changes made by one user from being accidentally overwritten by another user.
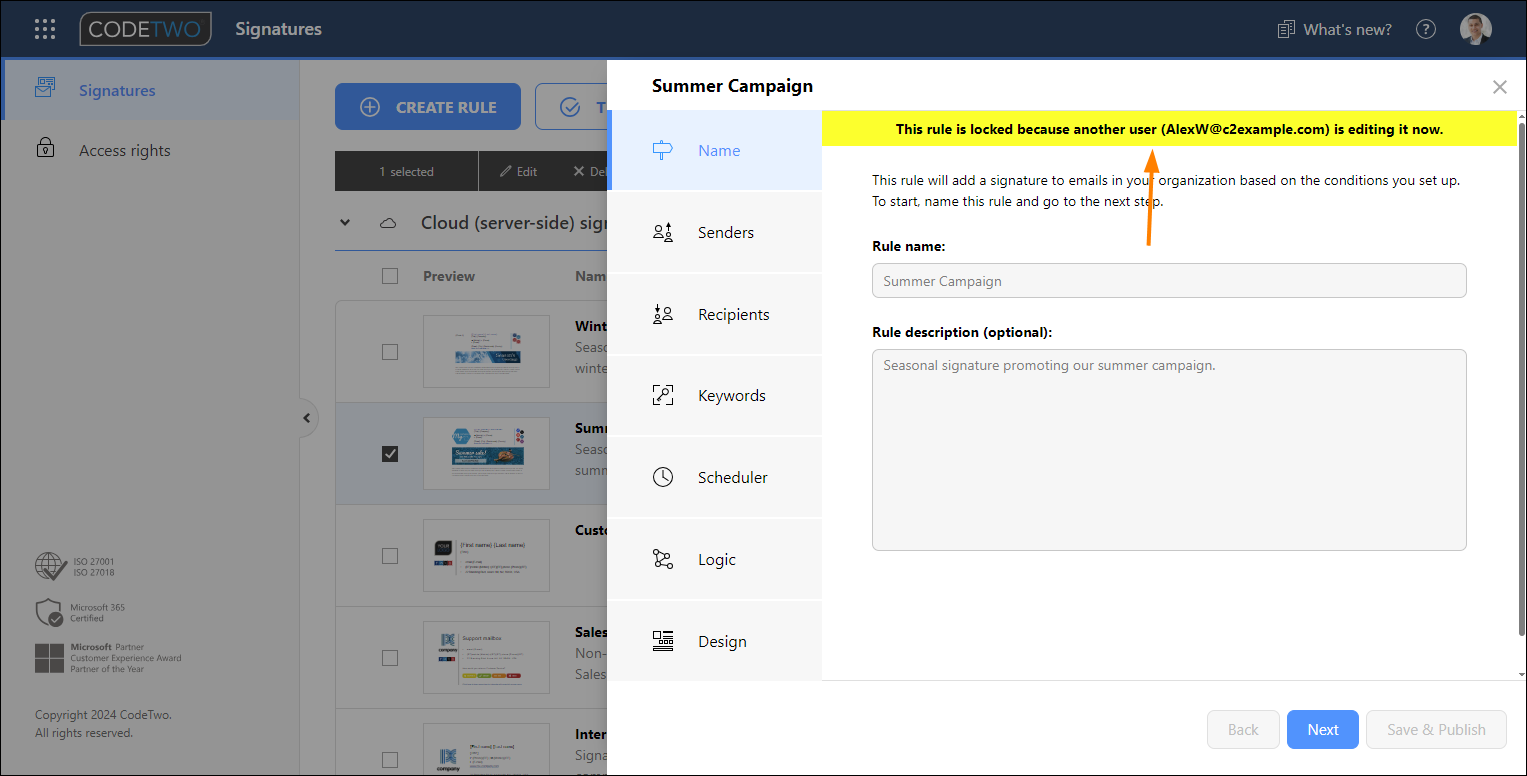
Fig. 18. A notification shown when a rule is locked for editing.
While a rule is locked, other users cannot edit the rule, modify its signature template, delete it, or publish/unpublish it. In rare cases, if changes made to a rule by one user haven’t yet synchronized and another user attempts to edit the same rule (e.g. by changing its position on the list), they will receive a notification about an editing conflict and will be prompted to refresh the Signatures app.
See next
Start managing email signatures in your organization - learn more about different ways of managing signature rules
Who gets CodeTwo signatures? - learn how different scopes you configure in CodeTwo determine who gets signatures and automatic replies