This software has been discontinued. If you are looking for a way to manage email signatures and disclaimers in your Exchange Server organization and are using Exchange SE or Exchange 2019/2016 (until they’re supported by Microsoft), try out CodeTwo Email Signatures On-prem.
If you need to manage email signatures, disclaimers and marketing campaigns centrally in Microsoft 365 (Office 365), see our world-leading cloud solution: CodeTwo Email Signatures 365.
Rule management
This article helps you learn how to manage email rules. Use the links below to read about:
Adding a new rule
To add a rule, click the + Add button located on the LIST OF RULES pane in the Administration Panel. You can create a new (clean) rule or select one of the predefined rules (Fig. 1.).

Fig. 1. Adding a new email rule.
Info
After you add a rule, it is active by default. This means that this rule starts working (if the conditions are met) right after you save the configuration via the Submit changes ( ) button.
Predefined rules
The predefined rules (also known as Quick Rules) include:
- New rule (clean) - this is a clean rule without any conditions or actions
- Signature for internal email - this rule inserts a signature to emails sent inside an organization
- Signature for outgoing email - this rule adds a signature to emails sent outside an organization
- Weekend autoresponder - this rule sends automatic replies to emails incoming on Saturdays and Sundays
- Report sensitive content - this rule forwards emails to an administrator if a specified sensitive content (e.g. a credit card number) is found within the email body
- Compress attachments - this rule compresses attachments larger than 2 MB in incoming emails
- Unsubscribe mechanism - two rules responsible for unsubscribing a recipient from a mailing list
Tip
If the predefined rules are not enough, you can import sample rules - these are fully configured, sophisticated rules that you can modify to suit your needs. Learn more
Managing rules
Once you add a rule, it is displayed on the list of rules (Fig. 2.).
- To enable (activate) a rule, select a checkbox next to it. By default, a newly added rule is active.
- To manage the order in which rules are displayed and executed, you can drag them up and down or use the arrow (
 ) buttons on the menu above the rules list.
 - You can use the menu to add and remove rules. Click the hamburger (
 ) button for additional options: Enable/Disable, Rename, Clone, and Categories.
 - Most of these commands are also available from the menu that appears when you right-click a rule.
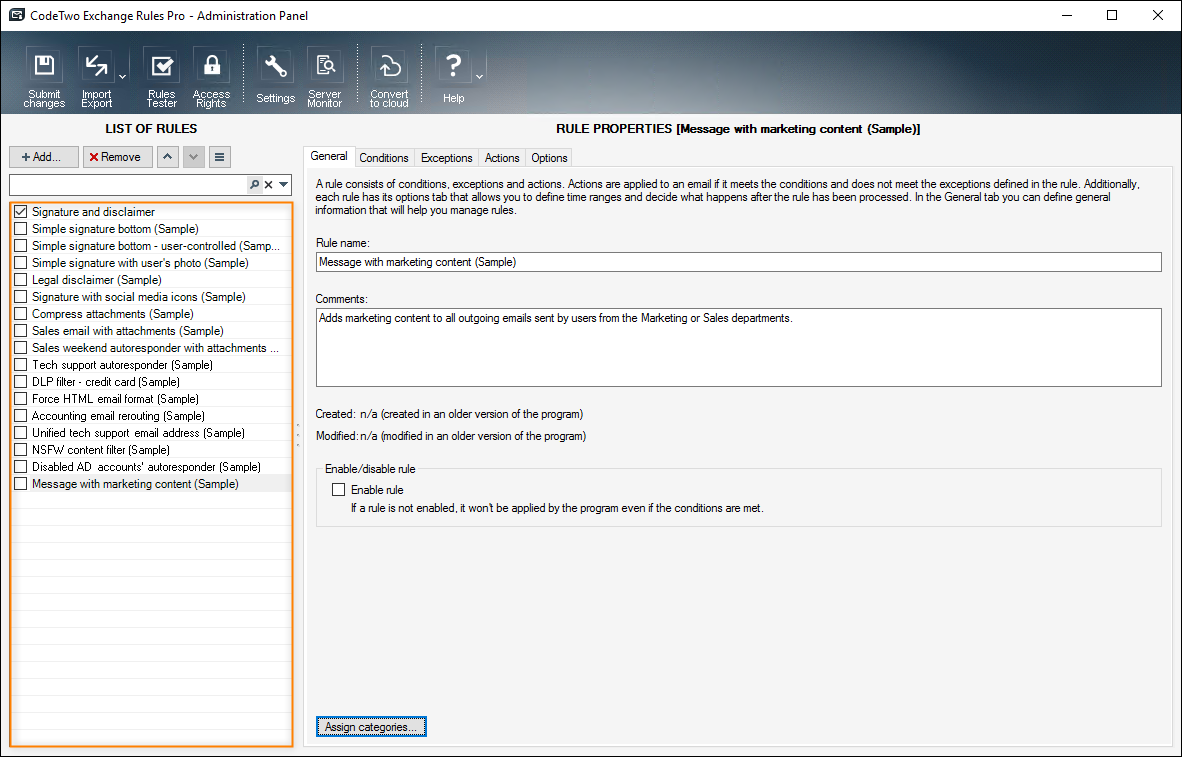
Fig. 2. The list of rules.
Rule processing order
The rules are applied in the order they are placed on the list in the left column (see Fig. 2.) from top to bottom. This also means that if several signatures are to be added by different rules, they will be added top to bottom in the order the rules are applied.
The search mechanism and filters
The built-in search option is case-insensitive and allows you to quickly find rules on the list. The search field comes with additional filters. To see them, expand the search field (Fig. 3.) and click on a filter link. The filters can also be added by typing their text representations in the search field (in the filter:"value" format, which is also case-insensitive).
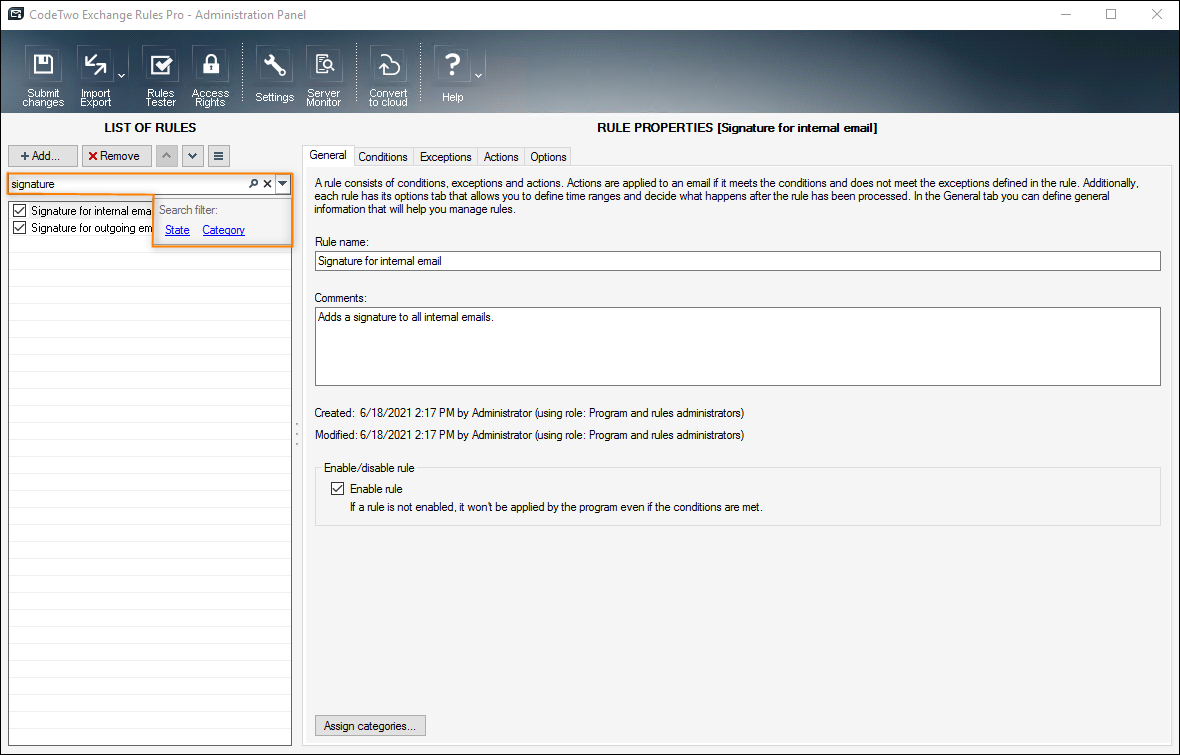
Fig. 3. Using the search box.
The available filters are:
- State – define if you are looking only for enabled or disabled rules. The text representation is s:"Enabled" for enabled rules and s:"Disabled" for disabled rules.
- Category – specify which rule categories you are looking for (Fig. 4.). If you select multiple categories from the picker, the search returns all rules that match at least one of the defined categories (the corresponding text representation is c:"Category_one;Category_two;Category_three"). If you need to filter rules that belong to multiple categories, use multiple filters by typing their text representation in the search field (for example, typing c:"Category_one" c:"Category_two" returns rules that belong to at least these two categories). Learn more about categories
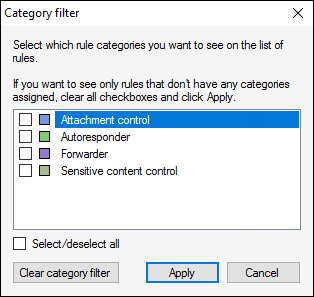
Fig. 4. The category filter.
Categories
You can assign rule categories to organize and sort your email rules. A category is defined by a name and color. Categories can be managed in the program's settings. Learn more about categories
A rule can belong to multiple categories at the same time. All categories to which a rule is assigned are displayed at the bottom of the General tab (Fig. 5.), where you can also add more categories via the Assign categories button.

Fig. 5. Rule categories.
The Rule Properties pane
The RULE PROPERTIES pane (see Fig. 5.) is divided into several tabs and allows you to configure your email rule. This is where you define the conditions, actions, and other options for your rule. Use the links below to learn what you can do on each tab:
The General tab
On the General tab (Fig. 6.), you can change your rule's name, add a description, check who and when created or modified the rule and, finally, enable (activate) the rule.
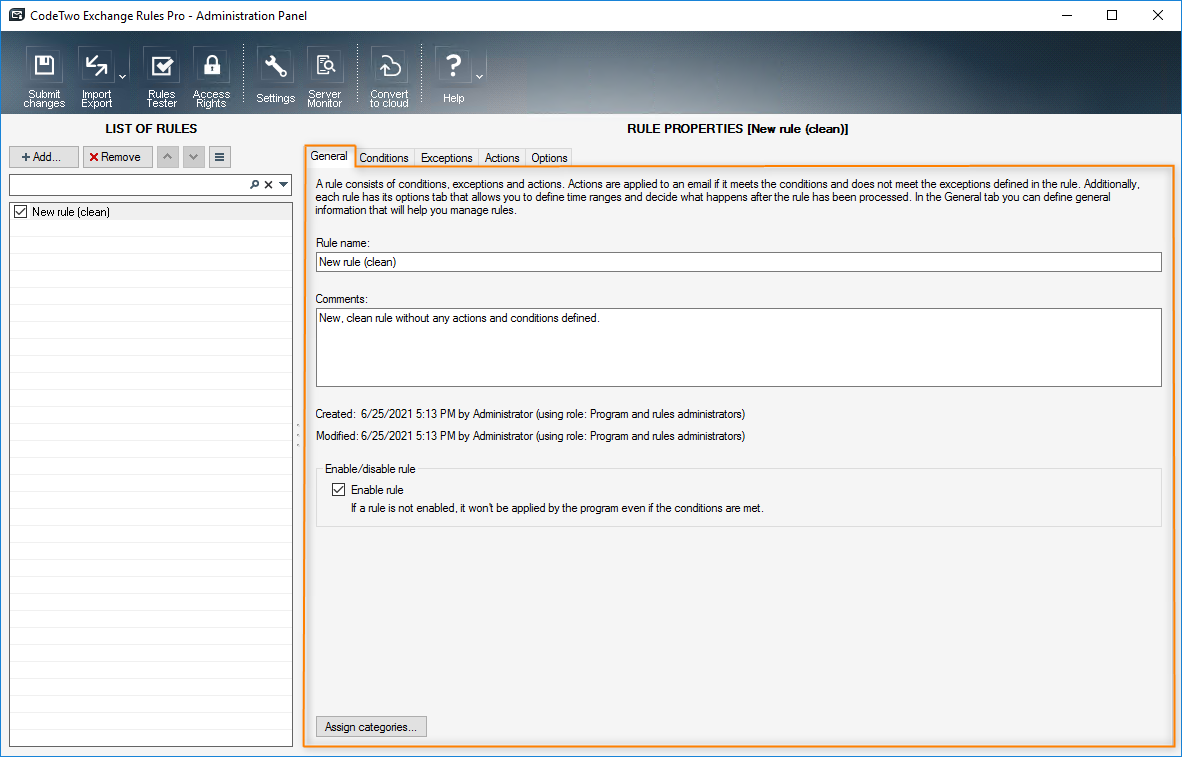
Fig. 6. The General tab.
See next
Conditions - this article explains how to define the conditions of an email rule.
See also
CodeTwo Exchange Rules Converter - find out how to transfer your email signature and disclaimer adding rules and automatic replies to CodeTwo Email Signatures 365.
In this article