
No PowerShell scripts needed
With CodeTwo User Photos for Office you don’t need to use PowerShell to add images to Microsoft 365. You don’t have to write scripts and you don’t need to play with Microsoft Graph to get those photos online, since the Set-UserPhoto cmdlet has been discontinued. Our program automates most of the process, which makes it a perfect tool for both adding single photos and bulk operations.
Free tool from CodeTwo
CodeTwo User Photos for Office 365 is a ClickOnce application designed for quick and easy user photo management in your tenant. This free tool adds images directly to Exchange Online mailboxes and then they are synchronized across all Microsoft 365 apps. It comes with a graphical user interface allowing you to quickly import, export or remove user photos for the entire Microsoft 365 organization. You can also modify your pictures (resize, rotate, preview the final effect) directly in the program. And if you want to go the extra mile, you can also use it as a first step in adding users photos to Microsoft 365 email signatures.
Watch the video below to learn how to bulk upload user photos directly to Exchange Online mailboxes using the free CodeTwo User Photos for Office 365 tool:
Bulk upload user photos to Microsoft 365
Follow the steps below to upload user photos directly to Exchange Online mailboxes for all users in your organization:
- Download and install CodeTwo User Photos for Office 365 (it’s free).
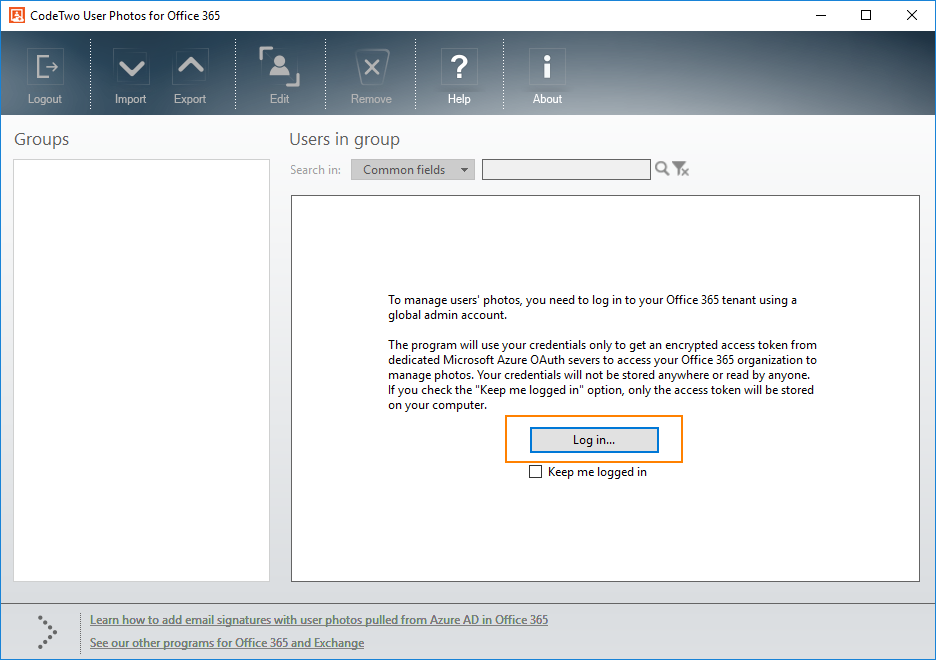
Note: You need to register the application in your Microsoft 365 tenant. Otherwise, the tool won’t be able to access user profiles in Microsoft Entra ID (Azure Active Directory) and update their photos. - Launch the program and log in to your Microsoft 365 tenant using a global admin account.

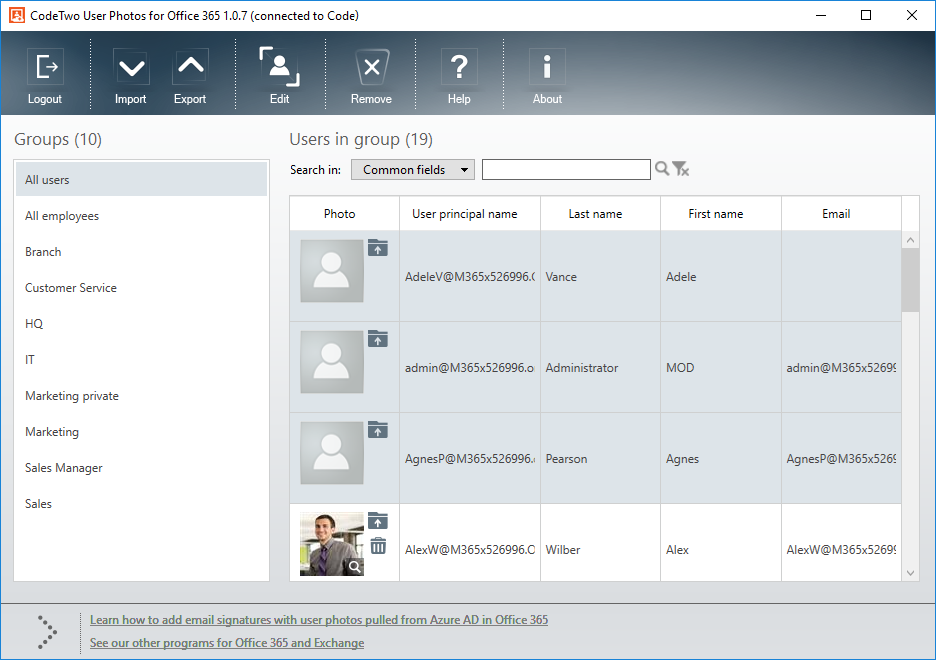
- When you are logged in, a list of groups and users will appear in the program. Select a group in the left pane and then select all or individual users belonging to that group listed in the right pane. You can easily see who has no photo or who needs to have their photo updated.
Note: Feel free to use keyboard shortcuts to select all users (Ctrl+A) or individual users (hold Ctrl while clicking users one by one).
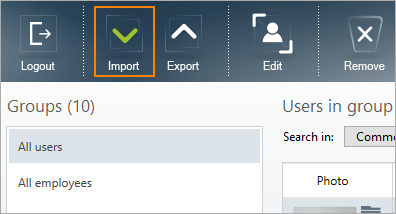
- To upload user photographs from your computer, click the Import button.

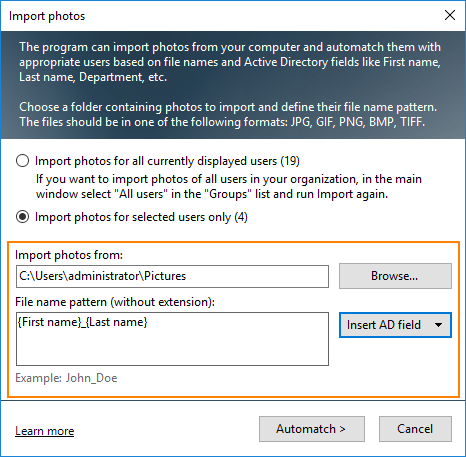
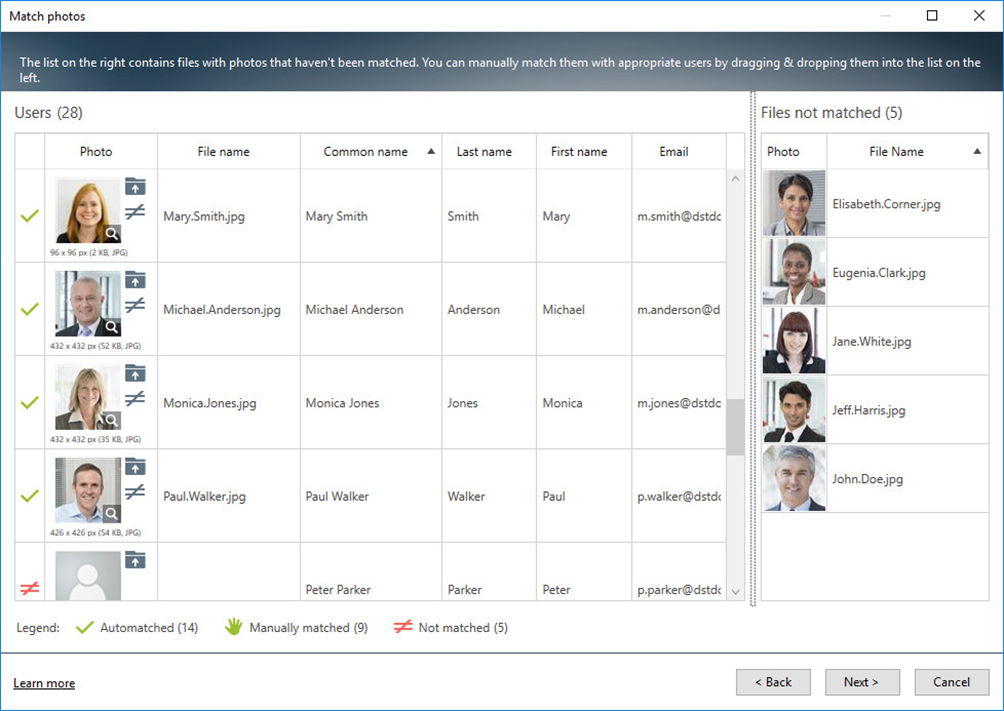
- Click the Browse button in the Import photos window and select the folder containing user photos. Then, set the file name pattern so that it matches the file name pattern used in the selected folder. Finally, click Automatch.

- Once you click Automatch, the program will match photos to the corresponding users based on the file name pattern you have set. You can see whose photo was added correctly and whose needs manual matching in the Match photos window.
Note: To manually match photos to users, simply drag a user photo from the list to the right and drop it over a user on the list to the left.
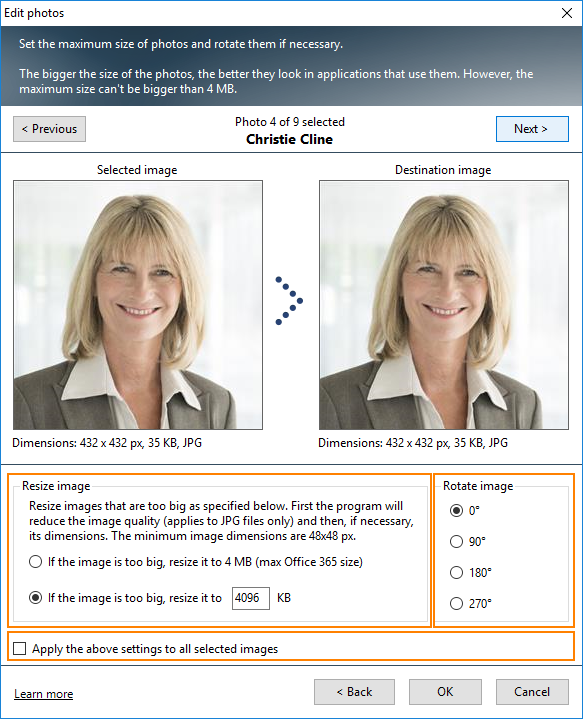
- Once all photos are matched, you can select one or several users from the list and click Next to open their photos in the Edit photo window. There, you will be able to resize or rotate user photos (either one by one or many at the same time).

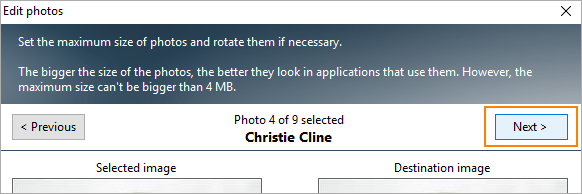
- Use the Next button in the top right corner of the window to open another photo for editing.

- Click OK when you have finished editing the photos and all of them are ready to be uploaded. The program will import them to Microsoft 365.
Note: In addition to bulk uploading photos, the program can also bulk export or remove images if needed. Use the buttons in the top menu to manage your Microsoft 365 photos globally.
User photos available across Microsoft 365 applications
Once you uploaded user photos to Exchange Online mailboxes using the CodeTwo’s free tool, you will almost instantly see photos displayed in some Microsoft 365 applications. However, in the case of some apps synchronization takes a little longer. Anyway, it shouldn’t take more than 48 hours to have user photos visible in all Microsoft 365 services, for example:
Microsoft 365 profile cards:

Microsoft Outlook:
Outlook on the web (OWA):
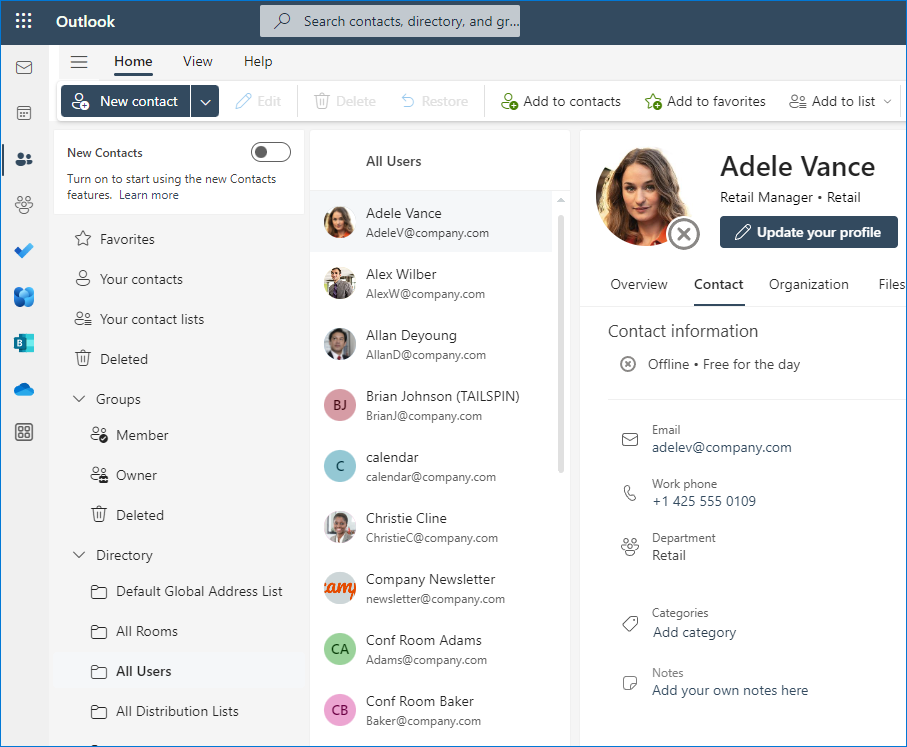
Microsoft 365 Groups:

Microsoft Teams:

And other Microsoft 365 applications like SharePoint Online, OneDrive, Planner, or Bookings.
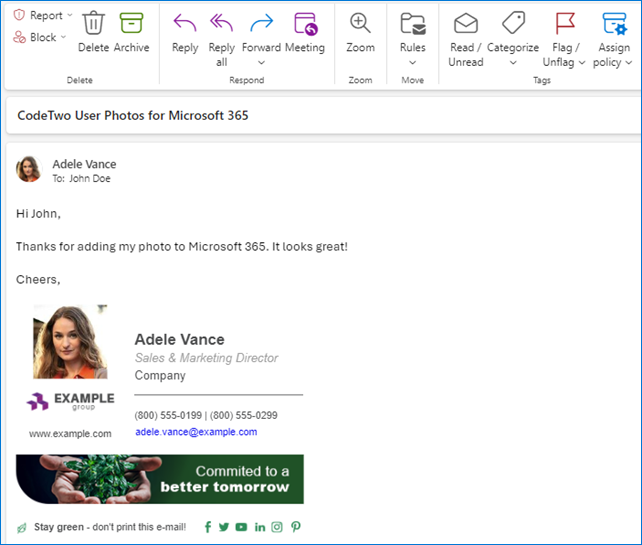
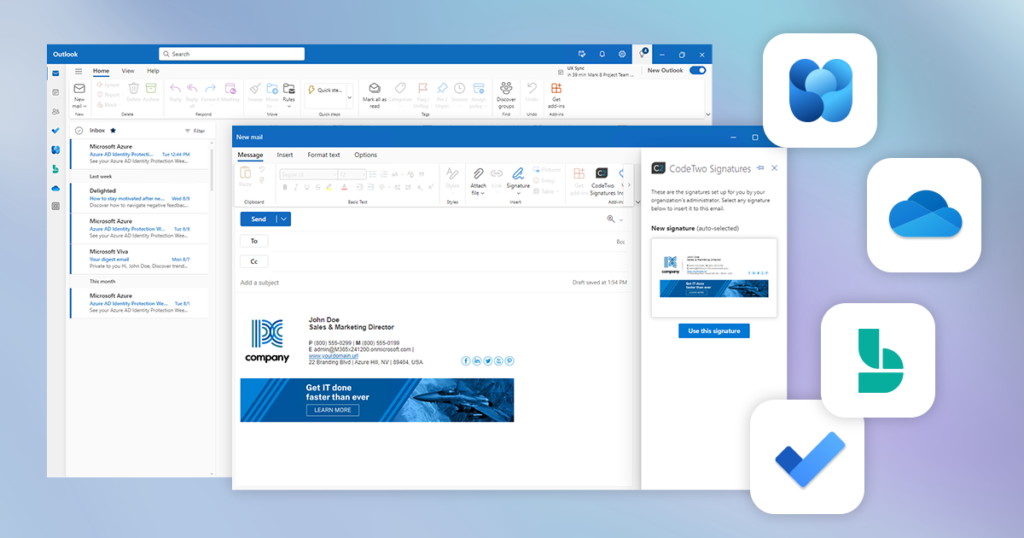
User photos in Microsoft 365 email signatures
Having user photos in Microsoft 365 apps is a nice feature in itself but you may want more, for example to add them to Microsoft 365 email signatures using CodeTwo Email Signatures 365.
For more details, watch the short video below:
See also:

Recommended articles

Understood but our photo processing system creates the files with FirstName.LastName.EmployeeID.jpg currently – it does not have any match to UPN in the current system. The old On-Premise Active Directory photos worked with that format as well along with about 30 other AD attributes to use for importing files.
With multiple users sharing the same name, the best option is to use email addresses (UPN) for filenames to ensure unique matching.
Responding to this comment…
I’m afraid you will need to rename the images to import them easily to Office 365.
The easiest way would be to copy them all to a different location and use a simple script to remove numbers from the file names.
What do you do when you have multiple users with the same first name and last name but different employeeID numbers and email addresses? The Active Directory version would allow employeeID to be part of the file name. We have 4 user called Brenda Smith as an example. With over 10,000 employees and 10 different locations we can’t know everyone of them by picture.
With multiple users sharing the same name, the best option is to use email addresses (UPN) for filenames to ensure unique matching.
Hi Team,
As of last month, we have uploaded most of the pictures of our staff into the AD using the tool. Upon checking we found out that at AD the image only appears white and not all pictures are updated into O365.
Hi Jack,
Please send us some details using this form, so that we can get to the bottom of the issue. Thanks.
Two questions.
1.Is there a way to use other AD Attributes/Fields in the Pattern Match? Our files are preceded with the employeeID number and are done so for a reason as we do have employees with the same name so we need to distinguish that in the photo file name. So for example 0123456_FirstName_LastName.jpg
2. Is there a way that the pattern match can search for the first and last name in the whole file name? Right now the photo has to have the exact match…but…what I was hoping is that there was a way to for the patterm matching to search the file name pattern in the whole file name….so for example I have a file name that is blahblah_FirstName_LastName_BlahBlah.jpg. i was hoping to use a pattern match of {First name}_ {Last name} and somehow add like a wildcard before and after the pattern match to try and match.
Thanks for your help.
Hi Joey!
1. It’s possible to use AD Attributes. Available fields are: Country, Display name, E-mail, First name, Last name, Title and UPN.
2. Unfortunately, it needs to be an exact match. As a workaround, you can use any software for mass file renaming.
Hi Team
Great little tool – I’m already a user….
One thing that could make it better: When you have your (long) list of users – the possibility to show only users WITHOUT a photo.
I would also like the use of wildcards in the search function, as already mentioned.
Thanks!!
Hi Allan,
Thank you for your ideas. I have submitted them to our Development team as a feature request.
Hi team, this software looks great thanks unfortunately with IE being unsupported and insecure we don’t allow it to run on our machines, the Azure Login prompt uses an IE popup and so the software cannot login to Azure.
Is it possible to update the software to not use IE for the Azure Authentication popup?
Hi David,
You can change your default browser for the Microsoft OAuth prompt by following these steps:
1. Open your preferred browser.
2. Go to Settings.
3. Scroll down to the Default browser section.
4. Click the Make default button.
This should set your preferred browser as the default one for the Microsoft OAuth prompt.
We the following naming convention for our pictures,
123456 – LASTNAME, FIRSTNAME MI.png
The numbers are the employee ID. I did not see a way to put a wildcard in front of name since the employee ID is not a selectable option. Any ideas without renaming all of the photos?
I’m afraid you will need to rename the images to import them easily to Office 365.
The easiest way would be to copy them all to a different location and use a simple script to remove numbers from the file names