On the Internet, you can find many comprehensive resources showing how to migrate Exchange 2010 to 2016 by using native methods. In this blog post, however, I’ll give you quick step-by-step instructions on how to perform the migration process by using CodeTwo Exchange Migration – a third-party tool that makes the process a lot easier, faster and more transparent. In other words, a perfect solution for busy admins.
Pre-migration activities
Before you install CodeTwo software, make sure your source and target Exchange environments are ready for the migration. You can use a migration checklist with pre-migration activities to see where to look at and get details on the system requirements to ensure that the whole process goes smoothly.
Download and configure CodeTwo Exchange Migration
To follow this step-by-step Exchange migration guide, you first need to download and install CodeTwo Exchange Migration. Use the download link available on the program’s website or click here to go directly to the program’s online download form.
A detailed instruction on how to install the CodeTwo migration tool in the source Exchange 2010 environment is available in this user’s manual article.
Once you have installed the program, connect it to the source and target on-premises Exchange servers.
Create your migration job
To migrate data from Exchange 2010 to 2016 (or 2019) using CodeTwo software, you don’t need any PowerShell skills. Once the program is configured and connected to both the source and target servers, you are ready to create your first migration job.
Creating a migration job takes just a few minutes – follow the steps below. (Note: If you want to create multiple jobs to migrate your data in batches, simply repeat these steps for each job.)
- Open CodeTwo Exchange Migration from the Start menu.
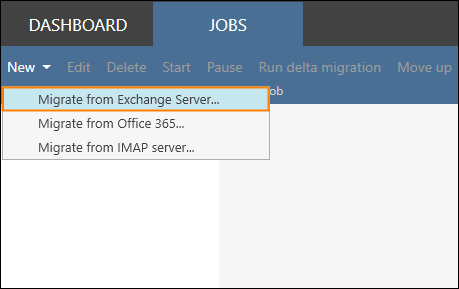
- In the Administration Panel of the program, on the Jobs tab, click the New button, and select Migrate from Exchange Server.

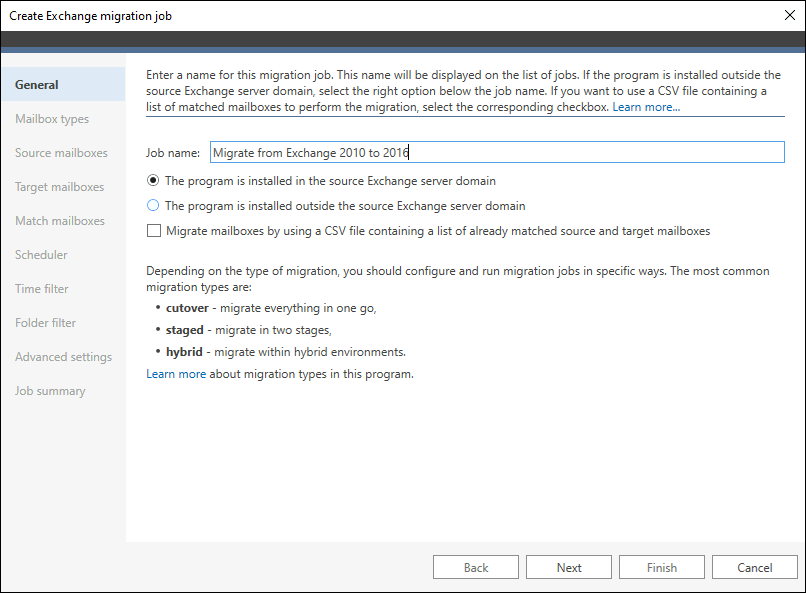
- In the General step, provide your migration job’s name. Click Next.
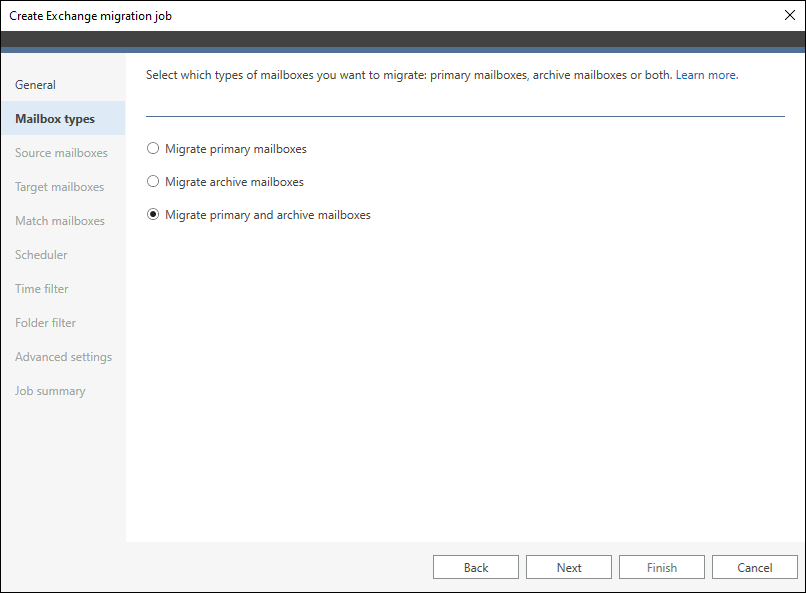
- The Mailbox types step lets you decide what types of mailboxes you want to migrate. For the sake of this presentation, let’s assume you want to move both primary and archive ones. Note that to be able to migrate archive mailboxes, you need to first enable them in your target server. Learn more
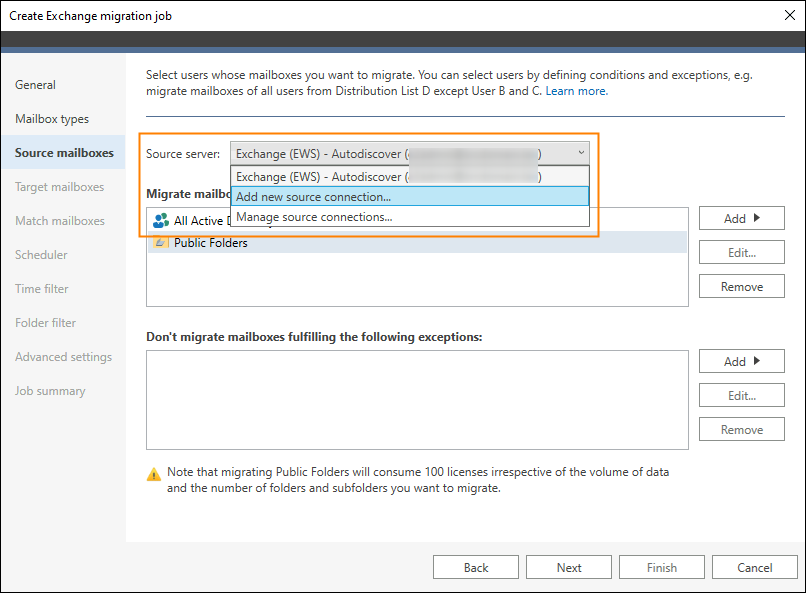
- In the next step, choose a source server connection.
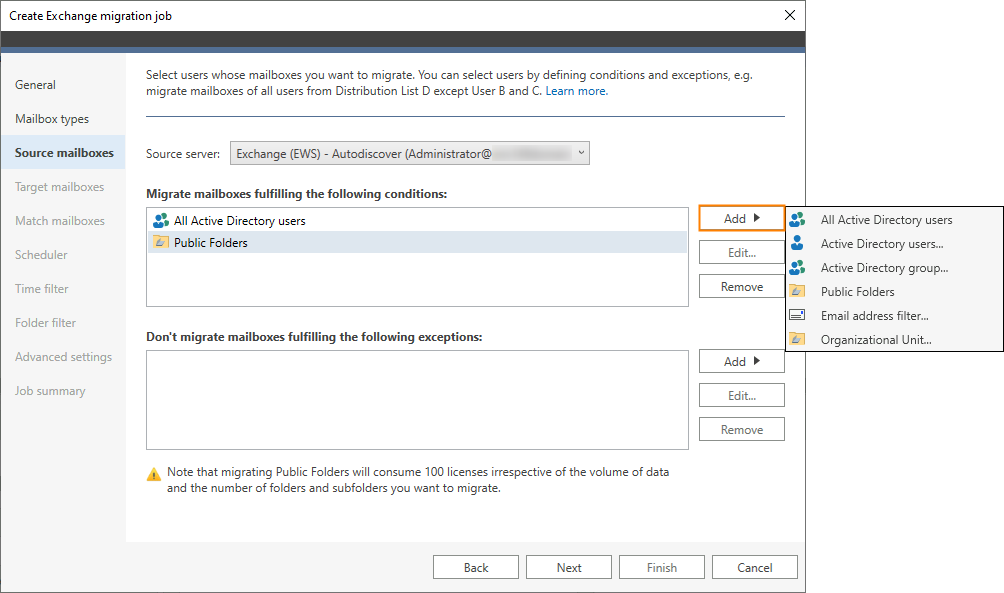
I have already configured the connection using the built-in connection wizard so I can select it, but I also have an option to add a new source server connection or manage the existing one: - In the Migrate mailboxes section, add or remove users and groups of users you want to migrate within this job. Click Next.
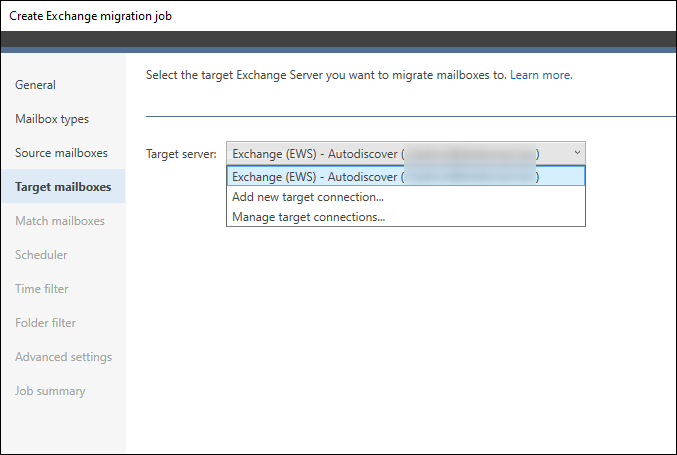
- In the next step, select an already added connection to your target Exchange 2016 server, manage an existing one or add a new target server connection.
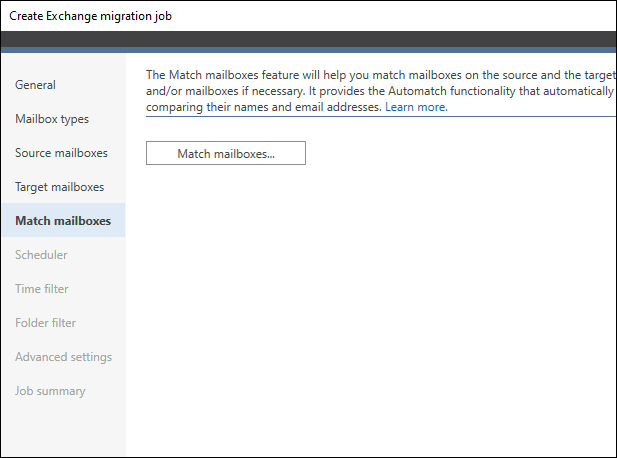
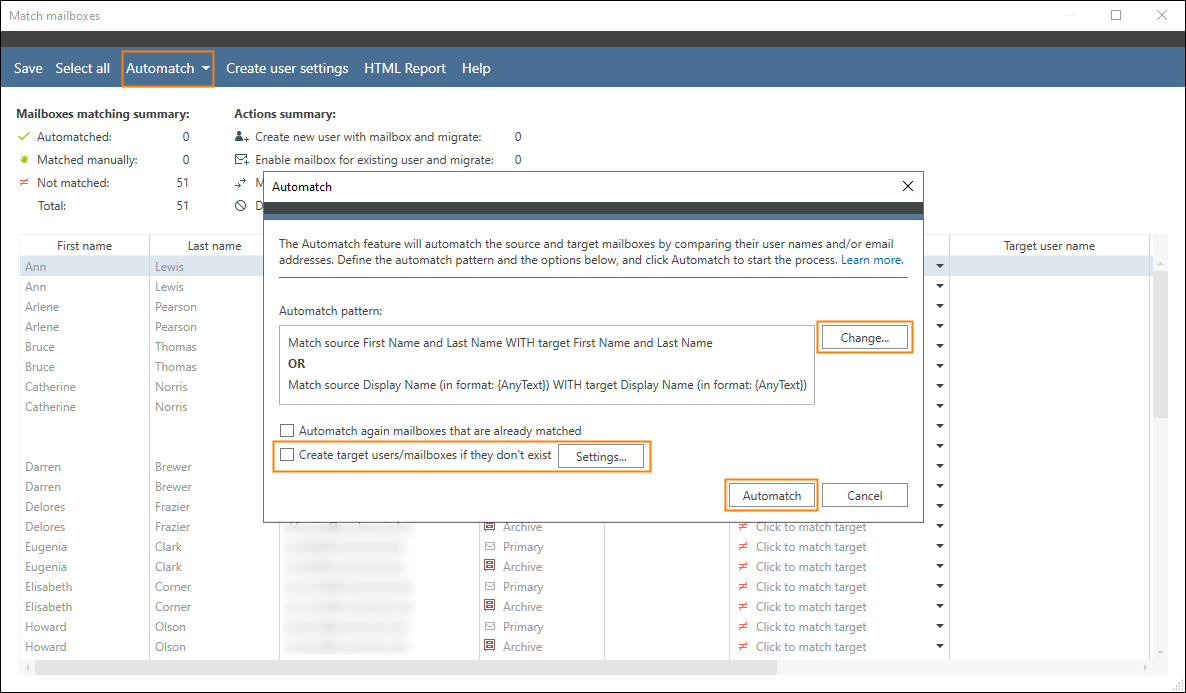
- Then, in the Match mailboxes step, click the Match mailboxes button to easily connect source and target mailboxes (either automatically or manually).
- In the Match mailboxes window, when using the Automatch feature, you can adjust the automatch pattern or even let the program create target users/mailboxes for you (if they don’t exist already). Once your Exchange 2010 mailboxes are matched with mailboxes on Exchange 2016, go to the next step.
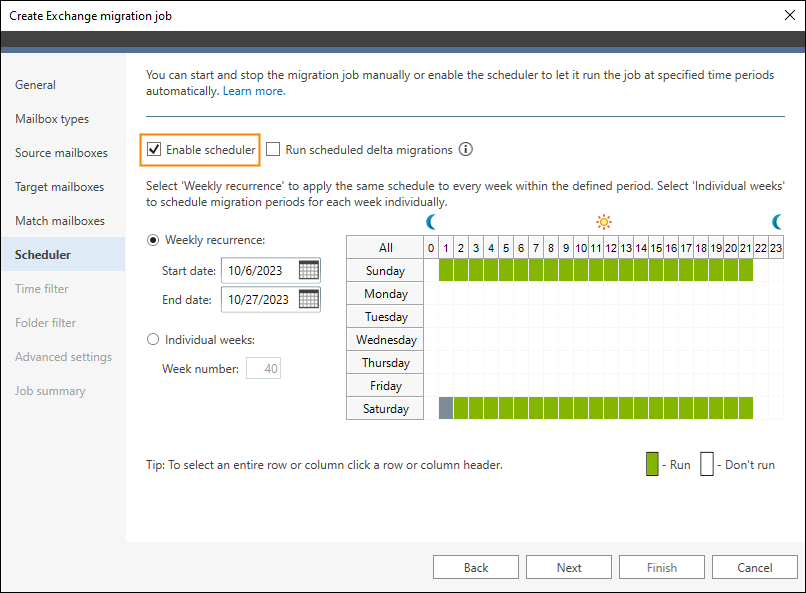
- In the Scheduler step, you can set the program to automatically start and stop the migration job. This feature is optional but useful if you need to plan your migration ahead.
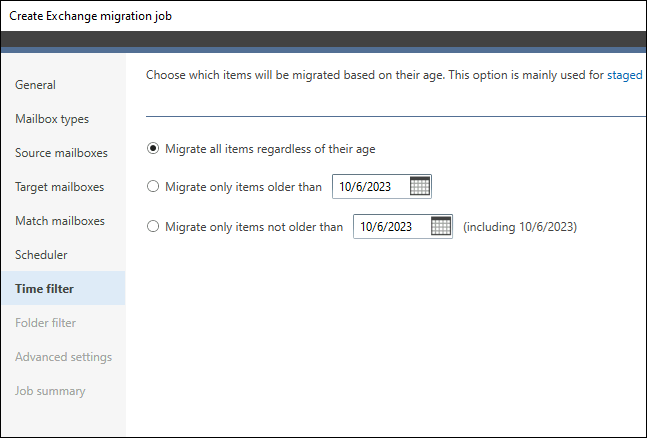
- Then, in the Time filter step, you can choose to migrate items by their age. If you want to migrate all items (regardless of their age), leave the first option selected.
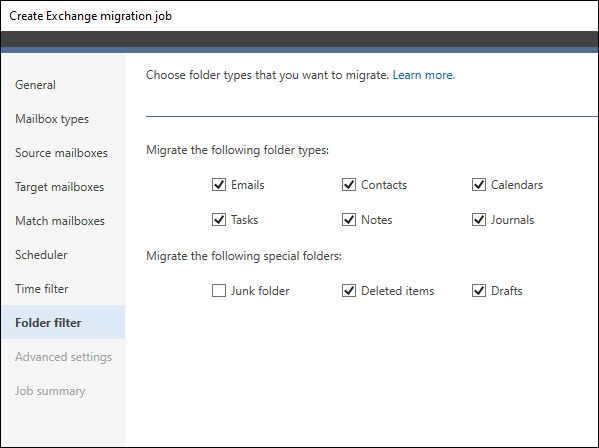
- Then, in the Folder filter step, decide which folder types you want to include in the migration process and click Next.
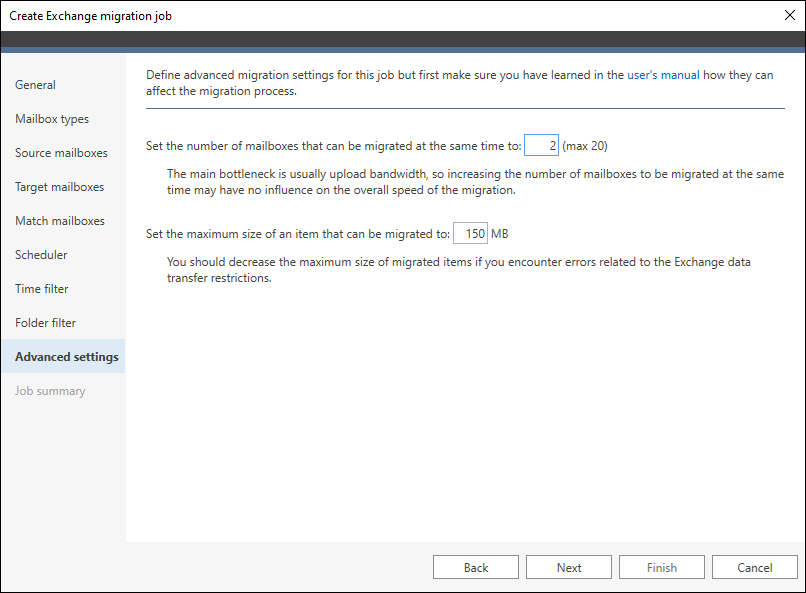
- In the Advanced settings step, set the number of mailboxes that can be migrated at the same time and the maximum size of an item that can be migrated.
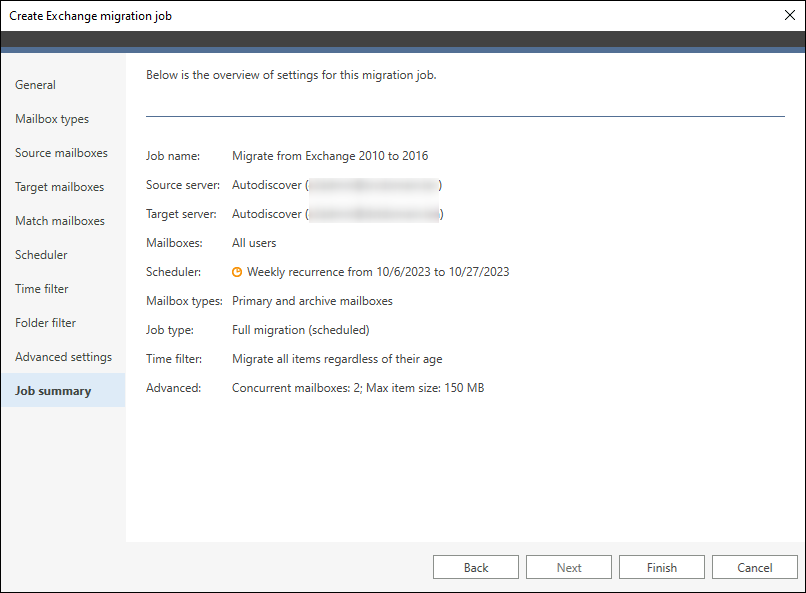
- In the last step, you will see a job summary. If everything looks fine, click Finish.
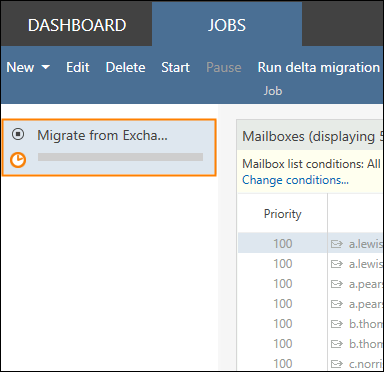
- Now you should see your migration job on the jobs list. If you see the clock icon next to the job name, it means that you have enabled the scheduler option and the job will start automatically when the time comes. If you don’t see the clock icon (because you have not set the scheduler), you need to start the job manually, as described in the next section.
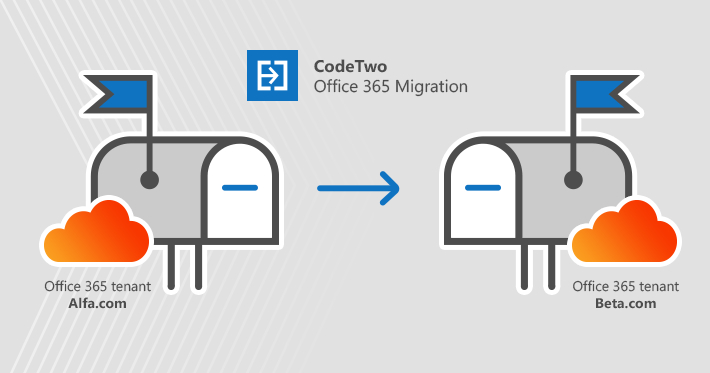
Run direct cross-forest migration to Exchange 2016
Once the job is ready, you can start the migration with the CodeTwo Exchange Migration tool.
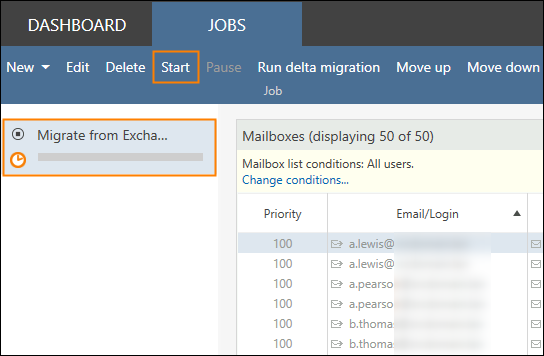
- To start the mailbox migration from Exchange 2010 to 2016, go to the Jobs tab, select the migration job from the list on the left and click the Start button on the top menu.
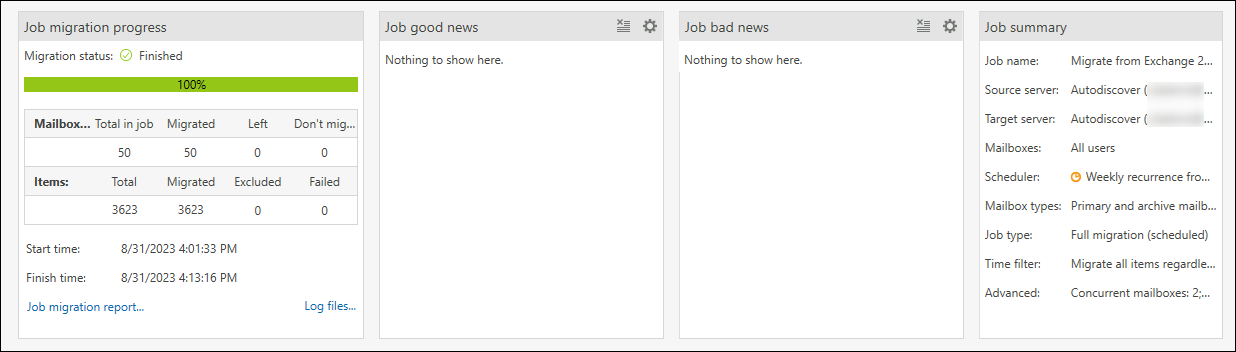
- The job migration progress is updated in real time and the statistics show up directly in the program.
- If, for whatever reason, you want to pause the migration, click the Pause button on the top menu. You can resume the migration process at any time, without any risk of duplicates.
- Once the mailbox migration is finished, you can use the Run delta migration feature. This is a safe option to re-run the migration for selected mailboxes to migrate any new emails that arrived to the source mailboxes during the migration. Don’t worry, this will not cause any duplicates in the target server mailboxes.


Click here to learn more about delta migration.
Check detailed reports from the migration process
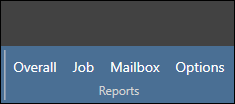
If you would like to get more detailed statistics about the migrated mailboxes, you can generate three types of reports: Overall, Job or Mailbox report.
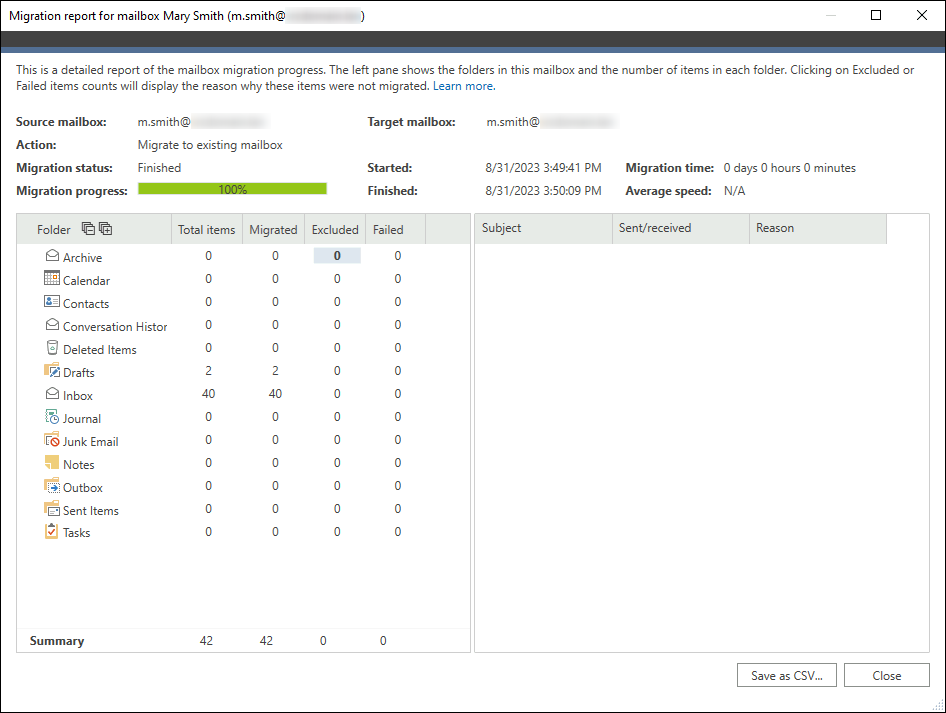
Here is an example of a Mailbox report. You can also export the report to a CSV file.
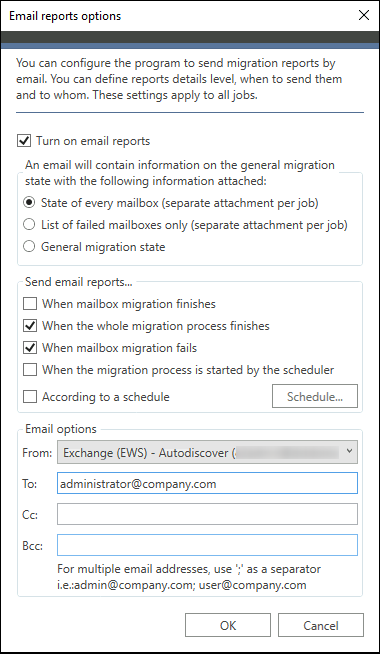
The feature you might find helpful is that the program can send these reports to your Inbox. If you want to enable this option, go to the Options tab and provide your email address. The email settings will apply to all migration jobs.
CodeTwo Exchange Migration is a powerful tool that can take the migration burden off your shoulders, no matter what Exchange-to-Exchange migration scenario you are considering. Automatic user account and mailbox creation, mailbox automatching, and zero impact on users are just a few examples of how the program can make the migration simpler, faster and less stressful.
See also
Recommended articles

CodeTwo sp. z o.o. sp. k. is a controller of your personal data.
See our Privacy Policy to learn more.