
Start with creating an eDiscovery case
Before you jump into any advanced features, you need to create a case first. Go directly to https://compliance.microsoft.com/advancedediscovery?viewid=Cases and create a new case, At first, you will be able to fill only the name, number and description, where only the name is a required field. Advanced settings will be available in a while:
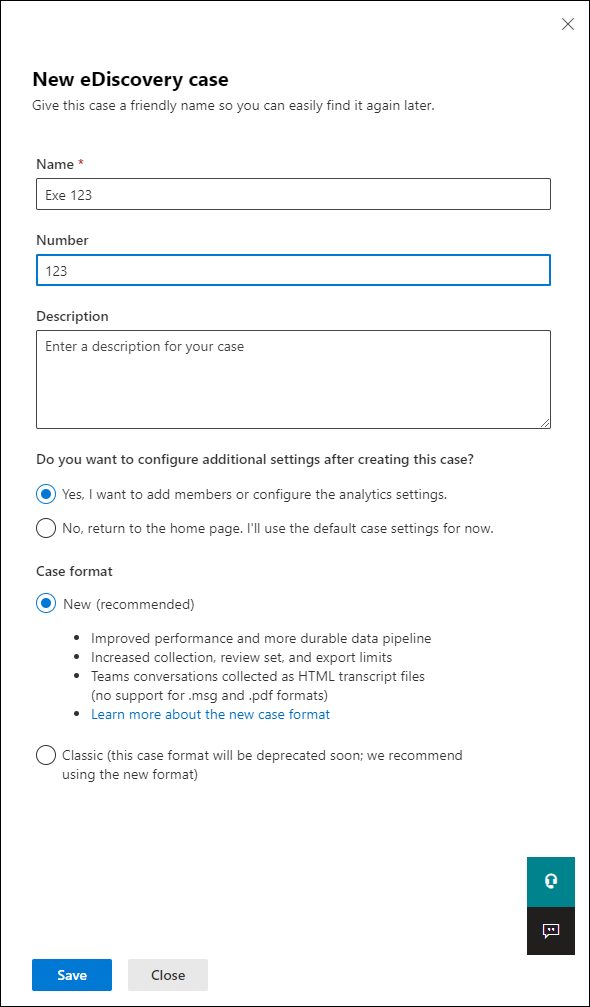
Now, the case needs to be configured. Mind that if you want to use the premium eDiscovery settings like email threading, duplication identification, themes, or OCR settings, you need to set them up before running your first search.
Configure your advanced settings first
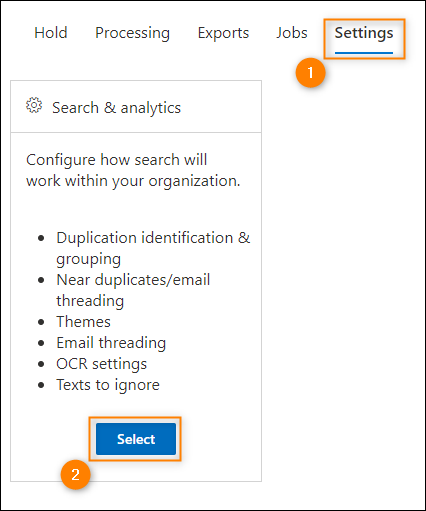
To access the advanced settings, open the premium eDiscovery case and go to the Settings tab and select the Search & analytics option:
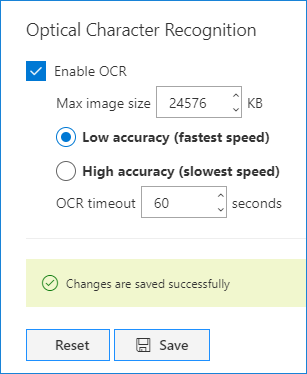
Here, you can modify advanced settings. While near duplicates and themes are turned on by default and you simply need to adjust their levels, Optical Character Recognition is turned off. If you want your searches to read text found in image files, turn it on. Mind that this might greatly increase the time Office 365 needs to perform searches in this eDiscovery case:
Once the advanced search features are set up, you can continue setting up the eDiscovery case. The next step is making sure that all relevant data will not be deleted.
Create holds to preserve content
Holds, also known as litigation holds are a way to preserve content – once you create them, they make sure no relevant data is deleted permanently. Logically, it is one of the first steps you should think about if you want to preserve specific Office 365 contents for litigation.
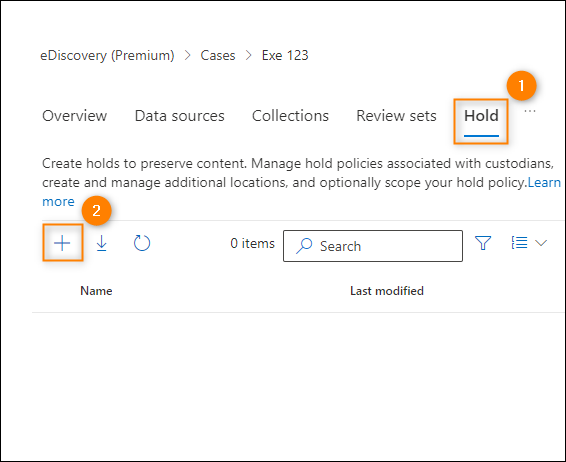
Users to whom the feature is applied will be able to delete all items as per usual, but those items will not be purged with a litigation hold active. You can use the Hold tab to manage this eDiscovery aspect:
After you give your litigation hold a friendly name, you can choose which locations should be affected by it:
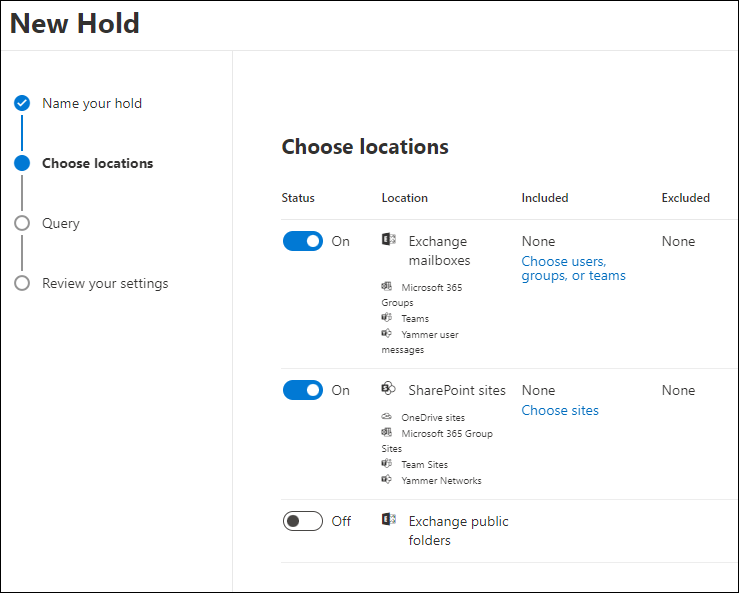
When it comes to Exchange – a hold is applied on a per-user basis. It means that even if you decide to apply the hold to a group, it will be applied to users who are currently members of this group. The hold settings will not be automatically extended for new users or taken away from removed ones. You can also pick the SharePoint sites the content of which should be preserved and decide whether to put data from public folders on hold or not. The next wizard step allows you to limit the hold to fit a specific query:
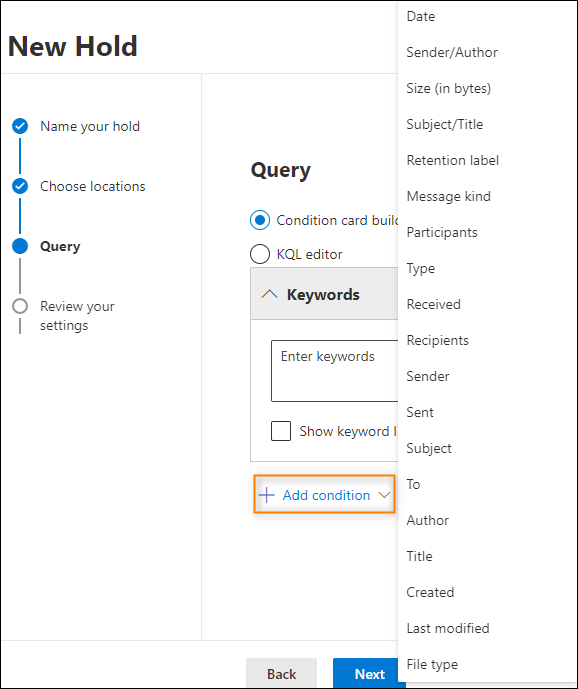
If you do not specify any conditions, all contents found in the resources picked in the previous step will be protected from deletion. You can, however, specify the date, size or any other filter to secure only a very specific set of items.
Mind that creating holds might cause mailboxes to quickly grow in size. While the size itself might not be the greatest problem, it will become harder and harder to find the right items if nothing can be deleted permanently from certain resources.
Search your tenant
The next step is creating a valid search. When trying to find the relevant data, it is crucial to apply filters – the more you apply, the more relevant data you are likely to find. Go to the Collections tab and create a new search:
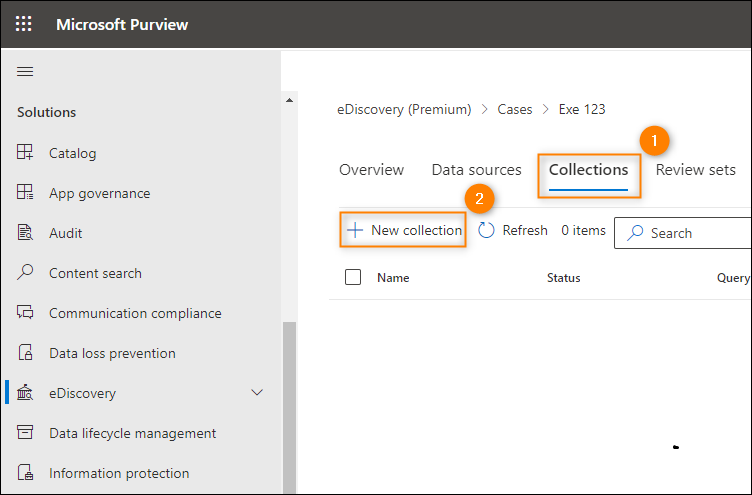
Although each case will be different, it is a good practice to create more very specific searches than trying to look for all items and filter them afterwards. eDiscovery (Premium) features help achieve the highest level of item relevance; however, if you don’t use the right filters for your documents, finding the relevant data will take considerably more time.
The search interface is similar to the one from the Hold tab. The Keywords & Conditions picker is almost identical. The additional step is for choosing custodians.
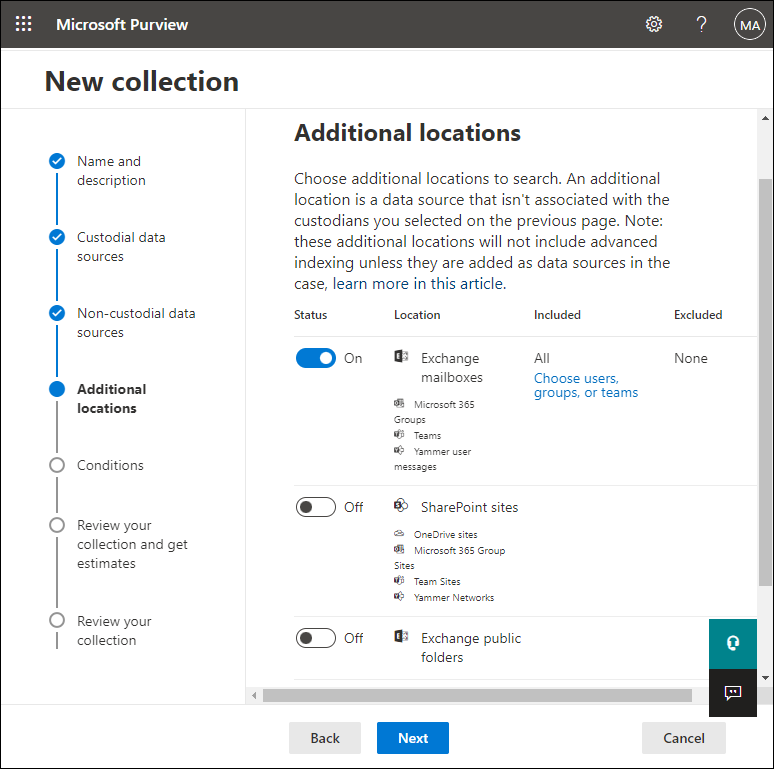
Like on the Hold tab, pick locations in which the search should be performed:
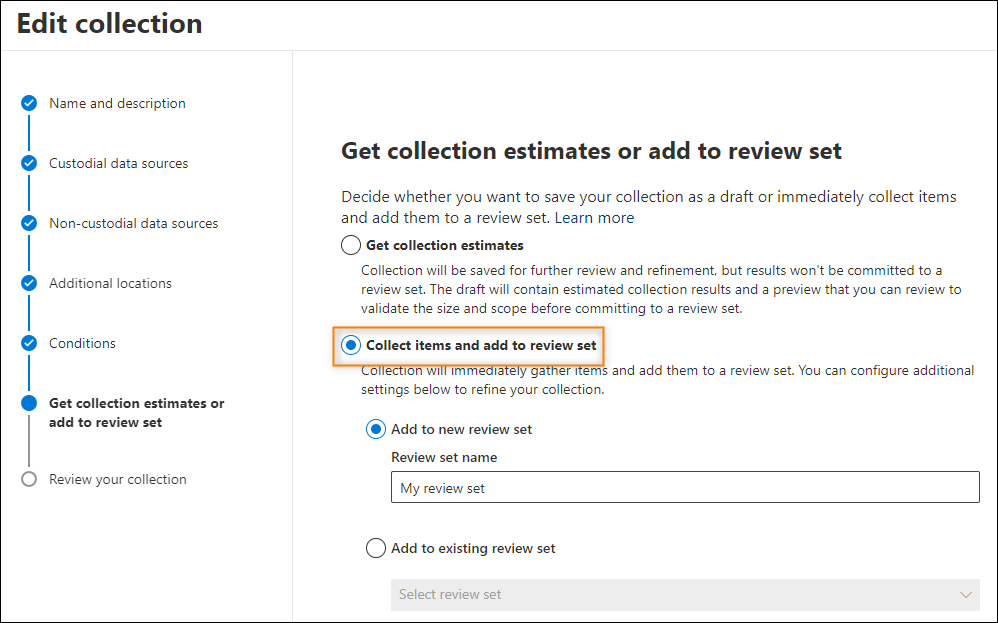
Now, when the set-up search is done, it is time to use the found items in a review set.
Create a review set
A review set is, like the name suggests, a set of documents for revision. A set is created from one or more eDiscovery searches:
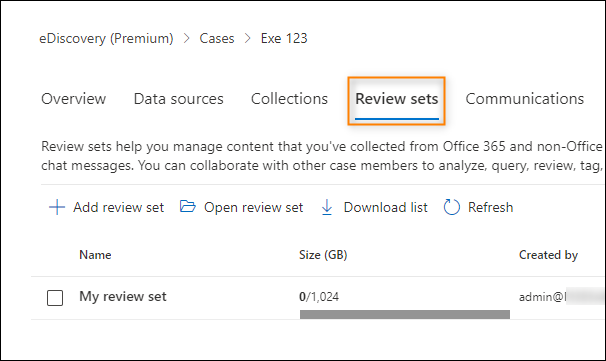
Going to the Review sets tab allows you to open the relevant review set and make use of further premium eDiscovery features:
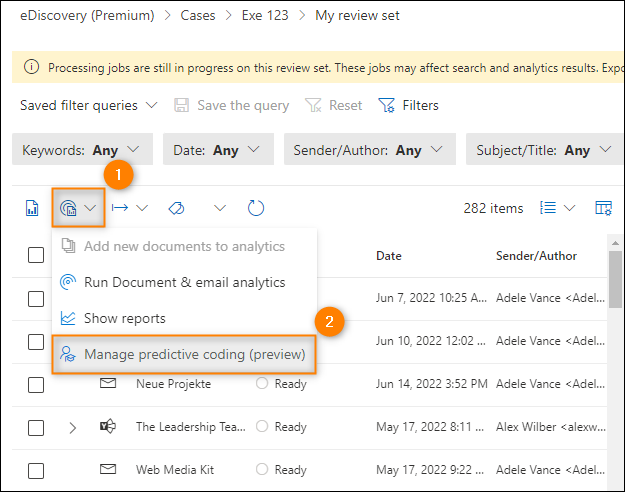
Clicking a review set opens it and allows to manage it. There are a few useful options, like adding data from sources other than Office 365 tenant, or accessing analytics. The most important feature, though, is Manage predictive coding, which allows you to train the system to find the relevant data:
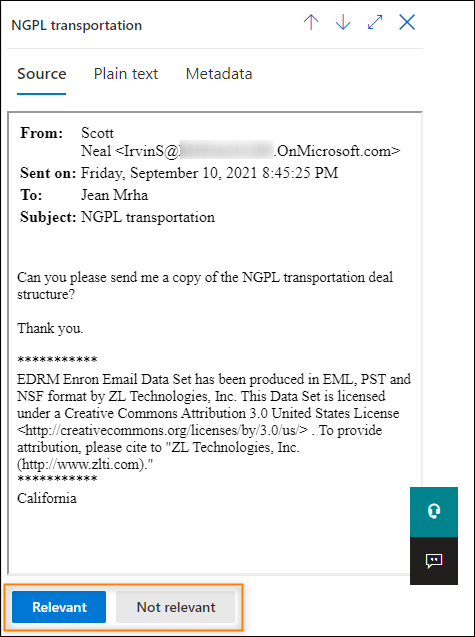
Relevance training requires at least 2,000 documents tagged as relevant or not relevant to the case, which makes it useless if your searches return less items. On the other hand, the feature can help a great deal if your searches return more items, even though you filtered down the results:
Further reading
Recommended articles

Thank you so much. This is very kind of you to share such an amazing knowledge.