
The following article explains how to set up password sync and how to filter out unnecessary data leaving only passwords.
DirSync deployment
The first step is to download DirSync from Microsoft’s site. The program requires a 64-bit environment, preferably a server machine within your domain, however it should not be a domain controller. Additionally make sure that there are .NET 3.5 SP1 and .NET 4.0 libraries installed on the machine.
Next, log into your Office 365 administrator account. Navigate to Users, Active Users, and click the Active Directory synchronization Setup link on top of the list. On the list that shows up, in point “3” click the Activate button. An Active Directory synchronization is activated message should be displayed, as shown on the below image:
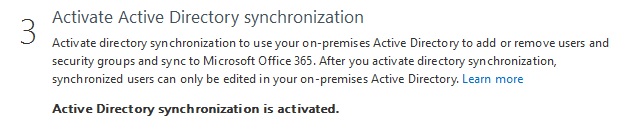 You can use the Download button in point “4” to download the DirSync tool.
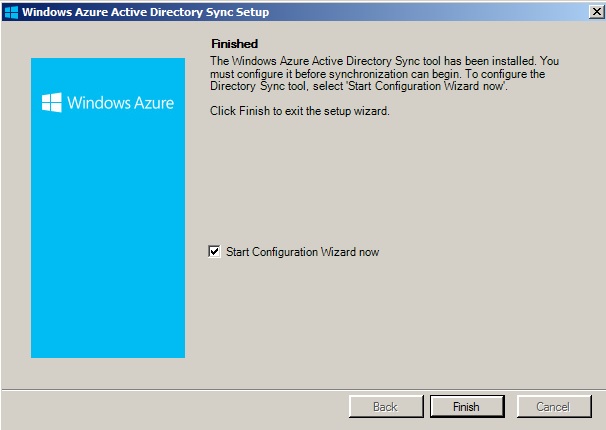
Now you can launch the DirSync setup file. Follow the standard installation wizard until finish. Once the process is complete mark the Start Configuration Wizard now before clicking Finish.
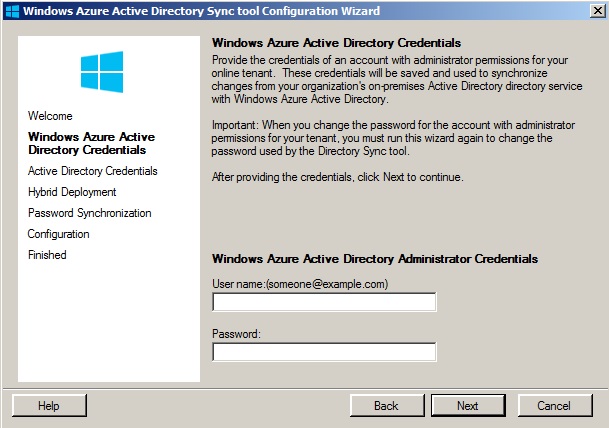
Once the wizard launches provide the Office 365 administrative user’s credentials, then click Next:
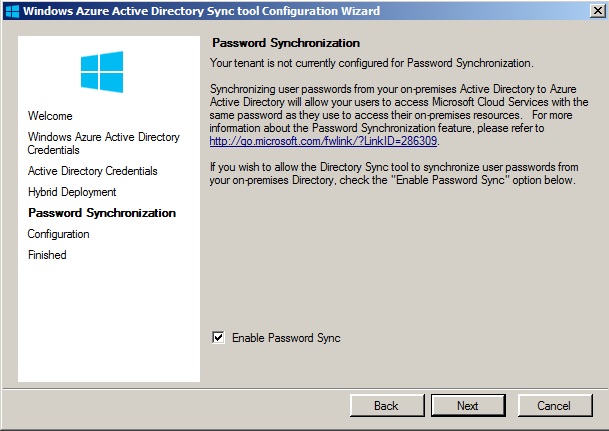
In the following step enter the on-prem administrative credentials. Then hit the Next button until you arrive at Password Synchronization (the Hybrid Deployment step is not relevant in this scenario – leave it unchanged). Mark the Enable Password Sync checkbox, then click Next.
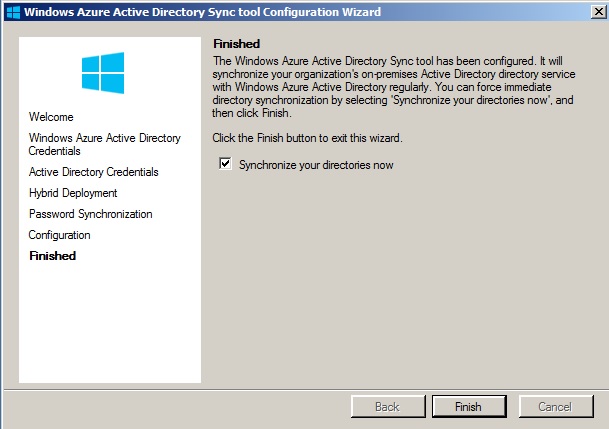
The final step is to uncheck the Synchronize your directories now box, as there are a couple of other options we need to set before syncing. Click Finish to close the wizard.
Filtering out AD attributes
Since, in our example, we want to sync only passwords and leave other user attributes in the Cloud unchanged, we need to filter out these AD attributes from the syncing task. To do so, launch the Synchronization Service Manager console by navigating to the following path:
C:\Program Files\Windows Azure Active Directory Sync\SYNCBUS\Synchronization Service\UIShell
and running the miisclient.exe program. Once it is launched, click the Management Agents tab.
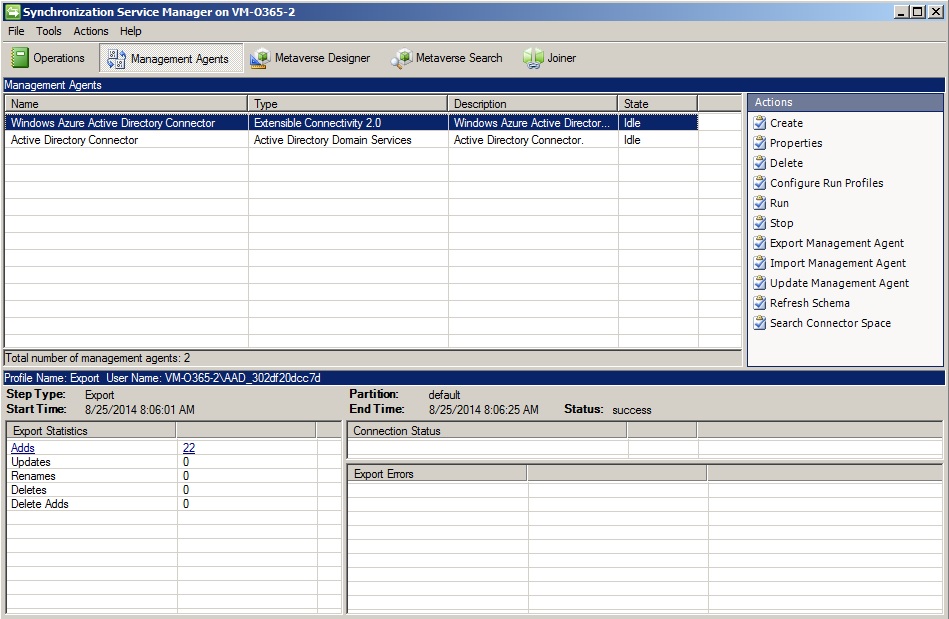
Right-click the Active Directory Connector item and then click Properties. In the new window, navigate to the Select Attributes option in the left pane.
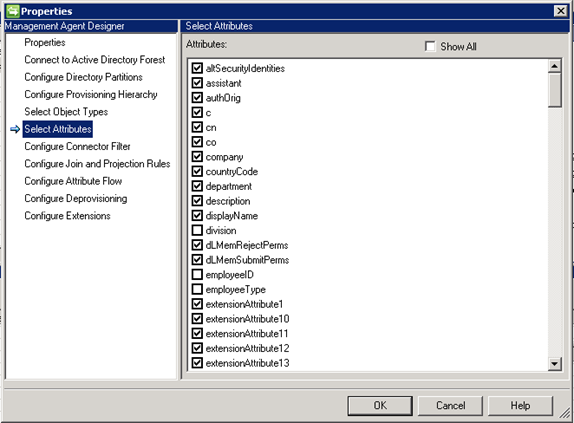
In the Select Attributes list, uncheck boxes next to attributes that you do not want to replicate to Office 365, e.g. contact details, company information etc. Confirm your choice by clicking the OK button. This setting is useful when the information present in the Cloud is not present in the local AD and you do not want to lose it. Synchronization works in one direction, from on-prem server to the Cloud, and always overwrites data in Office 365.
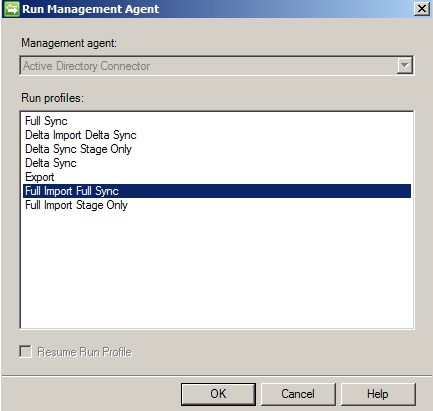
The final step is to start the synchronization task – to do so you need to right-click Active Directory Connector in the Management Agents tab and select Run.
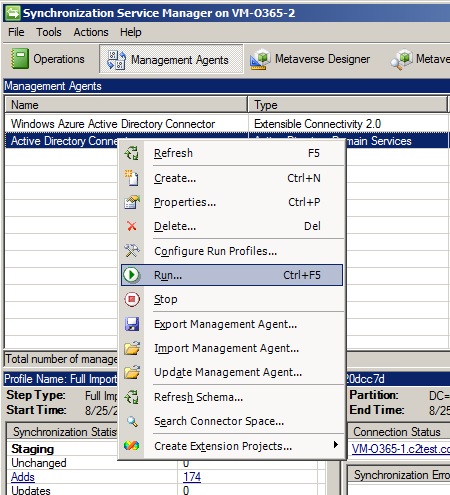
Select Full Import Full Sync and confirm by clicking OK.
That’s it – your passwords are now in one-way sync between the on-prem server and the Office 365 organization.
What to be aware of?
There are a couple of options and limitations you need to bear in mind when setting up password sync with the DirSync tool:
- All passwords synced to the Cloud are set to Password never expires. This might cause passwords synced from the local domain to be still valid in Office 365, even when they have already expired locally.
- When changing a user’s password in the local AD, remember to uncheck the User must change password at next login option as it might cause the user to be unable to sign in to their Office 365 account.
- When disabling an account in your local AD, keep in mind that this change is synced in a standard timeframe (which by default is three hours). Therefore, this might create a situation, where the user unable to login locally on a workstation is still able to login to their account in Office 365.
Suggested reading:
How to add and license users in bulk on Office 365
How to sync local Active Directory to Office 365 with DirSync
How to migrate mailboxes with x400 address to smtp addresses on Office 365
How to connect and remotely manage Office 365 with PowerShell

Recommended articles

Hi
I just tried this to fix an issue I have.
Background: in Windows Server Essentials 2012-2016 they had a feature which pretty much synched your on premise AD password to O365 with very little other implication. This has been removed for essentials 2019.
The default setup of the current dirsync with password sync only selected means that certain AD attributes are synced, which means for example you now can’t manage email address aliases in the O365 online portal. Instead you get an error that amounts to “you’re in sync with another directory so you can’t change this here”.
I thought that by deselecting all AD attributes starting with msexch and also proxyaddresses, per your instructions, might fix this but it seems not to have.
I believe MS solution is ‘we provide you a free exchange server license to manage your Exchange Online settings’ but for a small company this would mean Windows Server Standard licensing and Windows CALs for users, meaning the ~£300 license for Essentials is now ~£1000 not to mention the additional hardware requirements – OR – possibly an azure VM and constant VPN gateway setup at least £30/month.
Any ideas how we can reinstate the Windows Server Essentials style sync – one way from AD to AAD password only without upsetting the Exchange Online admin centre?
Thanks
Hi Jon,
I’m afraid that in the current situation you would need to use ADSIEdit to manage your Exchange Online mailboxes. The password-only sync is no longer possible with Windows Server Essentials 2019.
You could try to switch to Azure AD and get rid of your on-premises server, but you would need to do some research on how to achieve that and on AAD licenses.
Can I sync from Office 365 down to my Windows Storage Server’s AD. My master user/pass list is on Office 365 Azure. I don’t want my Azure AD stuff change.
Syncing from Office 365 Azure to your local AD is possible through a password writeback feature. However, this feature is not available in standard Office 365 plans, you need to buy Premium Azure AD licensing. You can find more information about password writeback and its requirements on this Microsoft site.
I already have my local Active Directory synced with an Office 365 AD, but without password synchronization. If I activate the password synchronization with the writeback feature, what is going to happen? Which password would be valid to the users? The local or virtual? What is going to happen when I change the Office 365 password? How much time would it take to the Office 365 password be synced with my local AD?
Hi Marcelo,
Password writeback generally synchronizes passwords from the Cloud to on-premises AD, so the vritual one becomes valid for all users and any changes in the Cloud are synced back to local AD. The only exception seem to be users who are members of protected groups in on-premises Active Directory. For more see this MS doc: https://docs.microsoft.com/en-us/azure/active-directory/active-directory-passwords-learn-more
If you did not have this setup, and wanted to added it years after you switched to Office 365, what issues could occur, or should I look for. We have 40+ O365 users with active accounts and permissions in SP, Exchange….etc. Can I sync them after the fact? Just trying not to be impact full to the users
Thank you
Hi Andy,
DirSync and its new iterations are mainly intended to sync from on-premises AD to Office 365, so in your scenario you would have to be really careful not to overwrite the Cloud accounts or create duplicates.
For more information see: https://docs.microsoft.com/en-us/azure/active-directory/active-directory-aadconnect
– Adam
Does the sync work when the internal domain is different from the external domain? (company.local internally and company.com externally)
Hello Jason,
To synchronize your directory between company.local and company.com, you need to do some preparation on the company.local domain first. Please consult this Microsoft’s article for details:
https://support.office.com/en-us/article/How-to-prepare-a-non-routable-domain-such-as-local-domain-for-directory-synchronization-e7968303-c234-46c4-b8b0-b5c93c6d57a7.
All the best,
Adam