PowerShell becomes a tool of choice for a growing number of Office 365 administrators. The main reason is that they can leverage all benefits of the scripting environment in repetitive, everyday tasks.
Even mass creation of users and licenses assignment is not a problem – below you’ll find a step by step guide describing the process.
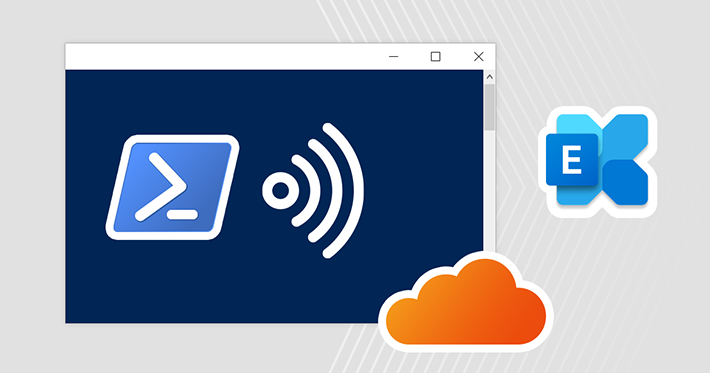
Connect to Office 365 with PowerShell
Follow this short tutorial to learn how to remotely connect to your Office 365 with PowerShell.
Create a CSV file
Next step is to create a list of all users you want to create in CSV format. It will contain all necessary details, such as email addresses, first and last names, passwords etc. Below you can find an example CSV file syntax.
UserPrincipalName,DisplayName,FirstName,LastName,password
[email protected],Clark Kent,Clark,Kent,Asik12
[email protected],Bruce Wayne,Bruce,Wayne,Poiy32
[email protected],Peter Parker,Peter,Parker,Rujk99
Make sure to replace the “remoteps.onmicrosoft.com” domain with your own.
Environment variables
In this example two variables are set:
$path = c:\new_users.csv
$server = remoteps:enterprisepack
$path contains the path to your CSV file. Replace “c:\new_users.csv” with your own path.
$server contains your license package name. Use the following command to check what license you have (it is listed in the AccountSkuId column):
Get-MsolAccountSku | out-gridview
Create users
The command below loops trough each line of your CSV file and creates an account based on details provided.
import-csv $path | foreach {

New-Msoluser -userPrincipalName $_.UserPrincipalName -displayname
$_.displayname -firstname $_.firstname -lastname $_.lastname -password
$_.Password -usagelocation "us"

}
The -usagelocation parameter is required for license assignment. You can change it to the standard country code of your choice.
Licenses assignment
Without the assigned license the Office 365 account cannot send/receive emails. The command below works similarly to the previous one – it works through each line of your CSV file and enables the license for each newly created user.
import-csv $path | foreach {
set-msoluserlicense -addlicenses "$server"
}
To make sure that licenses were assigned correctly run the code below.
import-csv $path | Get-MSOLUser | out-gridview
The process is complete. All users from the CSV file list are now present in your Office 365 environment, with licenses assigned and ready to send and receive messages.
All described steps are also attached below as a single script. You can save it as a PS1 file. Additionally it includes a small code that pops up a file picking window which helps to set the $path variable.
#CSV file picker module start
Function Get-FileName($initialDirectory)
{
 [System.Reflection.Assembly]::LoadWithPartialName("System.windows.forms") |
 Out-Null

 $OpenFileDialog = New-Object System.Windows.Forms.OpenFileDialog
 $OpenFileDialog.initialDirectory = $initialDirectory
 $OpenFileDialog.filter = "All files (*.*)| *.*"
 $OpenFileDialog.ShowDialog() | Out-Null
 $OpenFileDialog.filename
}

#CSV file picker module end

#Variable that holds CSV file location from file picker
$path = Get-FileName -initialDirectory "c:\"

#Window with list of available 365 licenses and their names
Get-MsolAccountSku | out-gridview

#Input window where you provide the license package's name
$server = read-host 'Provide licensename (AccountSkuId)'

#CSV import command and mailbox creation loop
import-csv $path | foreach {
New-Msoluser -userPrincipalName $_.UserPrincipalName -displayname $_.displayname -firstname $_.firstname -lastname $_.lastname -password $_.Password -usagelocation "us" | set-msoluserlicense -addlicenses "$server"
}

#Result report on licenses assigned to imported users
import-csv $path | Get-MSOLUser | out-gridview
Suggested reading
CodeTwo Office 365 Migration: free software for Office 365 subscribers
How to connect to Microsoft 365 with Microsoft Graph PowerShell
Recommended articles

CodeTwo sp. z o.o. sp. k. is a controller of your personal data.
See our Privacy Policy to learn more.