- Calendar integration (calendar overlay) – enables you to synchronize Exchange and SharePoint calendars completely. Thanks to this, you can use Outlook to, for example, view and create meeting requests or book equipment, and all the changes will be automatically reflected on the corresponding SharePoint site.
- Site mailbox – this powerful feature, available since Exchange & SharePoint 2013, lets you create a common location to save, edit and look for emails & documents alike. Site mailboxes can be accessed both from an Outlook client and a browser. This functionality can simplify your work, by eliminating the need to jump from one interface to another.
Exchange 2016 and SharePoint 2016 calendar integration
The configuration process of the calendar integration consists of two phases:
Creating a SharePoint calendar app
The first step is to create a calendar on any SharePoint site (I will add it to my IT site):
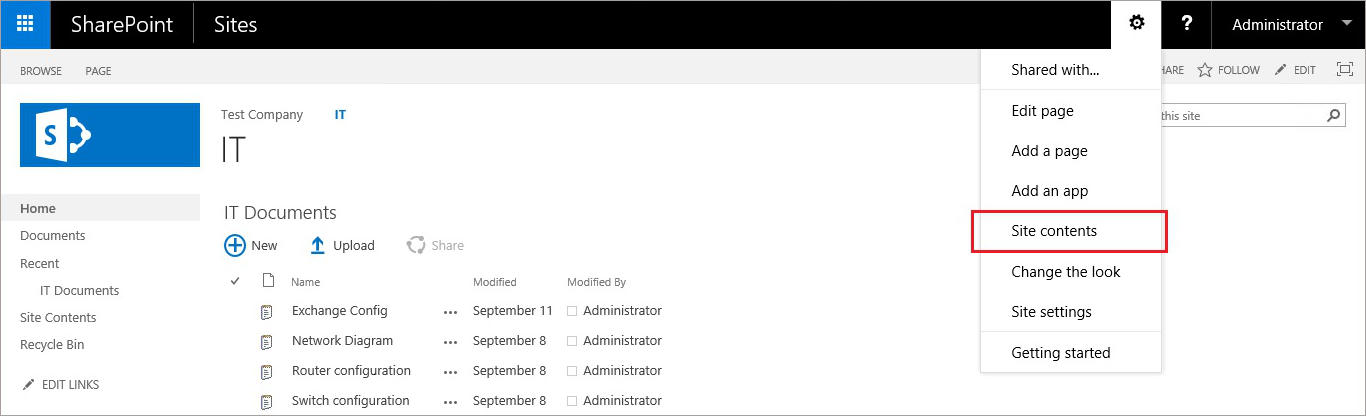
Go to the site’s content settings:
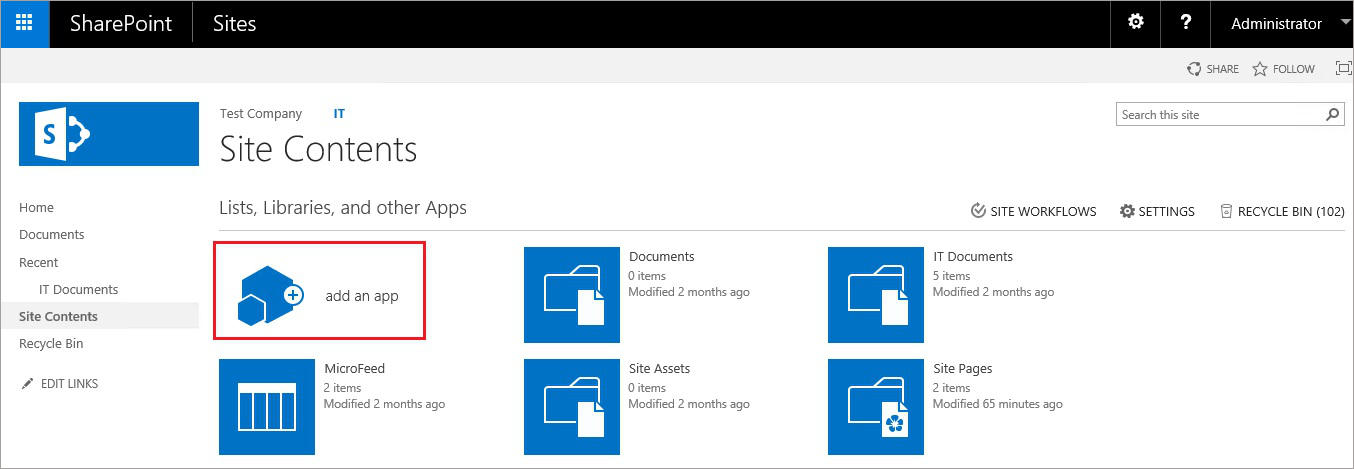
Add a new app:
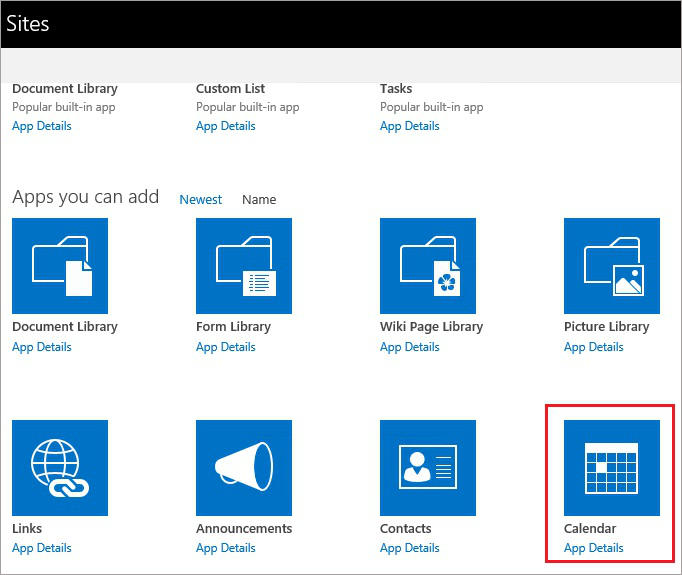
From the available apps list, choose the Calendar app.
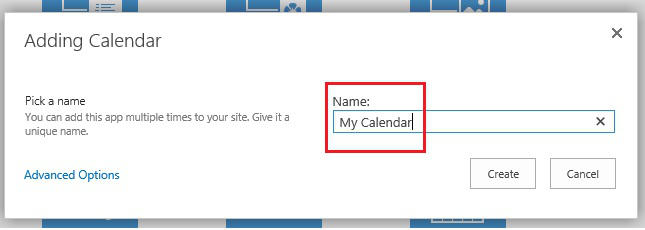
As for the last step, name your new calendar.
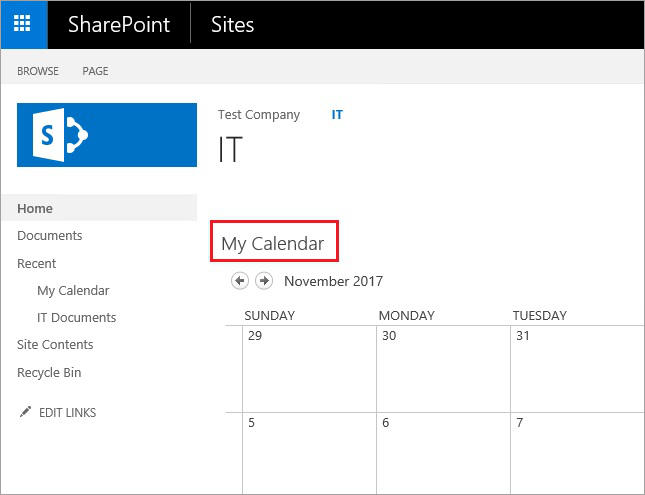
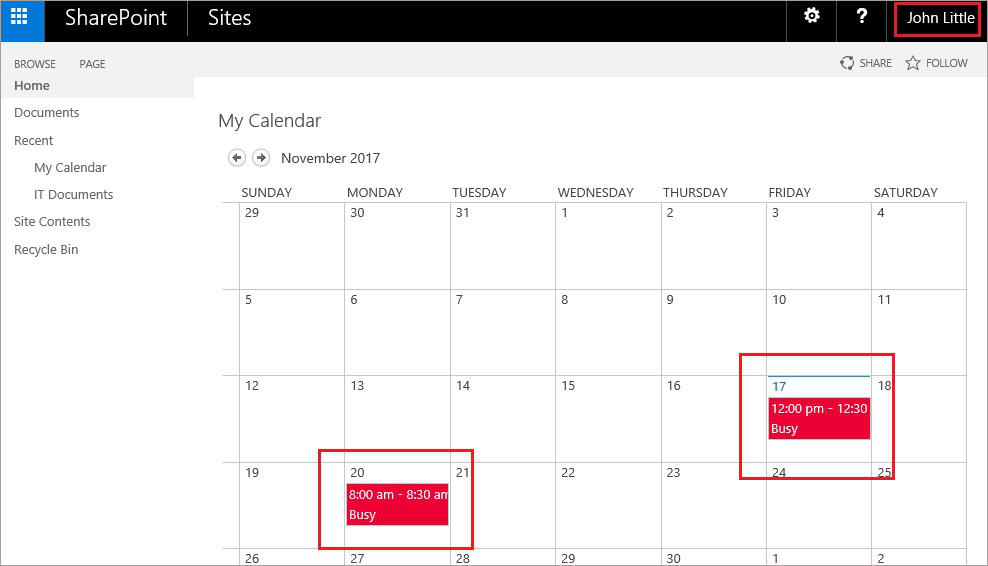
Below, you can see what the calendar looks like (I have set it up to appear first on the site).
Now that the calendar is set up, the next step is to integrate it with a user’s Exchange calendar.
Mind that in the first synchronization method, the calendar overlay, there is no option to integrate a room mailbox, an equipment mailbox or a shared mailbox calendar. Each user connecting to “My Calendar” created above will have different events listed. I will show exactly how it works after the calendar overlay configuration is finished.
Exchange – SharePoint calendar overlay
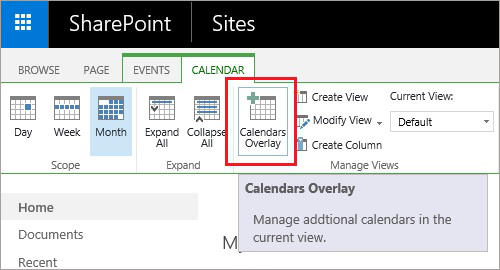
- On the right SharePoint site click Calendar Overlay in the top menu.

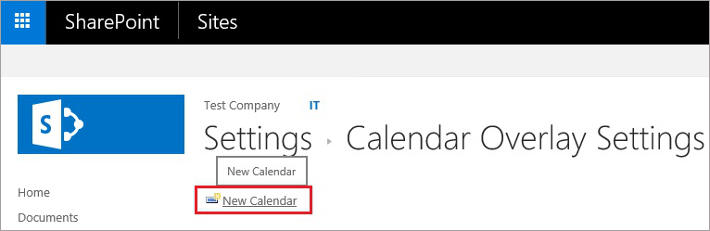
- Now, choose New Calendar.

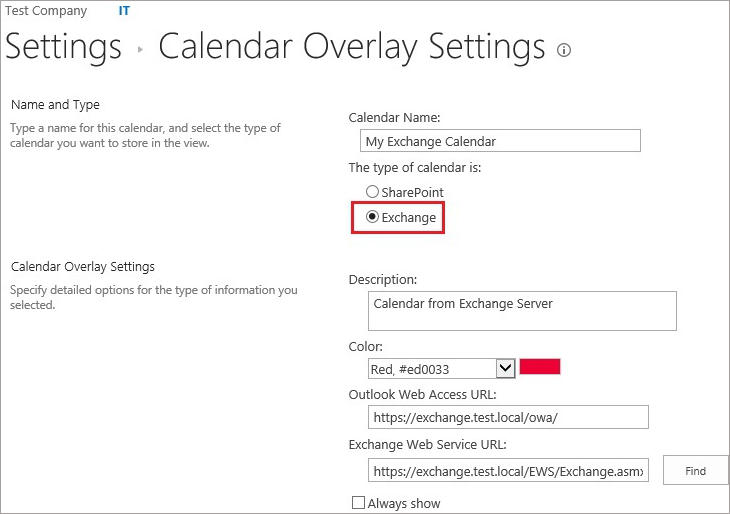
- A new settings page will appear.
At this point, it is crucial to choose Exchange as the calendar type and to provide correct URLs for OWA and EWS. In most cases they will have the following format:
OWA: https://exchange_server_name/owa
EWS: https://exchange_server_name/EWS/Exchange.asmx
If this format does not work in your environment… Well, I strongly believe you know your environment best. If there is any OWA or EWS-related problem, you can always click Find, and SharePoint should get the right address from Service Connection Point (SCP).
At this point, if you get the error:
Could not establish trust relationship for the SSL/TLS secure channel with authority ‘dc’.
It means you have not configured TLS connection encryption. As mentioned in part one of the article, you can solve this issue in two manners: either by assigning a trusted third-party certificate to your SMPT service or by creating your own CA, which will cause your self-signed certificates to be trusted.
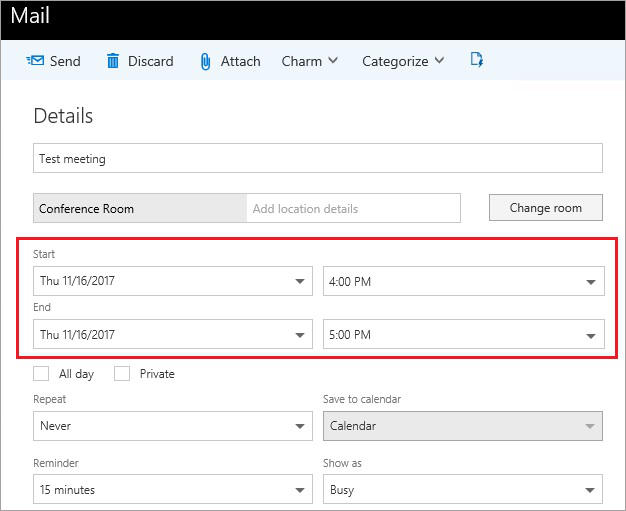
- Now that the configuration part is over, it is time to test how it works. The administrator creates a new meeting event on his calendar in OWA:

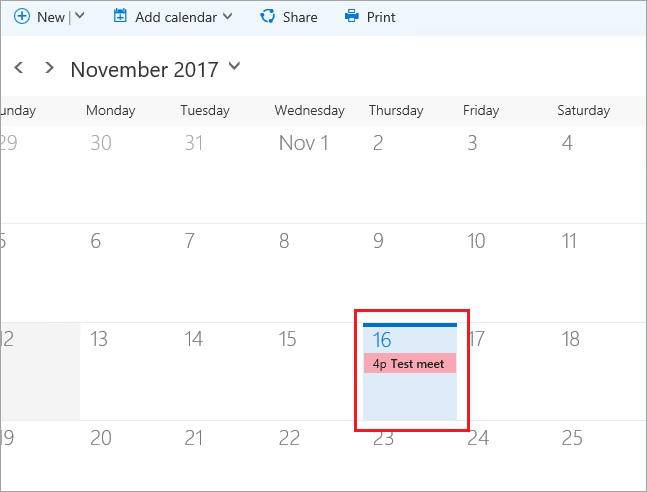
- OWA shows the event on the calendar:

- The previously configured SharePoint site is updated accordingly:

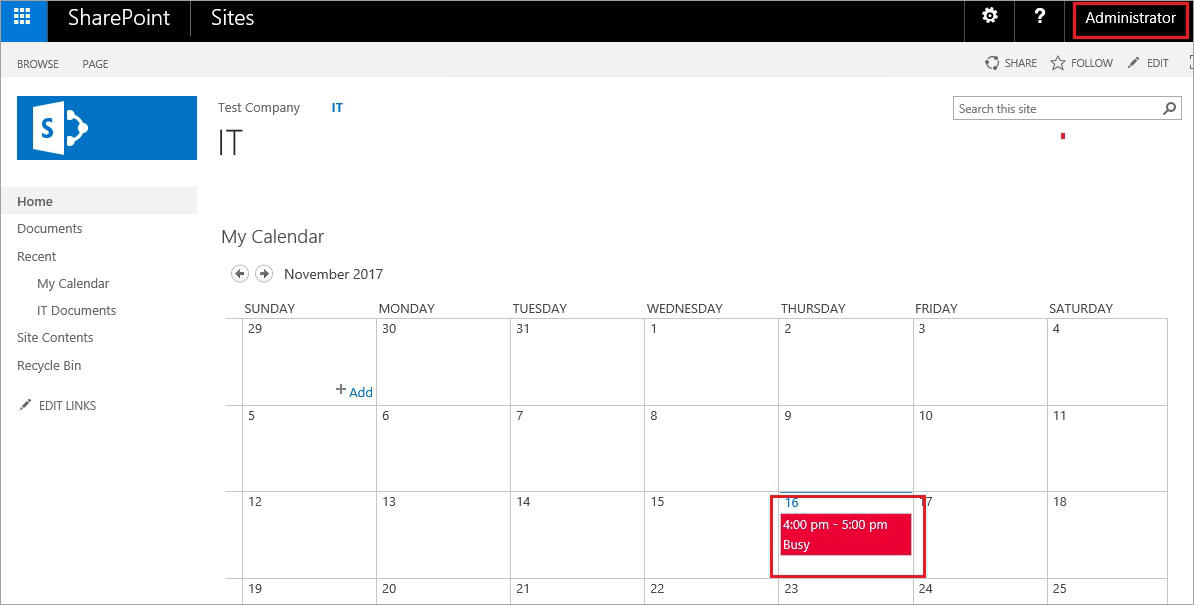
In other words, the configuration has been successful. I have mentioned that the SP calendar will have different contents for different Exchange users. When another user opens the same SP site, the calendar will display their events:
There is an alternative way to integrate, or synchronize, SharePoint with Exchange calendars. Each user can click Connect to Outlook and follow a simple wizard. This is not a global solution – each user has to do it separately – but it will allow a both-way sync.
Site mailbox
Site mailbox has been already described in the first part of the integration guide. In short, it combines SharePoint and Exchange so that you can use either a browser or Outlook to operate on emails and documents. The configuration of site mailbox is a bit more challenging than that of the rest of the functionalities I have described, but if you follow my instructions, you should not run into any issues along the way. The site mailbox configuration consists of two parts:
Getting the SharePoint infrastructure ready
- First, you should see if User Profile Service Application is on. Site mailboxes require this application to work. To check its status, go to SharePoint Central Administration > Application Management > Manage service applications
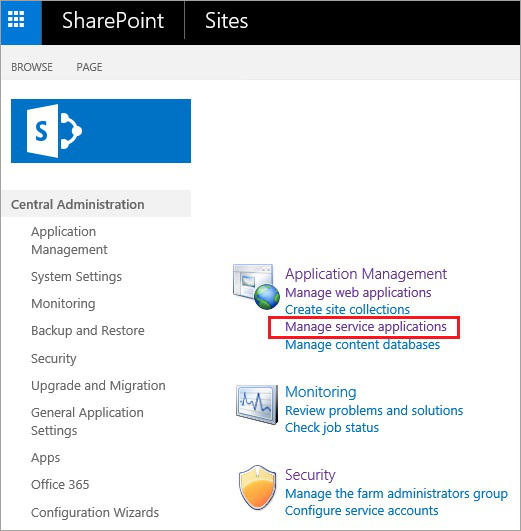
The app list will show up. If User Profile Service Application is on the list and it is started, skip to the next step. Otherwise, you will need to create and configure it. This Microsoft guide will help you do so.
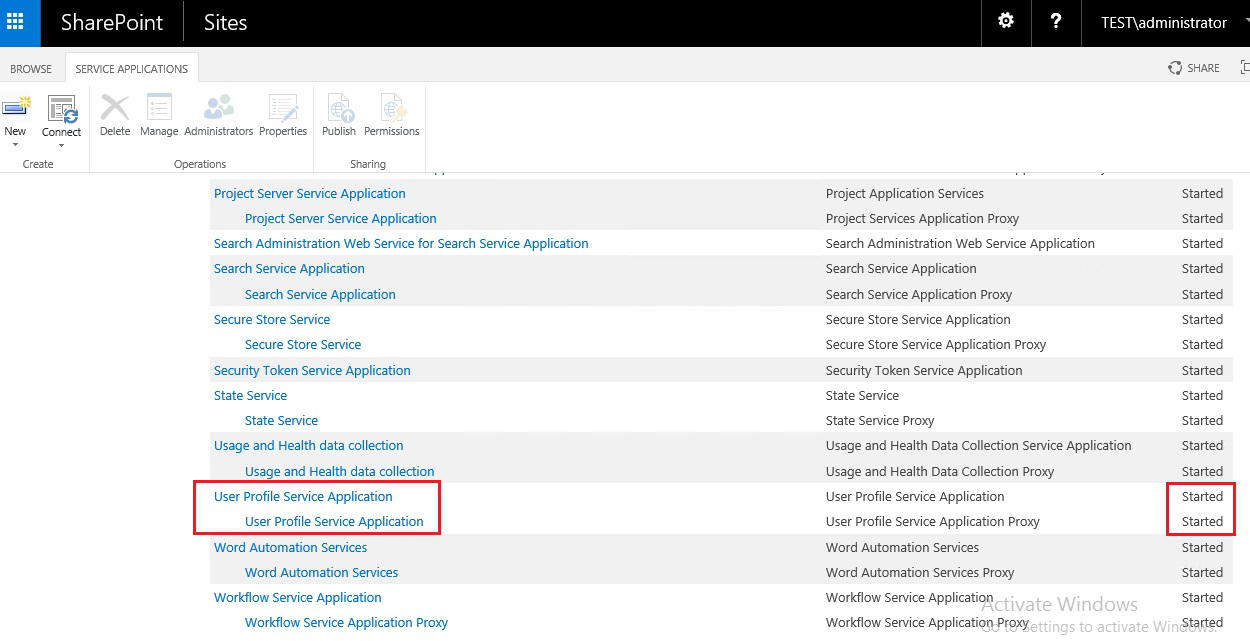
- Now, you need to configure a connector, which will be responsible for Exchange and SharePoint synchronization. Click User Profile Service Application, then Configure Synchronization Connections.
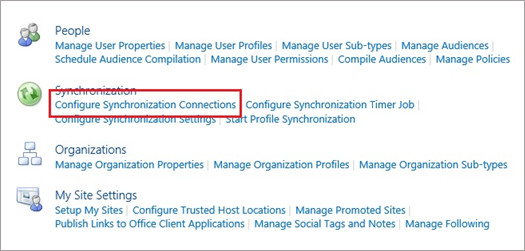
Now, click New Connector and fill in your environment’s details.
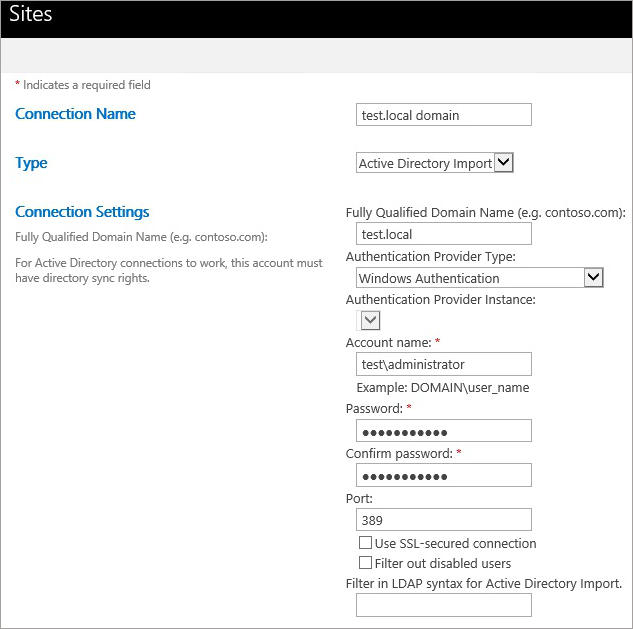
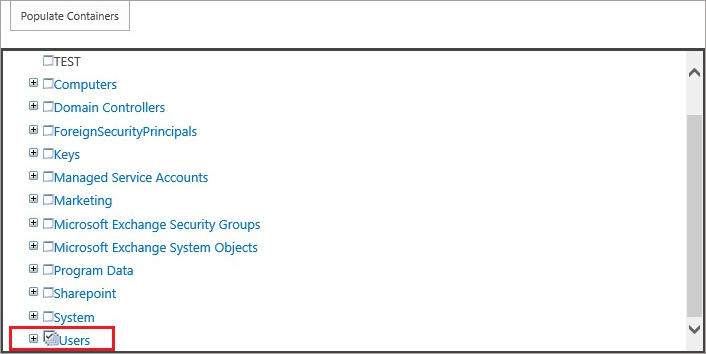
On a production server, you should use a Service Account which is a user that has read permissions to the domain. In the containers section of the wizard, choose the OU you will synchronize data with.
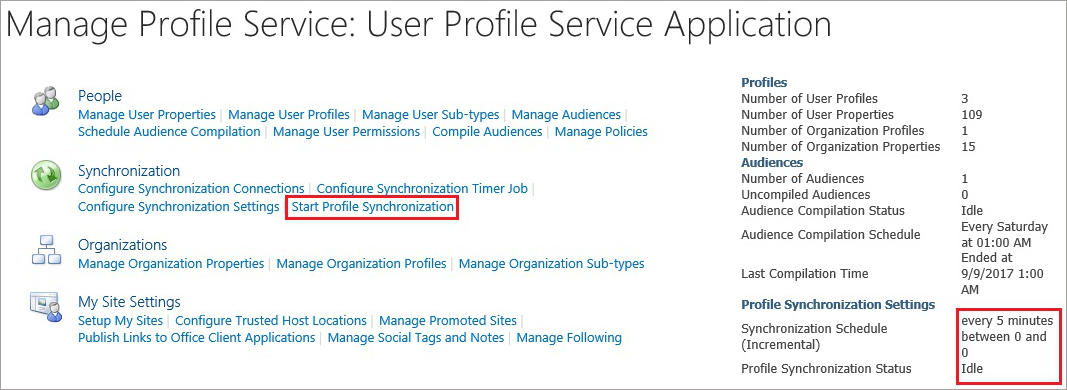
By default, you will need to wait for 5 minutes before SharePoint synchronizes with AD. If you like, you can force synchronization right away by clicking Start Profile Synchronization.
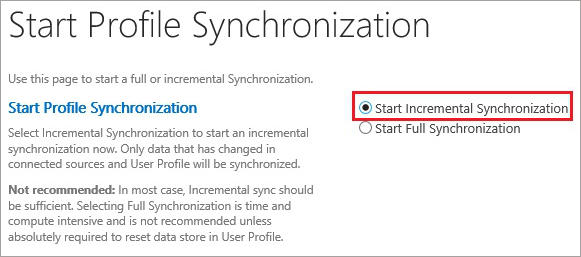
And then, Start Incremental Synchronization.
You can check the synchronization status by clicking Manage User Profiles.
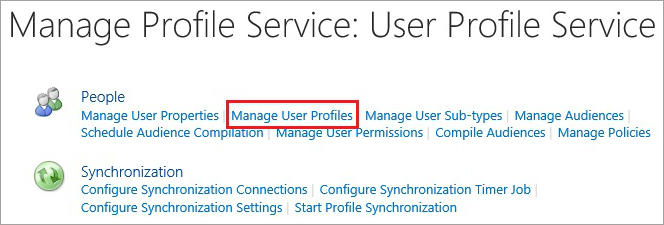
As you can see above, SharePoint downloads AD data, so it is time to go to the next step.
- Site mailbox requires App Management Service Application, which should be installed by default in a default SharePoint deployment. To check if this App is already running in your environment, revisit the location from step 1 (SharePoint Central Administration > Application Management > Manage Service Applications.
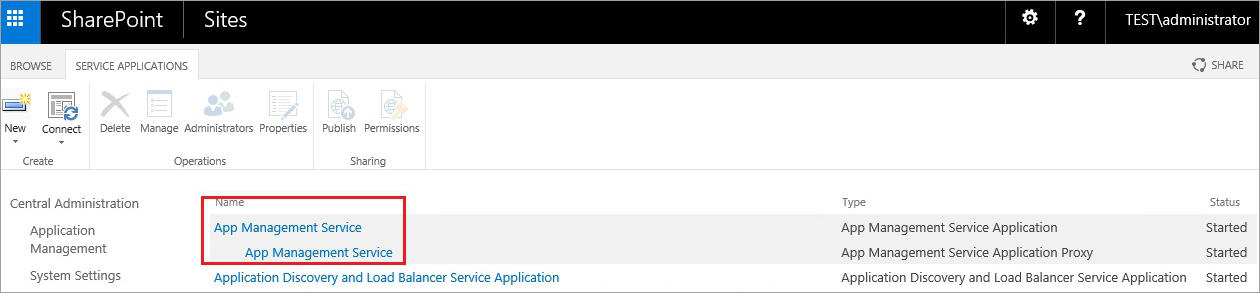
If the Service is up and running, you do not need to take any further steps. Otherwise, follow the steps from this Microsoft article to set it up.
- Create and configure SharePoint Web App to use SSL.
Site mailbox requires an HTTPS connection between Exchange and SharePoint. I will show you how to make a switch from HTTP to HTTPS.
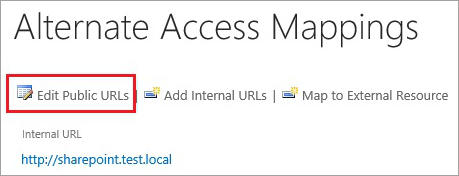
Back in SharePoint Central Administration, go to Application Management > Configure alternate access mappings:
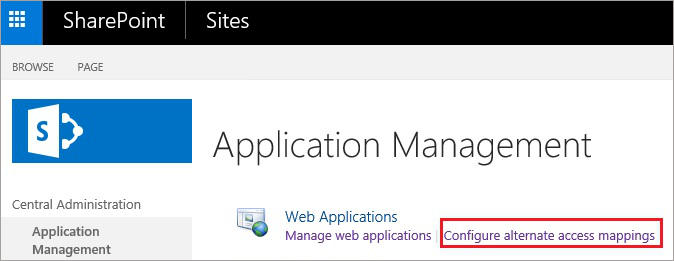
Then, click Edit Public URLs:
In the URL protocol, host and port field, change the http to https.

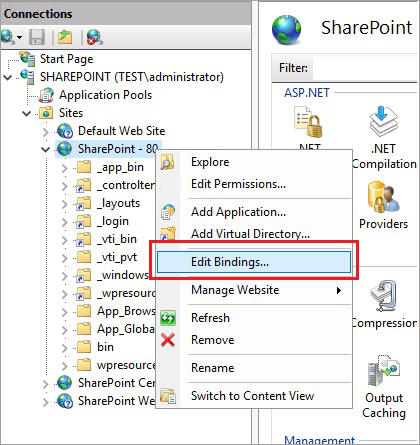
Now Open IIS Manager and create SSL binding for your Web Application. In this case, it is SharePoint-80, which can be accessed at https://sharepoint.test.local.

As I have mentioned before, it is best to use a third-party trusted certificate or an internal CA. In this example, I use a self-signed certificate.
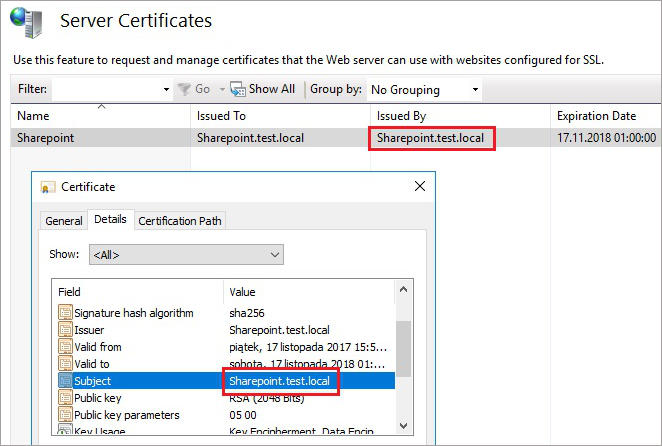
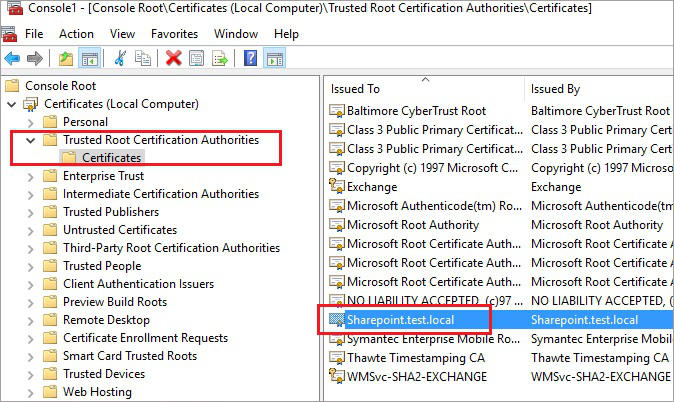
This self-signed certificate is not trusted at the moment. To make a self-signed certificate trusted, you need to add it to the Trusted Root Certification Authorities in Exchange.
- Installation of Exchange Web Services API in Exchange.
First, use this link to download EWS API and install it using the following command:
msiexec /i EwsManagedApi.msi
addlocal=”ExchangeWebServicesApi_Feature,ExchangeWebServicesApi_Gac”
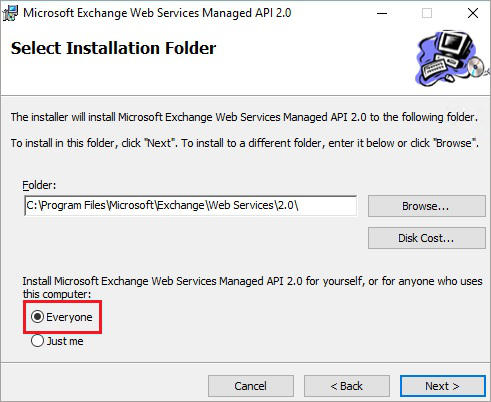
Make sure you install the EWS API for Everyone:
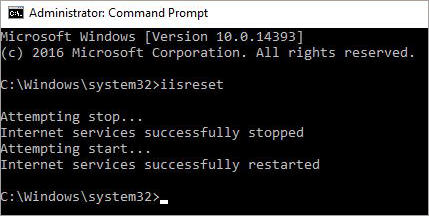
When the installation process is finished, reset IIS with iisreset
- Establish OAuth trust between SharePoint and Exchange (on SharePoint).
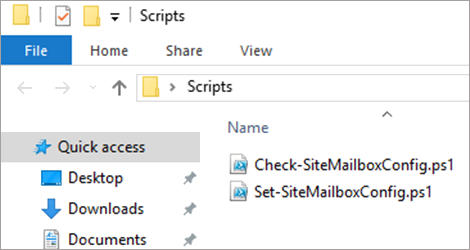
First, visit Configure site mailboxes in SharePoint Server 2013 and copy the two following scripts:
- Set-SiteMailboxConfig.ps1
- Check-SiteMailboxConfig.ps1
It is recommended to save those scripts in the default script folder on SharePoint and keep the original names. That is because the first script includes the second one. If you change names, be sure to apply those changes in the script file and remember the name you assigned when you run the script.
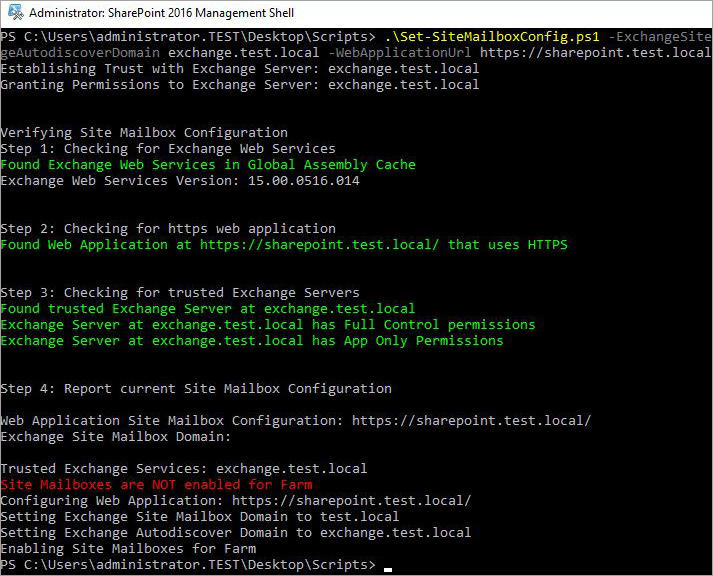
Check-SiteMailbox Config.ps1 configures OAuth trust between SharePoint and Exchange, assigns the required permissions and enables site mailboxes for a SharePoint farm. To run the script, use the following cmdlet:
.\Set-SiteMailboxConfig.ps1 -ExchangeSiteMailboxDomain <Domain> -ExchangeAutodiscoverDomain <Exchange Server> -WebApplication Url <URL>
Where:
<Domain> – is the name of your local domain, test.local in my case.
<Exchange Server> – is the FQDN of Exchange Server where site mailboxes will be created. In my environment, it is exchange.test.local.
<URL> – is the SharePoint Web App address, as configured in step 4. https://sharepoint.test.local in this environment.
Remember to run the PowerShell console as an administrator:
- Establish OAuth trust between SharePoint and Exchange (on Exchange)
In PowerShell, change your current directory:
cd c:\Program Files\Microsoft\Exchange Server\V15\Scripts
And run the following script:
.\Configure-EnterprisePartnerApplication.ps1 –ApplicationType SharePoint –AuthMetadataUrl https://<SP_FQDN>/layouts/15/metadata/json/1
Where <SP_FQDN> is your SharePoint FQDN address, sharepoint.test.local in the example.
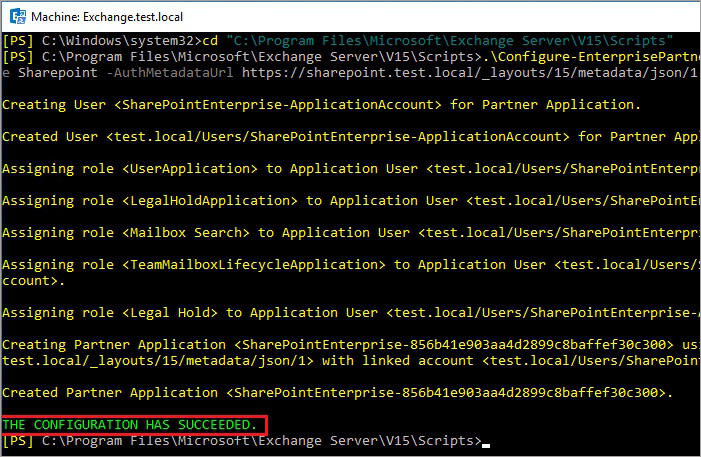
If you have finished all the steps and got the message that the configuration has succeeded, your environment is ready for site mailboxes.
Creating a site mailbox in SharePoint
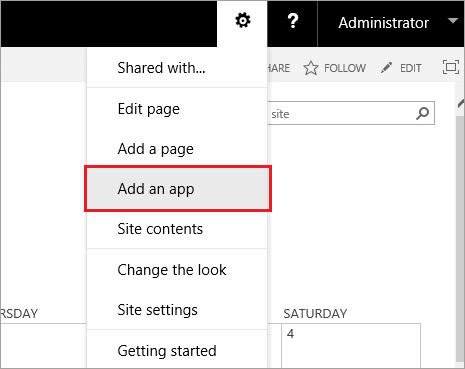
Now that the environment is configured, it is time to create a site mailbox. Go to a SharePoint site and click Add an app in its settings:
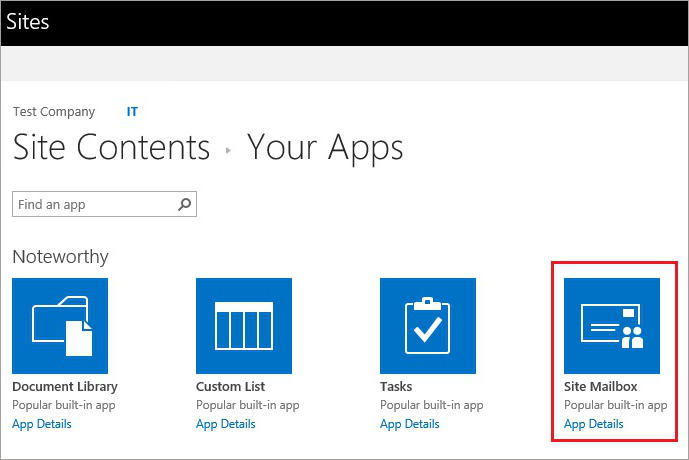
At this point, site mailbox should be available on the list:
Your new site mailbox will automatically appear in the site’s content:
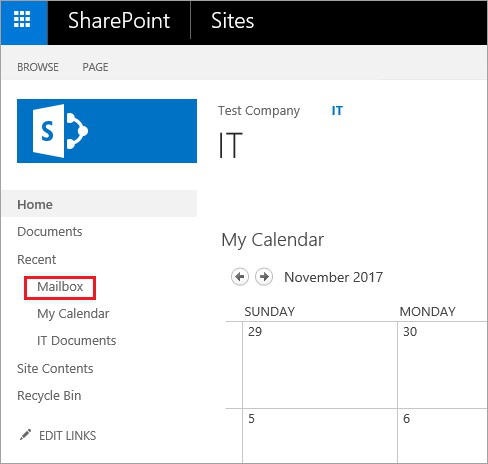
When you click on Mailbox, you will be redirected to an OWA logging page. When you log in right after creating the site mailbox, a provisioning alert will appear.
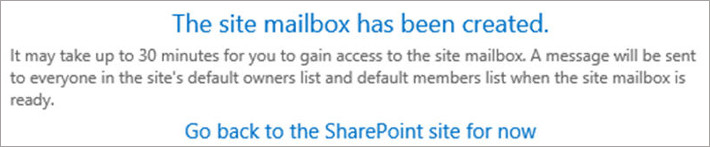
The provisioning process usually takes from 5 to 20 minutes. When the mailbox is ready, all owners and members of the list should receive a notification.
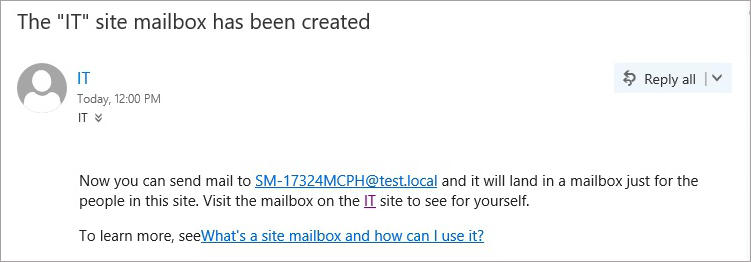
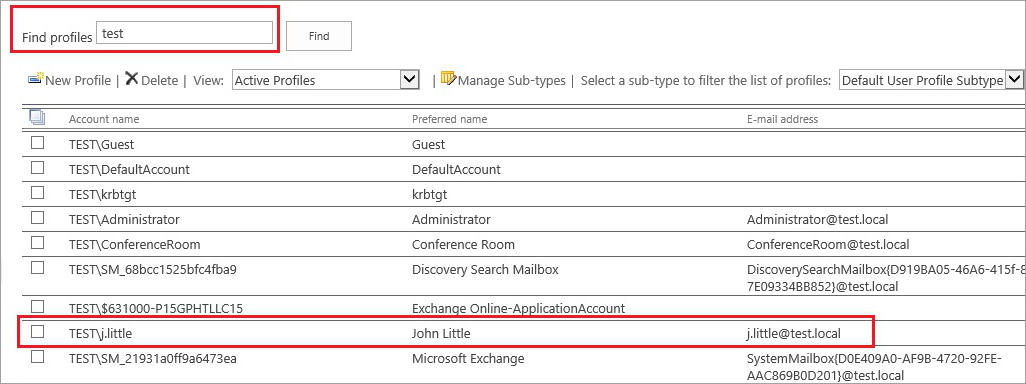
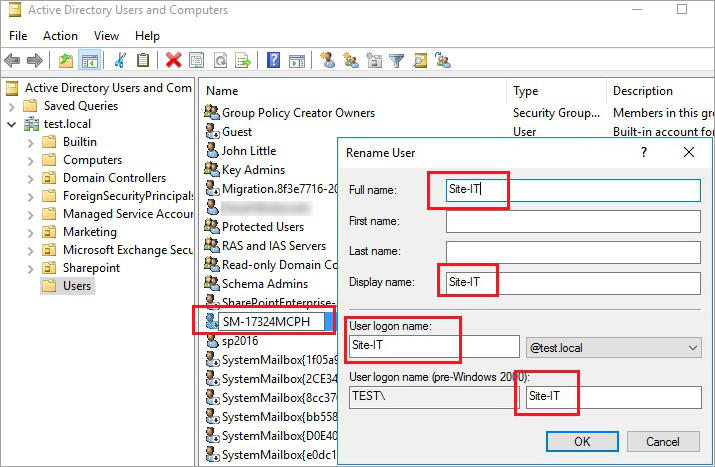
The SMTP address for this site mailbox is [email protected]. The name can be changed freely in AD Users and Computers:
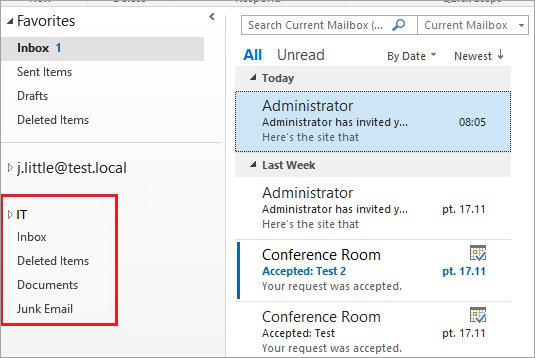
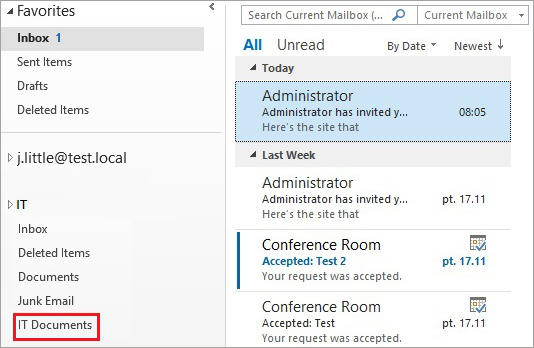
That is how the functionality looks from a user’s perspective:
John Little logs in to Outlook. Below his default mailbox, the site mailbox – IT – will appear. Each user who is in the Members or the Owners group for this site will have this mailbox added.
It is possible to add more site mailboxes to Outlook, as long as the user has the right permissions.
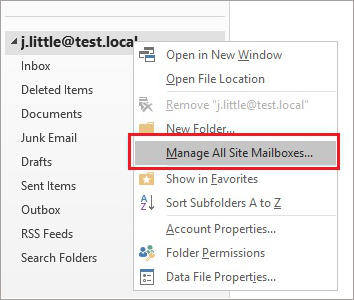
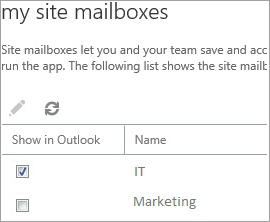
Clicking Manage All Site Mailboxes will bring up a list of all accessible site mailboxes. Mind that every user can add no more than 10 to their Outlook.
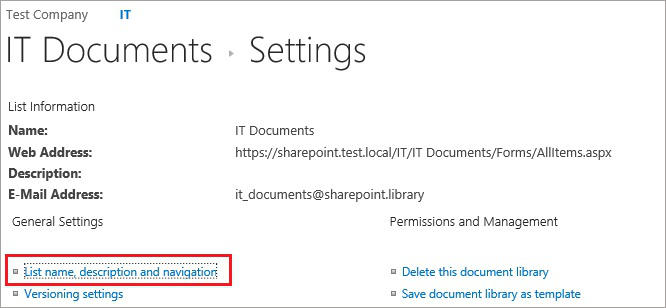
You can add a SharePoint document library to Outlook. To do so, go to the library’s settings and click List name, description and navigation.
And then check Yes under Display this document library on the Quick Launch.
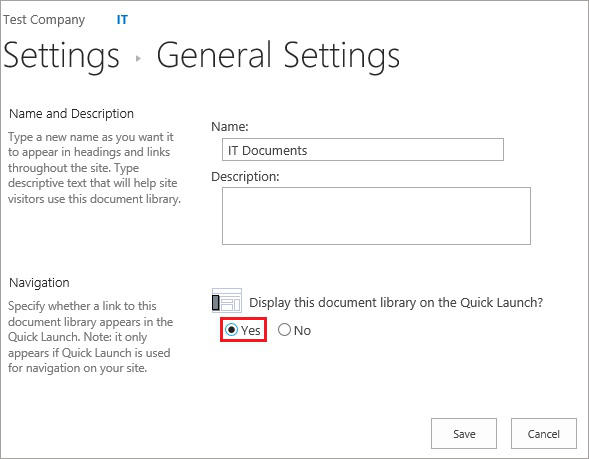
After a short while, the library should appear in Outlook:
This concludes the second (and last) part of SharePoint and Exchange integration. Now that the two servers are in sync, you will probably see that the workflow is much more seamless. The best part is that once you finish the hard part – the whole configuration process – all functionalities are likely to be used on a daily basis. At the same time, it is very rare to run into any issues after the configuration is completed.
Further Reading:
How to get more out of your Exchange Server
Recommended articles
Hi,
we are trying to add exchange calendar in sharepoint as overlay, but we get this error:
The HTTP request is unauthorized with client authentication scheme ‘Ntlm’. The authentication header received from the server was ‘Basic Realm=””‘.
https://support.microsoft.com/en-us/help/2997170/the-http-request-is-unauthorized-error-in-a-sharepoint-online-calendar
What does it mean and how to fix this?
Is it possible to add shared (company) calendar or you can add only personal outlook calendar to sharepoint?
Thank you!
Hi Antonio,
Have you followed all the steps in the article while configuring the Calendar Overlay?
Just as I have mentioned in the article, it is not possible to add a shared calendar.