



The introduction of the GDPR has changed the way personal data needs to be handled, affecting the approach to email marketing. For example, not only do you need to obtain consent from your subscribers to receive commercial emails, but you also need to provide means to unsubscribe from your mailing lists. The latter can be easily achieved by using the unsubscribe mechanism in CodeTwo Email Signatures On-prem.
Besides being used to centrally manage email flow and set up organization-wide email signatures and disclaimers in an Exchange environment, CodeTwo Email Signatures On-prem is also a great tool that can be used for marketing purposes. Its unsubscribe mechanism allows you to GDPR-proof your marketing newsletters (and any other newsletters, actually) by inserting an unsubscribe link into each email. Once this link is clicked by the recipient, their email address is added to a blacklist, based on which the program can either block all outgoing messages or only those relating to a specific campaign.
In this article, you will learn how easy it is to set up the unsubscribe mechanism in CodeTwo Email Signatures On-prem. This feature will surely help you comply with some of the GDPR requirements and also other legal regulations.
Inserting unsubscribe links to emails
You plan to send marketing emails to your existing or potential customers. To stay compliant with the GDPR, you also need to provide them with the ability to opt out of receiving these messages.
With CodeTwo Email Signatures On-prem, this can be achieved simply by using the built-in unsubscribe mechanism.
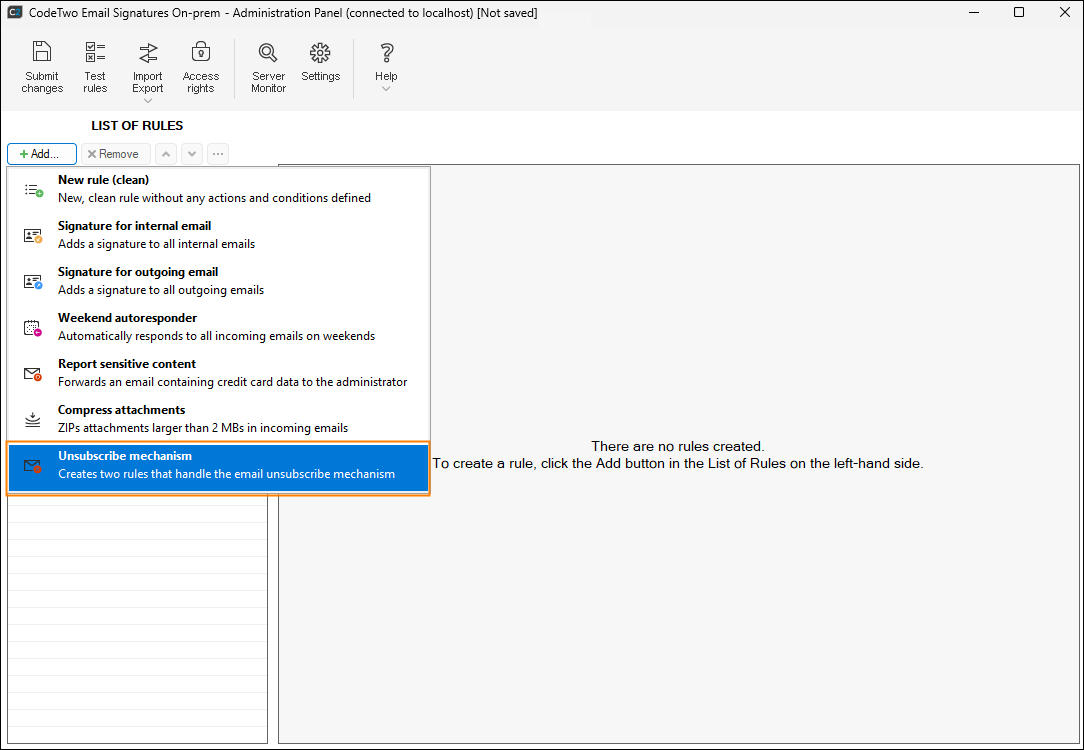
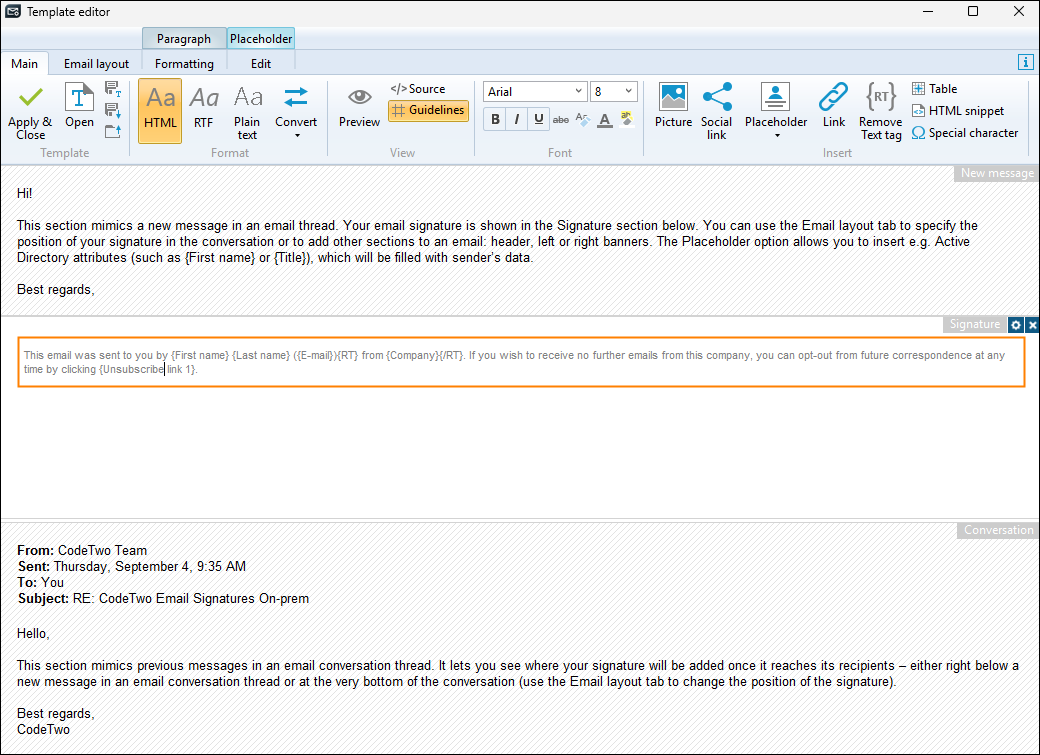
This feature creates two rules in the program that impact the way emails are handled by your Exchange server. The first rule inserts a disclaimer with an unsubscribe link into each outgoing message. You can edit the text and other content of this disclaimer any way you want by using the signature editor, which is an integral part of the program.
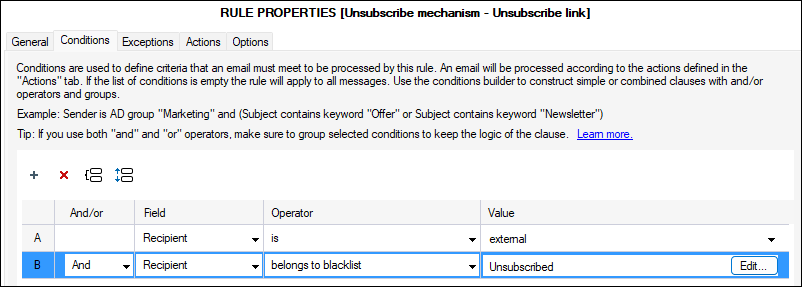
Every recipient that clicks this unsubscribe link will be placed on the so-called blacklist. And this is where the second rule comes in: this rule executes the Block message action that applies to all external recipients included on the blacklist. That way, every message sent to these recipients is automatically blocked by the program.
Allowing users to unsubscribe from a specific campaign only
But what if you are running multiple email marketing campaigns, directed towards different target audiences? To comply with the GDPR regulations, you intend to place an unsubscribe link in each email that will block every outgoing message sent to a particular recipient. At the same time, you would like to give your customers an option to opt out of receiving emails sent as part of a certain marketing campaign only.
This can also be done easily in CodeTwo Email Signatures On-prem. The program allows you to add different signatures and disclaimers to emails, depending on various conditions and exceptions. It is also possible to create as many blacklists as you want. And by creating one blacklist for each campaign (or offer, product, service, etc.), you can configure the program to send or block emails depending on whether the recipient is added to a given blacklist or not.
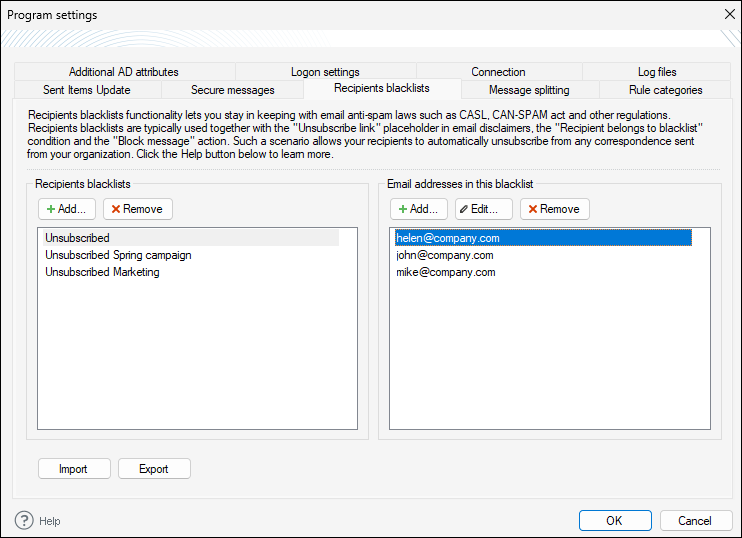
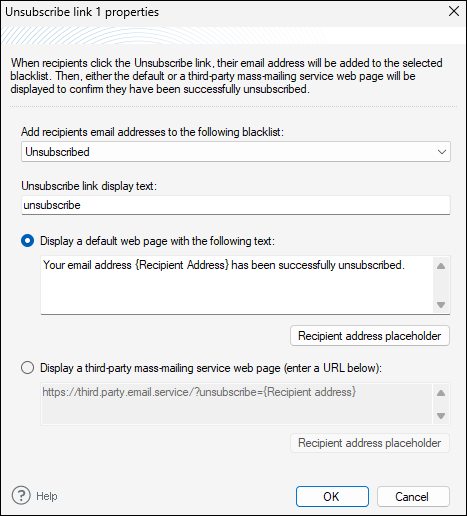
Inserting an unsubscribe link into your disclaimer is very easy. Simply open the signature template editor and select Placeholder > Other > Unsubscribe link. In the window that opens, select your blacklist, provide a link text and the text that will be displayed when the unsubscribe link is clicked. Once you click OK, the {Unsubscribe link #} placeholder will be inserted into your signature. This placeholder will be substituted with an appropriate unsubscribe link when an email is sent.
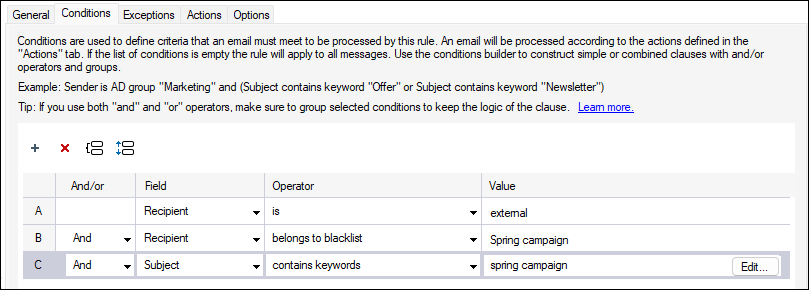
By default, the unsubscribe mechanism blocks all outgoing messages sent to the users added to the blacklist. To make the program block only messages related to a specific campaign, add a new rule and configure its conditions appropriately. For example, let the rule execute the Block message action only if the outgoing email’s subject contains specific words related to your campaign and if the email’s recipients belong to a blacklist related to that campaign. You can also create separate distribution groups and apply the rule only to the recipients that belong to this AD group. The possibilities are limitless, and it is up to you to configure the rules in a way that will allow the program to recognize emails correctly.
How does this work from an end user’s perspective?
If an email recipient does not want to get any more messages from you, he or she simply clicks the unsubscribe link included in the email.
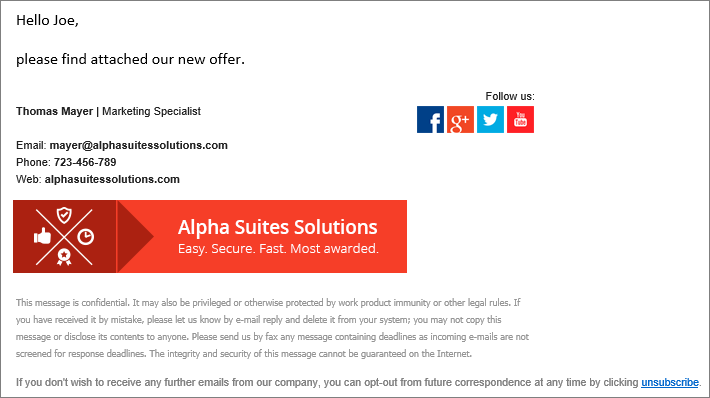
Once the link is clicked, the following message is shown in the web browser:
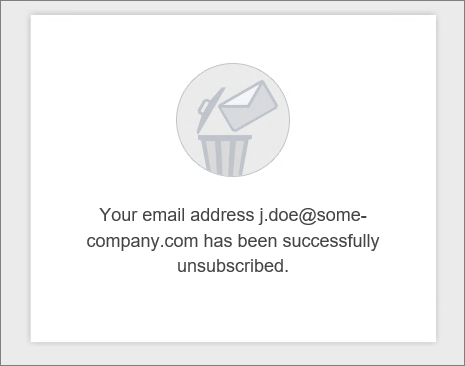
And that’s it, as CodeTwo Email Signatures On-prem takes care of the rest. From now on, this user will not receive any emails sent from your organization.
GDPR-compliant email marketing
The unsubscribe mechanism is one of the many out-of-the-box solutions offered by CodeTwo Email Signatures On-prem that can help you stay GDPR-compliant. Not only does this feature provide the users with the option to opt out of receiving any marketing emails from your organization, but it also gives them the opportunity to withdraw their consent only to specific emails. Don’t let the GDPR to completely change the way you have been conducting your marketing activities – just adjust them, or even enhance them, by taking advantage of what CodeTwo Email Signatures On-prem has to offer.

Recommended articles



CodeTwo sp. z o.o. sp. k. is a controller of your personal data.
See our Privacy Policy to learn more.