How to switch from the retired signatures COM Add-in to the modern Web Add-in
Problem:
You were using the CodeTwo COM Add-in to add signatures in Outlook for Windows. The add-in was retired as of October 31, 2025, and no longer works. You would like to move to the new Web Add-in to continue using Outlook (client-side) signatures added by CodeTwo.
Solution:
To switch between the two CodeTwo add-ins, first deploy the Web Add-in, and then uninstall the COM Add-in. Follow the links below to learn more:
COM Add-in vs Web Add-in
The Web Add-in is the successor to the COM Add-in. It has the same functionalities and offers additional features. Here are the main advantages of the Web Add-in:
- Ultra-fast company-wide deployment – end users don’t need to do anything (no installation or signing in to the add-in).
- Supports Outlook for Windows, Mac, OWA & Outlook for iOS and Android (see supported versions).
- Email signatures are updated automatically.
- Works in all signature modes:
- Outlook (client-side): add automatic signatures in Outlook as user types.
- Cloud (server-side): preview cloud signatures (added after an email is sent.
- Combo: both (learn more).
- Supports CodeTwo One-click surveys (learn more about this feature).
- Allows you to set up different signatures for alias addresses (see the configuration guide).
- Signatures appear as users type an email and change automatically based on the sender and recipient (“From” and “To” fields), as shown in Fig. 1.
- Developed together with CodeTwo and Microsoft dev teams.
Fig. 1. The CodeTwo Web Add-in can automatically change the signature based on the selected email sender.
Deploy the modern Web Add-in
First, deploy the Web Add-in via the Microsoft 365 admin center, as shown in the video below (or by following these instructions). Deployment usually takes about 6 hours, but it can take up to 72 hours, depending on the size of your organization. Your users will start getting their signatures once the Web Add-in becomes available in their Outlook apps (as shown in Fig. 1.).
Uninstall the retired COM Add-in
Next, uninstall the COM Add-in:
- Go to your Windows Control Panel.
- Click Programs and Features (or Add or Remove Programs in older Windows versions).
- Find CodeTwo Signatures Add-in for Outlook on the list, right-click it, and select Uninstall.
- Follow the uninstaller wizard to remove the application.
If you’re not sure which users in your organization still have the COM Add-in installed, see this article to find out how to identify them.
If you deployed the add-in with Microsoft Intune or GPO, see How to centrally uninstall the CodeTwo COM Add-in.
Additional steps for organizations that use Outlook 2019 and older
If your organization still uses Outlook 2019 or older versions of Outlook for Windows, which are not fully supported by the Web Add-in (see supported versions), CodeTwo signatures will not be automatically added to emails in Outlook. Users will need to manually insert them from the add-in pane (as shown in Fig. 1.), or they may not be available at all.
To get automatic signatures, you need to:
- Upgrade to Outlook for Microsoft 365 – recommended if you want to continue using CodeTwo Email Signatures 365 in Outlook (client-side) mode.
OR
- Switch the signature mode to combo and set up cloud (server-side) signatures for your users. That way, users that already have Outlook for Microsoft 365 will automatically get CodeTwo signatures in Outlook while composing emails (as was done with the COM Add-in), and users that still use Outlook 2019 and older will get a CodeTwo signature in the cloud, after sending their email (the cloud signature will be added as long as Outlook users don't get an automatic signature from the Web Add-in or they don't insert the signature manually from the add-in's pane). Learn how to change the signature mode to combo
Note that your users will still get automatic signatures in Outlook when composing an email in web and mobile versions of Outlook.
(Optional) How to centrally uninstall the CodeTwo COM Add-in
Learn how to centrally remove the CodeTwo COM Add-in if it was installed via GPO or Intune:
Batch uninstall CodeTwo COM Add-in via GPO
If you installed the CodeTwo COM Add-in for multiple users with GPO, you can uninstall it from all machines at once by following these steps:
- Press Win + R to launch the Run console, type gpmc.msc and click OK (Fig. 2.) to open the Group Policy Management Editor.
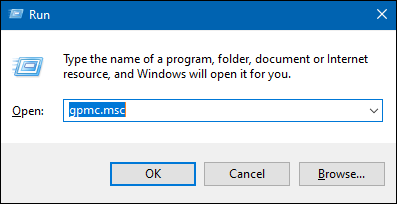
Fig. 2. Accessing the Group Policy Management Editor.
- Find the GPO you used to deploy the CodeTwo COM Add-in and edit it (Fig. 3.).
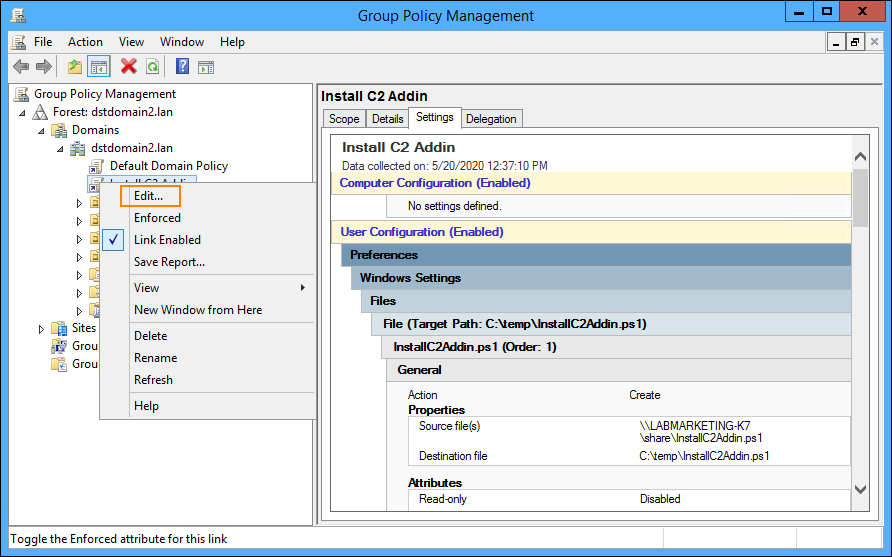
Fig. 3. Editing the GPO used to install the add-in.
- In the GPO settings, go to User Configuration > Policies > Software Settings > Software installation, right-click the software package you used to deploy the add-in and click All Tasks > Remove (Fig. 4.).
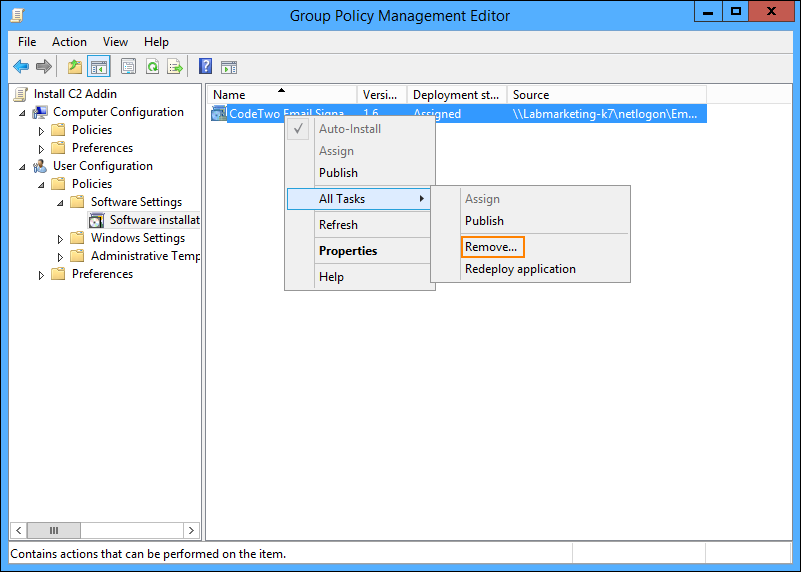
Fig. 4. Removing the add-in’s software package.
- Choose the option to Immediately uninstall the software from users and computers (Fig. 5.) and click OK to confirm.
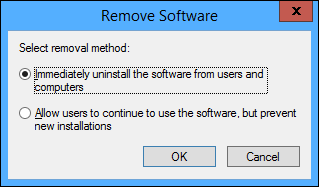
Fig. 5. Choosing the option to uninstall software package immediately.
- The add-in should be uninstalled from users’ profiles on the next logon. To speed it up, users can use Command Prompt or PowerShell to force the Group Policy update with the gpupdate /force command (Fig. 6.) The console can log off the user automatically, so that the logon script can uninstall the add-in right away.
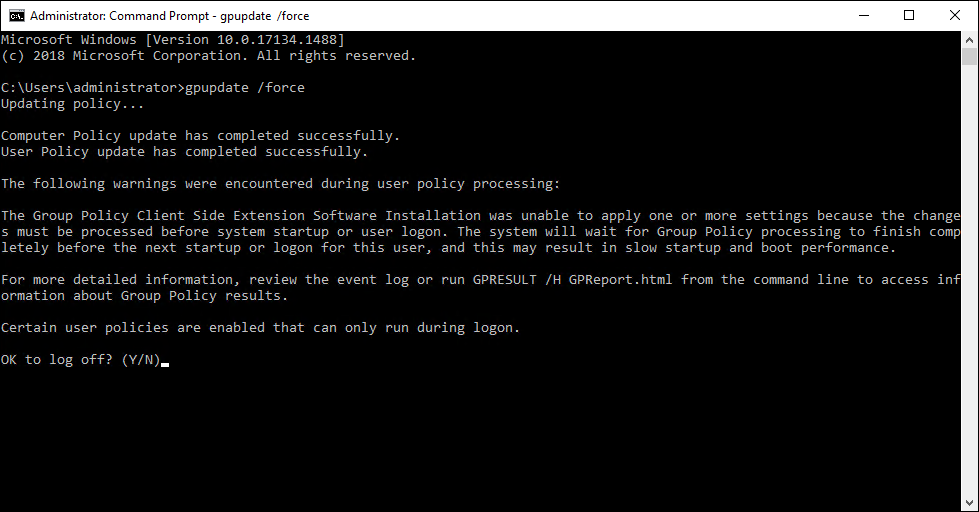
Fig. 6. Forcing a Group Policy update.
Batch uninstall CodeTwo COM Add-in via Intune
To centrally remove CodeTwo COM Add-in for Outlook via Intune, proceed as follows:
- Sign in to the Microsoft Endpoint Manager admin center, go to Apps > Windows (Windows apps) and click the add-in on the list.
- Go to the Properties page. Once there, click Edit next to Assignments (Fig. 7.).
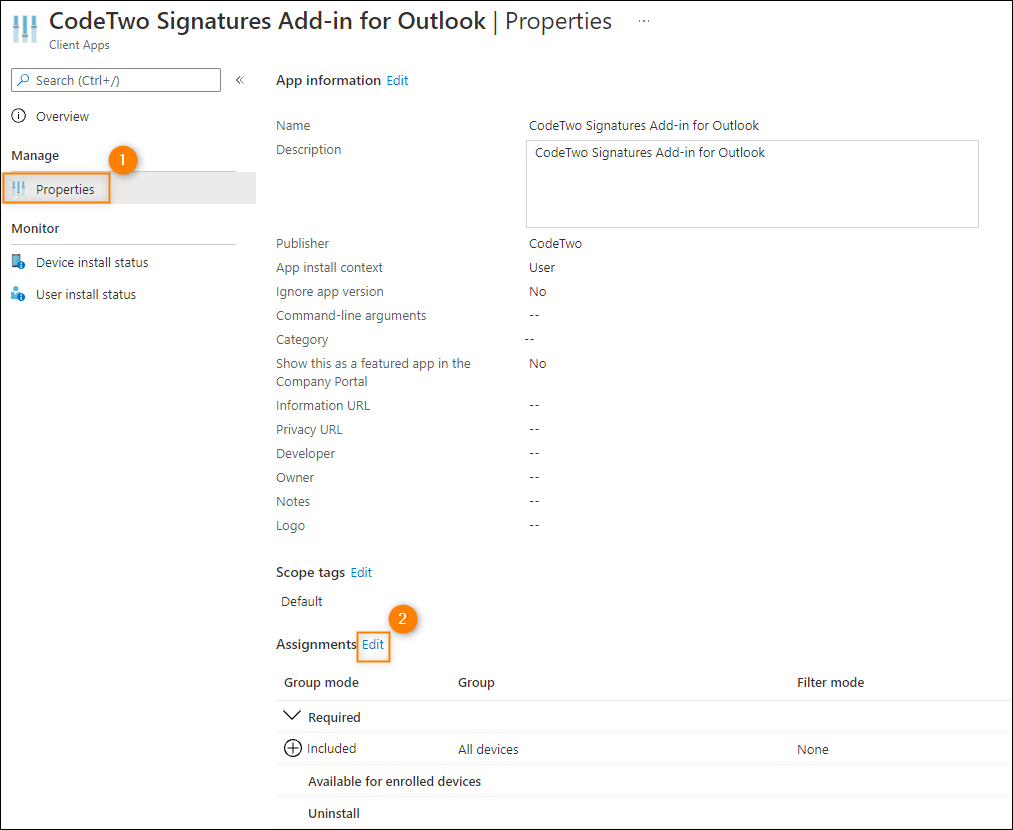
Fig. 7. Editing CodeTwo signatures add-in’s user assignments to uninstall it.
- In the Uninstall section, click Add group and choose a group (or groups) for which you wish to uninstall the add-in (Fig. 8.). Apply the change by clicking Review + save and next Save at the bottom of the window.
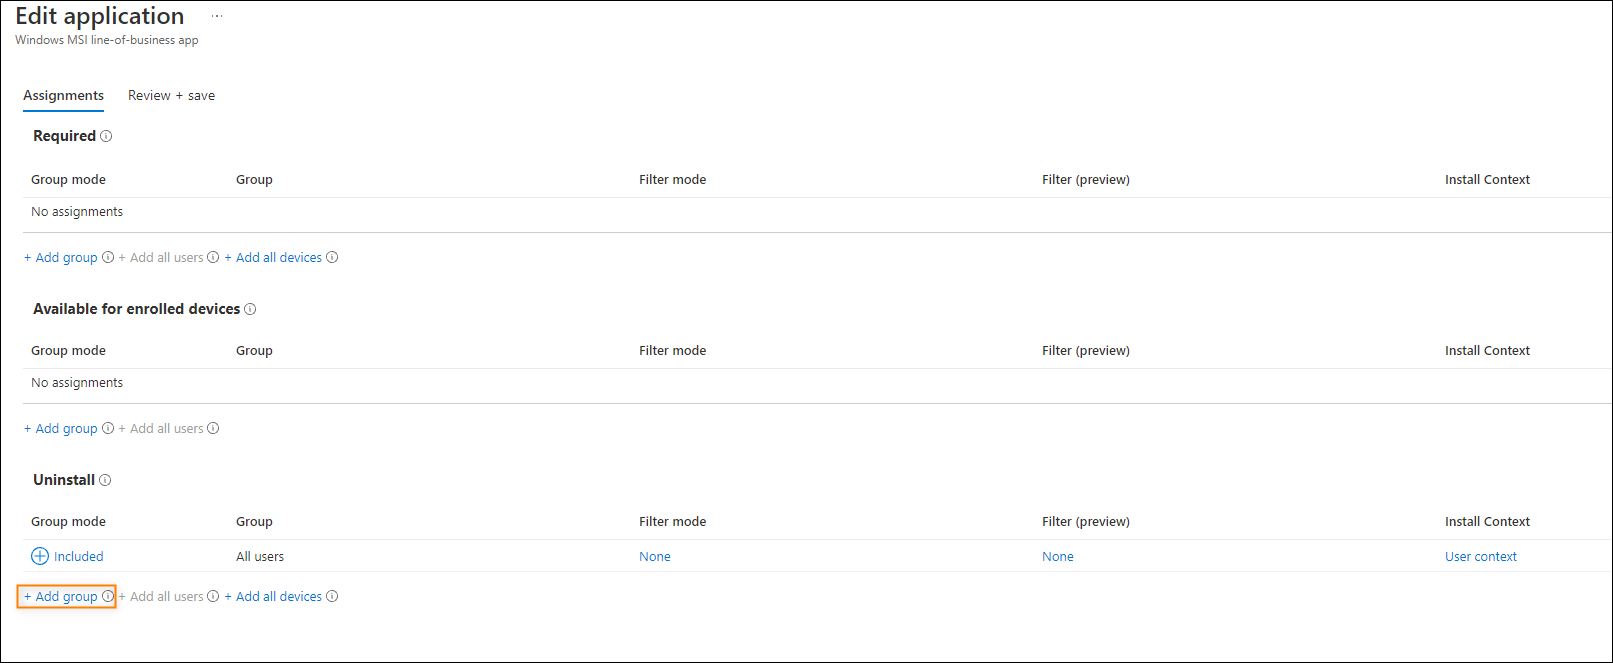
Fig. 8. Defining the group (or groups) for which the add-in will be uninstalled.
- You can trace uninstallation progress on the Device status card (of the Overview page), which is displayed after clicking the add-in on the Windows apps list (see step 1).
| Related products: | CodeTwo Email Signatures for Office 365 |
| Categories: | How-To |
| Last modified: | November 4, 2025 |
| Created: | June 15, 2023 |
| ID: | 1035 |


