
Luckily, Microsoft Exchange does have a tool that helps fulfill the task by tracking emails containing attachments. It is called Hub Transport rules.
In short, Transport Rules are facilities configured on the Exchange Server that check transmitted emails. When an email meets conditions configured in a rule (e.g. contains a specific attachment), an action is executed. This action could be forwarding the message to the recipient’s manager, blocking the message, etc.
Below you can find configuration steps for an example rule. The rule blocks all messages with compressed attachments coming from outside of the organization and informs the administrator about that fact.
To set up such a rule in Exchange 2013, Exchange 2016 or Exchange 2019, first you need to launch Exchange Admin Center by entering the following address in the web browser:
https://localhost/eac
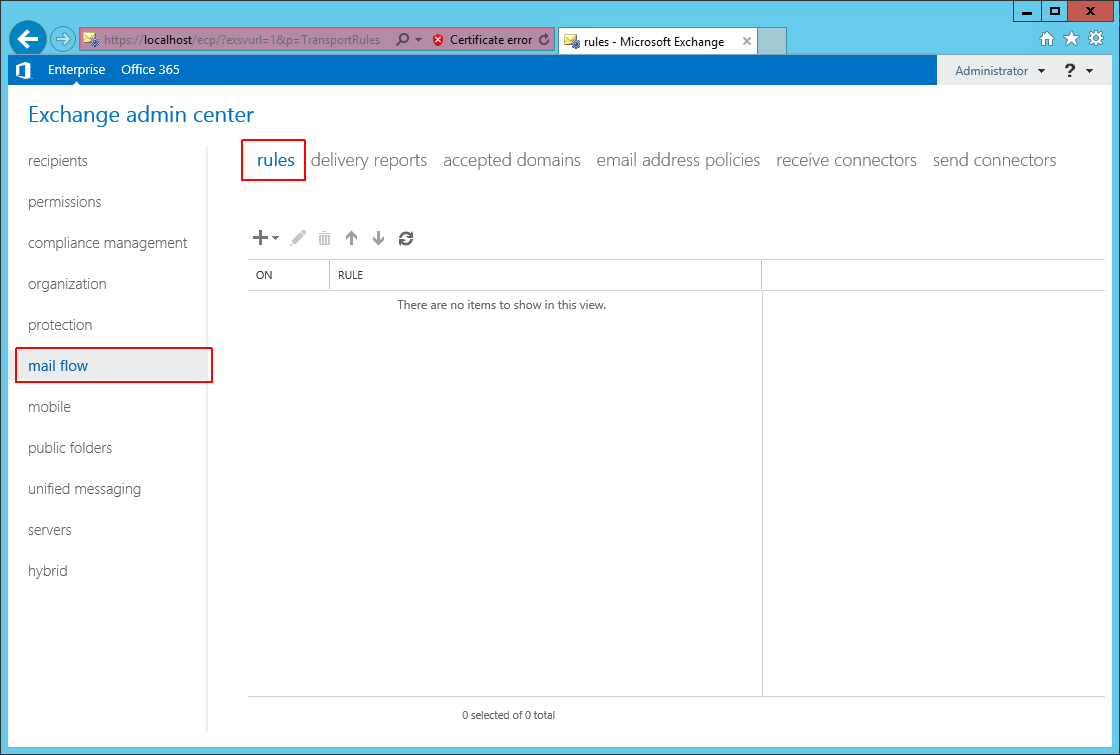
Click the mail flow option in the left pane, then navigate to the rules tab.
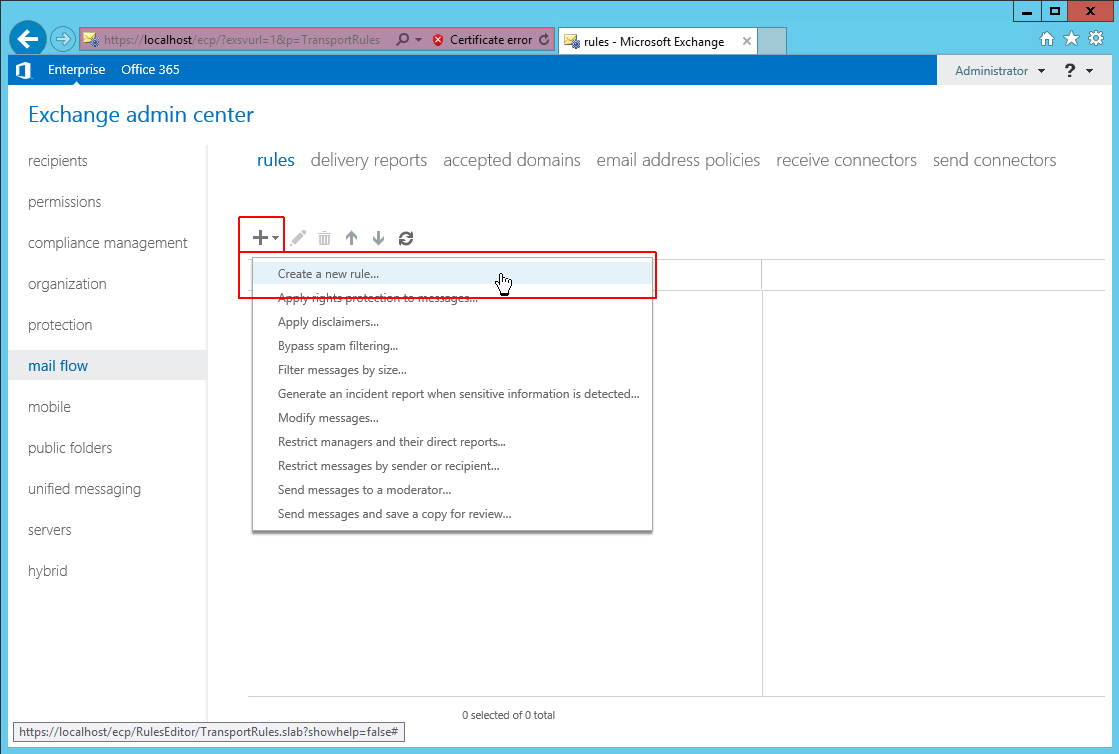
Click the “+” icon on top of the available rules list and select the Create a new rule….
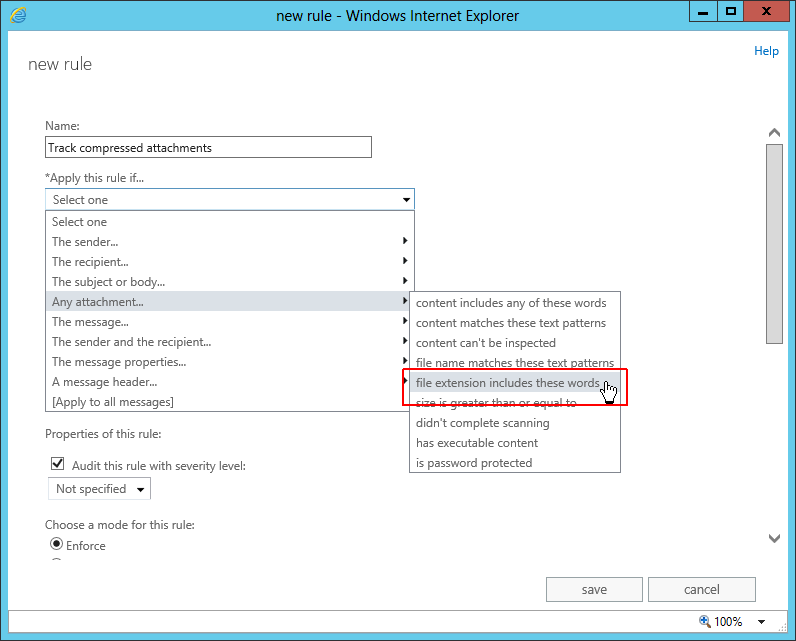
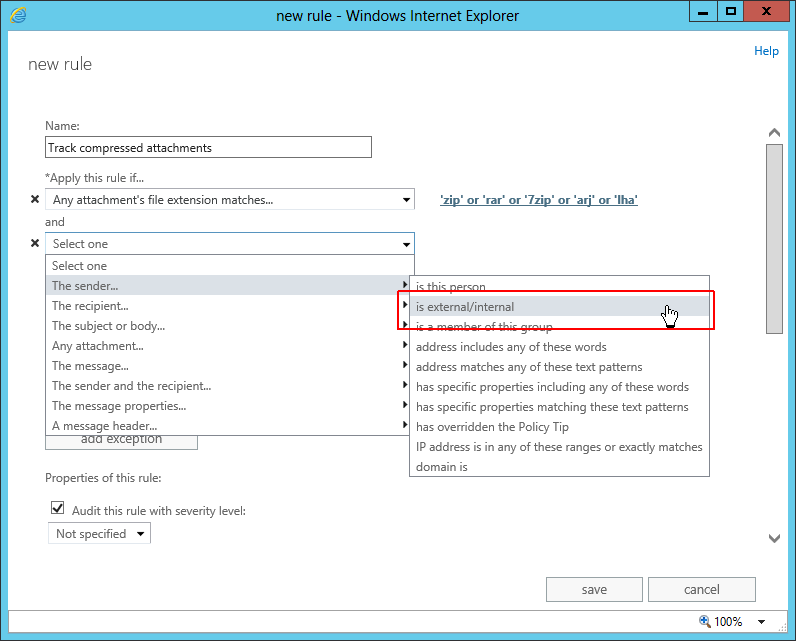
In the Name field enter the name of your rule (e.g. Track compressed attachments). Next, click More options… to expand available configuration options.

From the Apply this rule if… menu select Any attachment… and then click file extension includes these words.
In the window that shows up enter the file extension phrase and confirm it by clicking the “+” button visible on the right. Repeat this process for each file extension.
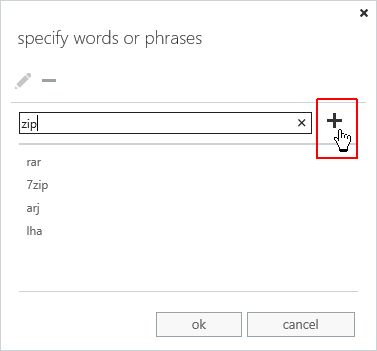
Follow the link to see the list of available compressed/archived files extensions. Once your list is ready, confirm the selection with the OK button.
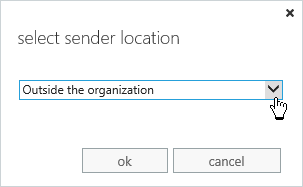
Then, back in the new rule wizard click the add condition button and in the new drop-down menu select The sender…, next click is external/internal. In the new window select Outside the organization and click OK. This way the action will be performed only on messages received from outside of your Exchange organization.
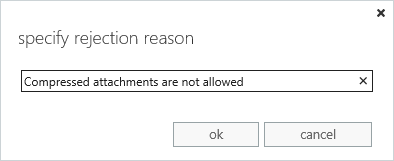
To select the action click the Do the following menu and select an action of your choice. In our example, it’s Block the message… and then the reject the message and include an explanation option.

In the specify rejection reason enter a message that should be returned to the sender of the original message. Click OK to save it.
Next, click the add action button and from the new drop-down menu select Generate incident report and send it to action. This way the tracking part of the rule is added.
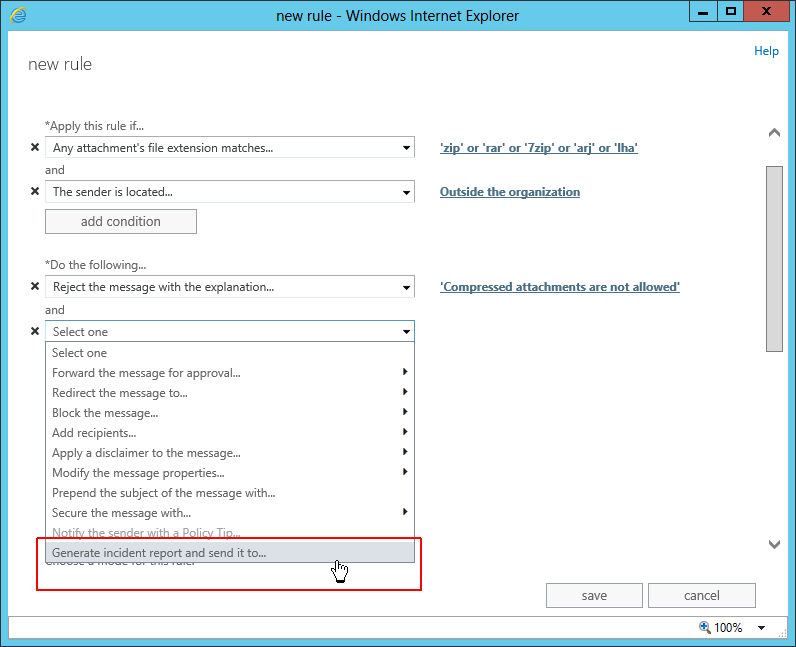
Click the Select one link next to the action and, from the list that shows up, pick a user that should be notified when the message is blocked.

Lastly, in the rule creation window, click the save button visible at the bottom to preserve and activate the rule.
From now on every time any email containing compressed attachments is received from an external address, it’ll be blocked, returned back to the sender with a short explanation, and a person in your company will be notified of that fact. Bear in mind that this blocked message will never reach its original recipient.
The above method provides a quite rudimentary way of keeping track of those risky compressed attachments. However, if more control is required, or when the message should be delivered but without an attachment, a third party solution might become necessary.
CodeTwo Exchange Rules Pro not only allows for blocking messages, it also provides an email stripping feature which saves attachments to a specified location and removes them from the message, allowing it to still be accessible by its intended recipient. Additionally, it can quietly redirect the message containing the file to a different person, or compress attachments on the fly, which lets you keep your database small and save room in your EDB file, etc.
Follow the link to learn more about the attachment management and tracking capability in CodeTwo Exchange Rules Pro.
Suggested reading:

Recommended articles


CodeTwo sp. z o.o. sp. k. is a controller of your personal data.
See our Privacy Policy to learn more.