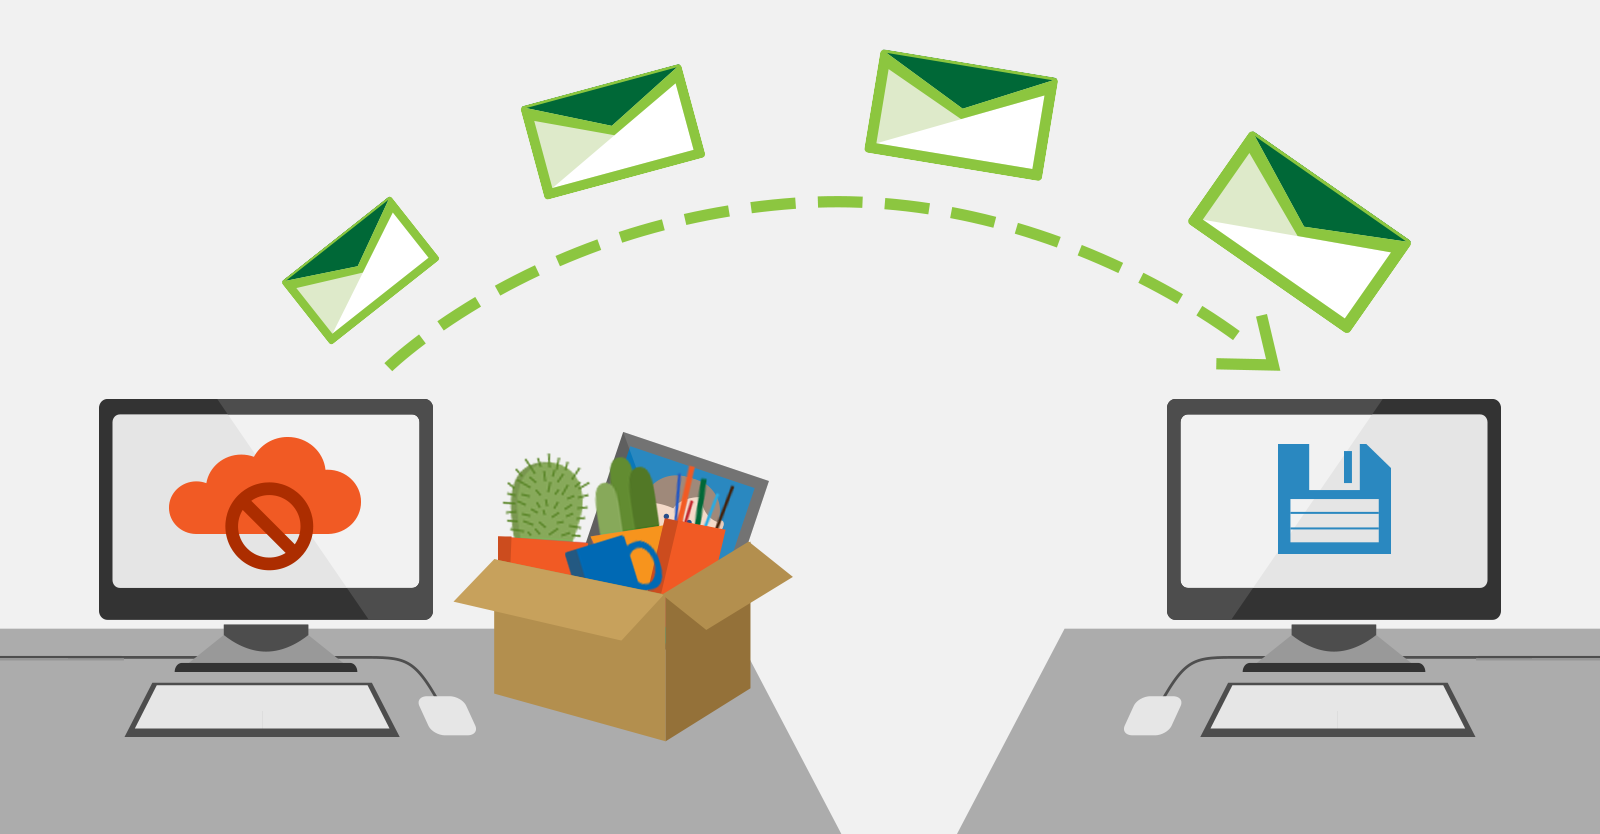
Whenever an employee leaves a company, admins need to follow a certain procedure. In Office 365, depending on the company’s best practices, you need to disable user’s ability to sign in, or simply delete a user entirely. Those are some standard activities you could probably perform while sleeping. The tricky part is that you might need to preserve the former employees’ mailbox contents without the need to pay for the former employee’s license in Office 365. Below, I present a few different ways to achieve just that.
List of possible solutions
The first two methods, you can achieve using native means alone. The third one requires a third-party tool, CodeTwo Backup for Office 365.
- Convert to a shared mailbox
- Create an inactive mailbox
- Archive a mailbox using CodeTwo Backup for Office 365
Convert to a shared mailbox
That is probably the quickest method to archive former users’ data. It is also widely used, despite a few quite significant flaws.
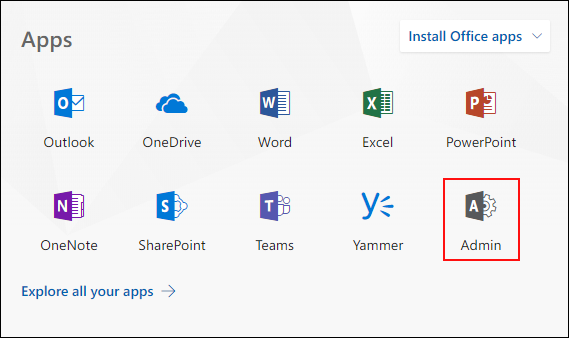
- First, log in to your Office 365 portal and enter the Admin Center:

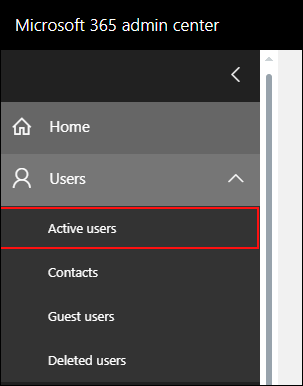
- Using the left menu, go to Users > Active users

- Select the right user and in their properties scroll down to Mail Settings. Click the Convert to shared mailbox

- A confirmation screen will pop out. Confirm by clicking Convert.

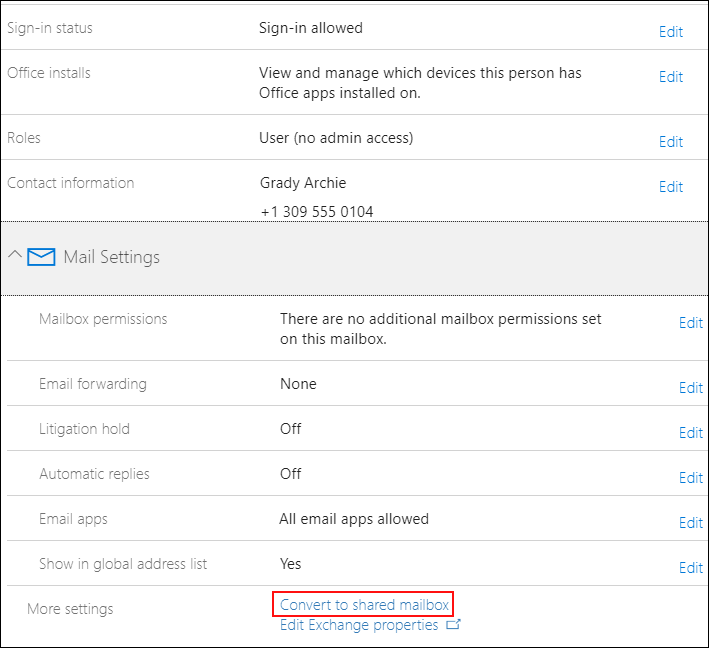
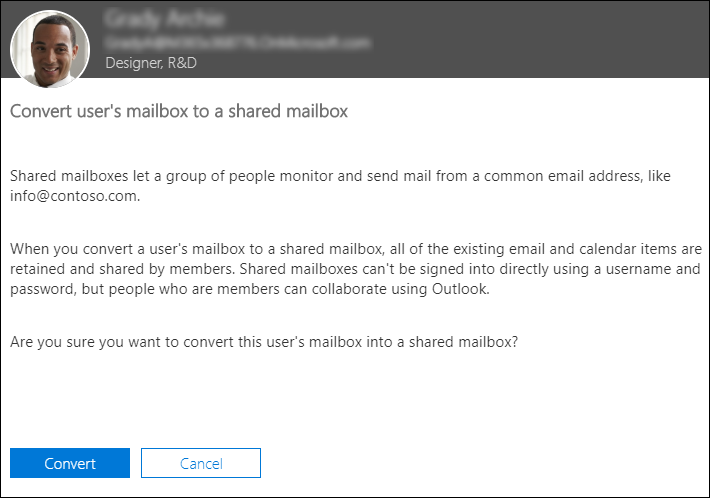
The user’s mailbox becomes a shared mailbox. Shared mailboxes do not consume licenses if they are below 50 GB and don’t have a litigation hold enabled.
Pros:
- Shared mailbox cannot be accessed using its login and password – a user needs to have permissions to access a shared mailbox from their own mailbox.
- This method enables quick license recycling.
- Access rights enable monitoring of who introduces changes.
Cons:
- The content of a shared mailbox can be freely edited.
- Not a secure solution in terms of legal compliance
- Shared mailboxes have a limit of 50GB. Above that quota, they require a license.
- Microsoft’s documentation points out that you cannot use shared mailboxes to archive users’ mailbox data.
- Others will be able to send emails to this shared mailbox.
- This method becomes problematic for eDiscovery accounts – if many users are converted to shared mailboxes and automapping is on, even a few additional mailboxes can cause Outlook to lag or crash.
- In a hybrid environment, deleting the corresponding object on-premises deletes the shared mailbox in Office 365.
Create an inactive mailbox
This method is much more elegant, in short – you have to delete a mailbox which a litigation hold or a right retention policy applied to it. Such mailbox, instead of being permanently deleted, will become an inactive mailbox. To assign a litigation hold or a retention policy to a mailbox, make sure that it has Exchange Online plan 2 license (or a separate Exchange Online Archiving license). In the example below, I am showing how to create inactive mailboxes with a litigation hold.
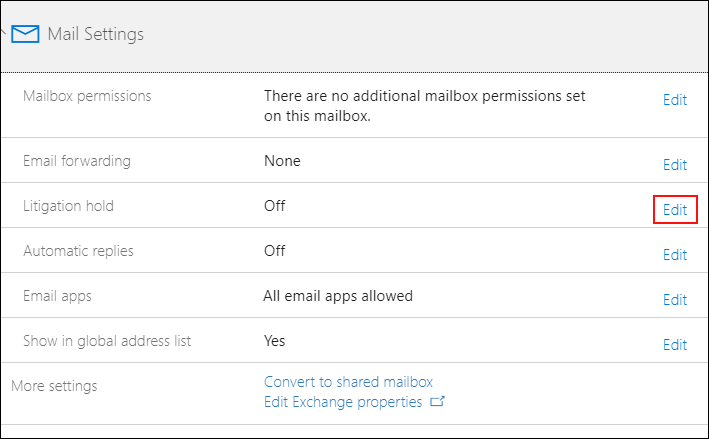
- After accessing user’s properties, scroll down to the Mail Settings and switch on the litigation hold.

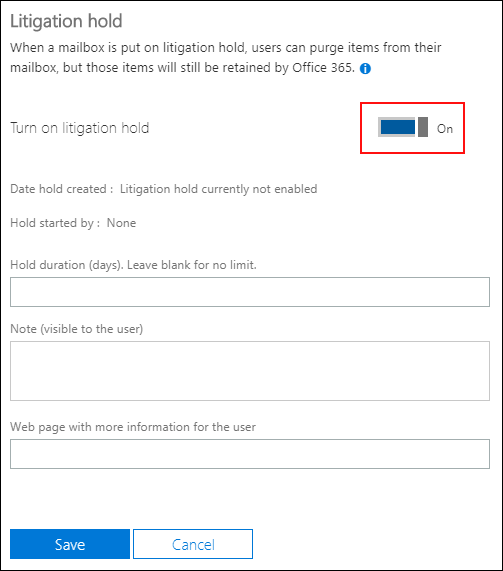
- Click the button to turn on the litigation hold. There are additional settings – you can specify how long the hold should last. Notes and links for the user are a waste of time in this case – the user will be deleted in a second, anyway.

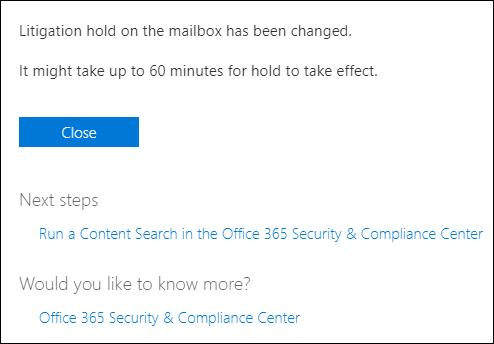
- After clicking Save, the portal displays the note:

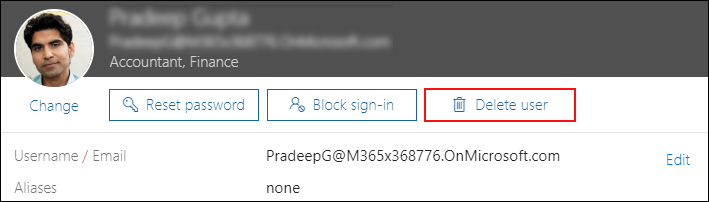
- After 60 minutes of making sure the hold works, click Delete user and confirm twice to create an inactive mailbox.

- The inactive mailbox content can be searched with eDiscovery tool. To learn more about searching and exporting mailbox data through eDiscovery, follow the steps from this article.
Pros:
- Allows preserving mailbox content indefinitely (depending on policy/ hold settings).
- Deleted content exportable through eDiscovery.
Cons:
- Prior to deleting a mailbox, it requires an Exchange Online 2 license, which can be reassigned after deleting the user.
- eDiscovery tools support only export to PST.
- It may take up to 60 minutes for a legal hold to start working.
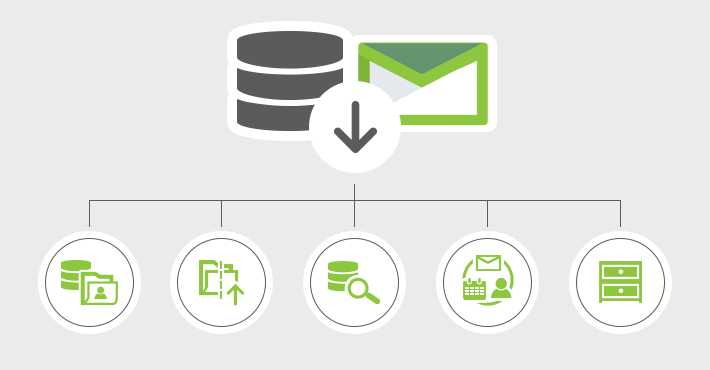
Archive a mailbox using CodeTwo Backup for Office 365
The last solution requires a third-party app: CodeTwo Backup for Office 365. It’s most important feature is creating local backup copies of office 365 mailbox data. However, it can also be used to archive mailboxes of former employees.
The best part is: if you already back up your mailbox data you can simply delete the mailbox. CodeTwo Backup for Office 365 will keep active and deleted users’ data for as long as you set it to. It will also archive older elements automatically.
If you haven’t backed up the former employee’s mailbox data, you can easily archive it:
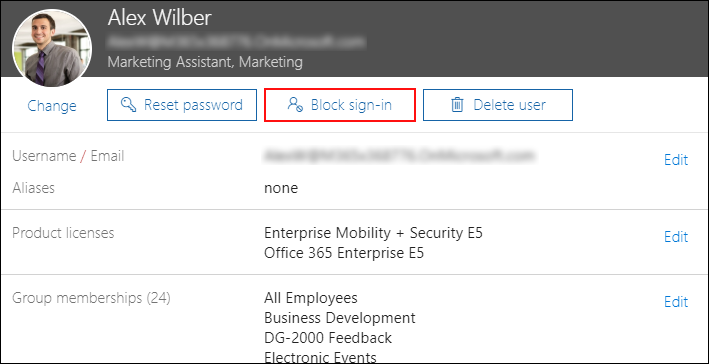
- All you need to do in Office 365 portal is to block a user’s sign-in:

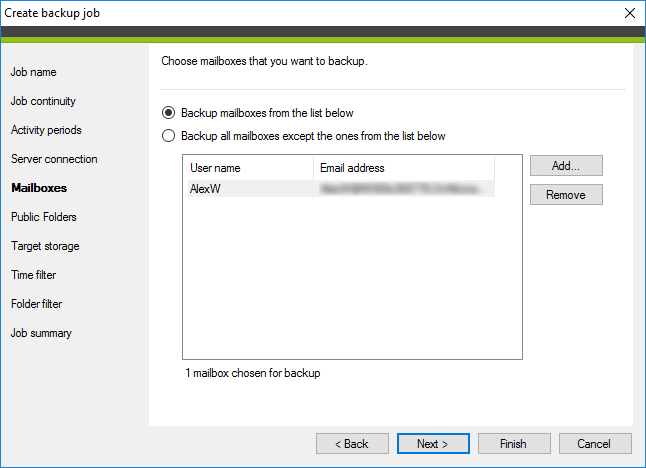
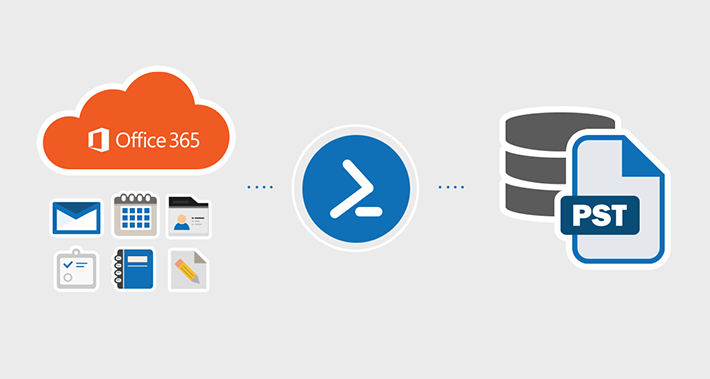
- Next, go to the Backup panel, create a new backup job and choose the former user. You can retain this user’s data for an indefinite period of time, archive to a secure, encrypted file format, or to standard PST file format.

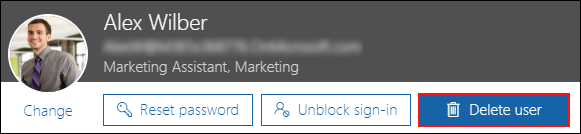
- As soon as CodeTwo Backup finishes the backup job, you can delete the user in Office 365 portal and free their license.

Pros:
- you can use the software to export mailboxes to a safe format or to PST archives.
- If configured beforehand, requires only to block sign in for a user. If not – you can archive blocked users.
- Allows accessing backed up data any time, locally.
- You can browse versions and use a simple UI to search for specific items.
- Allows brick-level backup.
- Allows granular recovery to any mailbox.
- Has the added value of securing the whole Office 365 organization automatically.
- Works with any Exchange Online plan.
Cons:
- Requires a third-party app
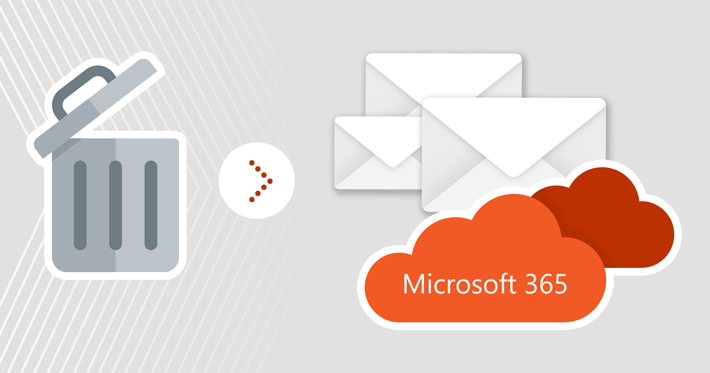
Archiving former employees’ mailboxes is extremely important for legal reasons. Make sure you include backup and archive procedures in your workflow.
See also
Recommended articles
CodeTwo sp. z o.o. sp. k. is a controller of your personal data.
See our Privacy Policy to learn more.