This software has been discontinued. If your organization uses Office 365, check out
CodeTwo Email Signatures for Office 365.
OWA 2007 policy
CodeTwo Email Signatures for Email Clients lets you define policies that enable the creation of signatures in a new mail message in Outlook, OWA 2007/2010/2013/2016, Office 365 and Google Apps (G Suite). The type of the chosen policy determines its deployment method on email clients. Furthermore, depending on the policy type, they may be deployed using either the Central Updating Service (CUS) or the Client Applications.
This article contains the following sections:
- Defining the policy deployment method
- Creating policy along the signature
- Distributing Client Applications on Client machines
Defining the policy deployment method
If you choose to add the OWA 2007 policy type, you will have to use the Client Applications to deploy and update its settings on client machines. Furthermore, as the configuration of OWA 2007 policy deployment is the same as Outlook, please refer to this section in the User's manual to get full details on the deployment process.
Settings in OWA 2007 will ONLY be updated and applied via the Client Applications if the particular user has a proper MAPI profile created in Outlook on a machine equipped with the Client Application. Furthermore, once updated and applied, the aforementioned settings will continue to work no matter where the particular OWA 2007 user logs on.
Creating policy along the signature
To create the OWA 2007 policy type, you need to click the Add button in the Administration Panel of CodeTwo Email Signatures for Email Clients. Then, just next to the button, a context menu will show presenting all available types of policies. To create the OWA 2007 policy, choose the OWA 2007 policy type (Fig. 1.).
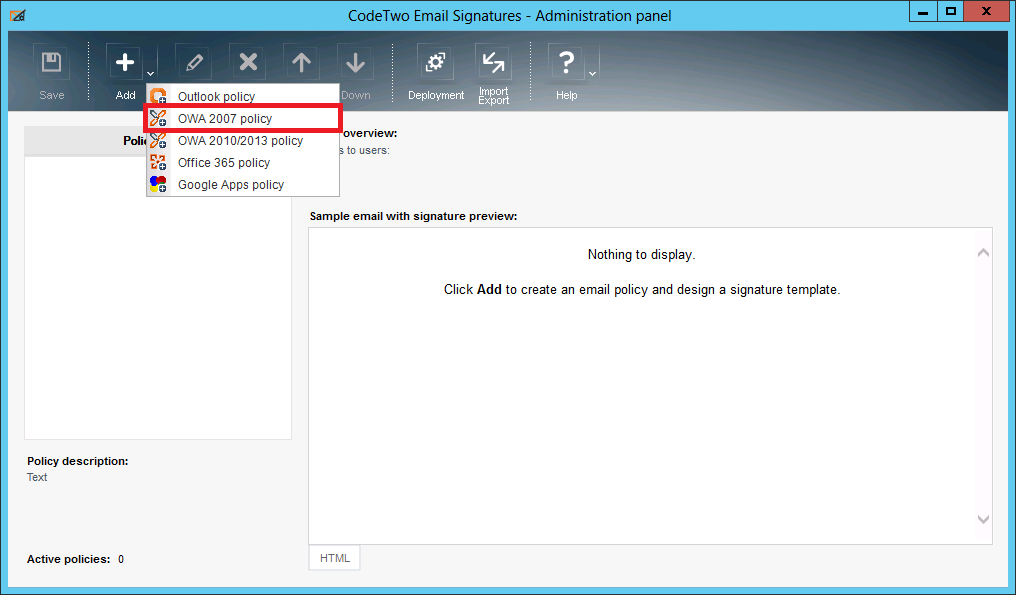 |
| Fig. 1. Choosing OWA 2007 policy type. |
After choosing the type of policy, the Edit policy window will display. This window consists of tabs that will let you:
- define the policy name and its description
- define the list of policy users
- create the signature
- adjust additional settings
- finalize the creation / edition of the policy
Giving the policy name and its description
The first tab that appears during the creation / edition of the policy is called General (Fig. 2.). It lets you name the policy and describe it. The description may include various information, such as usage cases of the particular policy.
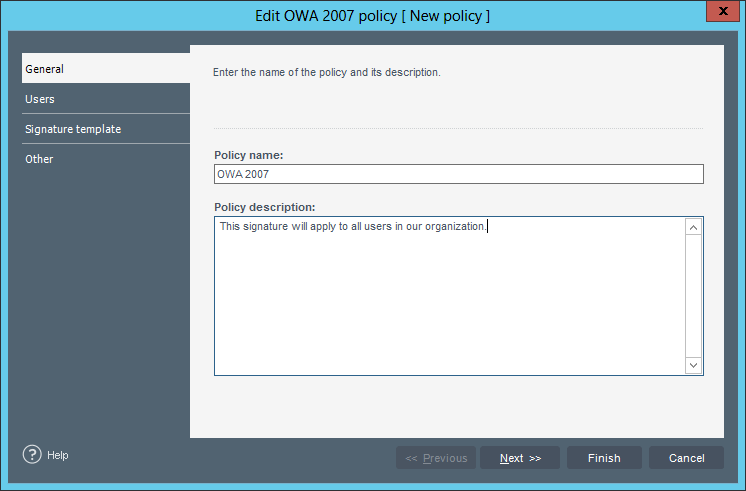 |
| Fig. 2. The edition policy view - General tab. |
The name of the policy should be entered into the field under the Policy name. Furthermore, the description should to be entered in the area under the Policy description.
Defining the list of policy users
While you're creating or editing a policy, you need to define the list of users to which the particular policy will apply. On the other hand, you can also define here the exceptions from the users' list choosing the users to which the policy will not apply (Fig. 3.).
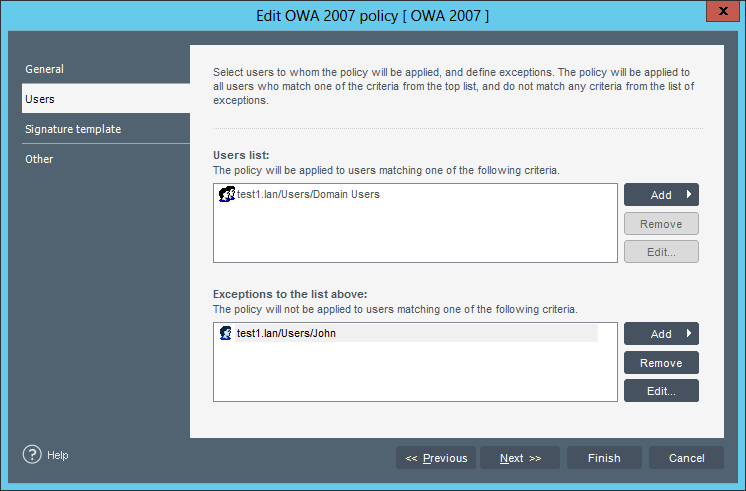 |
| Fig. 3. The list of policy users and the exceptions from this list. |
There are three types of users that can be chosen in the OWA 2007 type of policy (Fig. 4.).
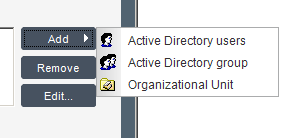 |
| Fig. 4. Choosing the OWA 2007 policy user. |
-
Active Directory Users
If you add Active Directory users to the Users List, the policy will only apply to these particular users (Fig. 5.). You can also define the Active Directory users in the Exceptions to the list above field located in the bottom area of the form. In this way you will prevent these users from being taken into account while they're creating a message.
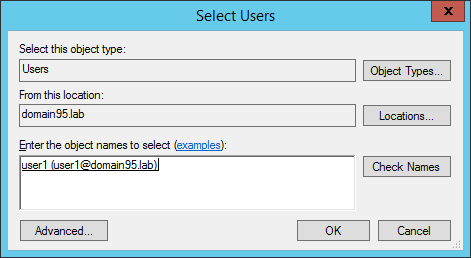
Fig. 5. Choosing the Active Directory user. -
Active Directory Group
The policy will only apply to users assigned to Active Directory group or groups that were added to the Users list (Fig. 6.). Furthermore, the policy will not apply if the user will be a member of a particular AD Group added to Exceptions to the list above.
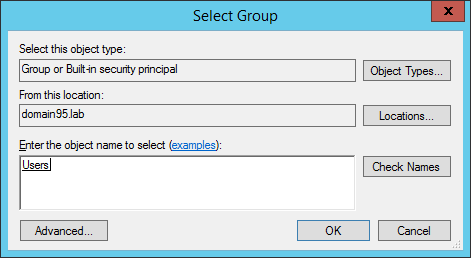
Fig. 6. Defining the Active Directory group. -
Active Directory Organizational Unit
In this case, the policy will only apply to users from one or many Active directory Organizational Units (so called Containers) which were added to the Users list (Fig. 7.). The Organizational Units can also be added to the Exceptions to the list above area located on the bottom part of the form.
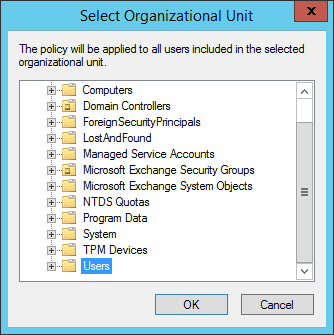
Fig. 7. Defining the scope of Active Directory Organizational Units.
Note that you can also choose to add the whole domain as the Organizational Unit. In such case, the policy will apply to all users within your organization, regardless of their group membership.
Creating the signature
While you're evaluating the OWA 2007 policy, you can create the signature that will be added to the outgoing mail (Fig. 8.).
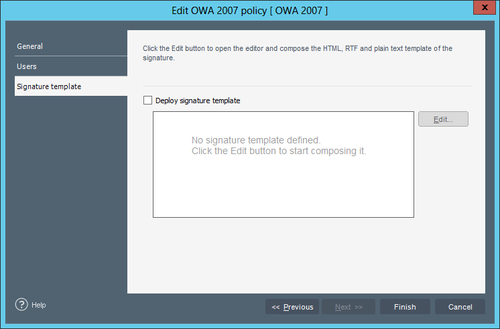 |
| Fig. 8. Policy edition view - Signature template tab. |
-
Adding a signature to a new e-mail
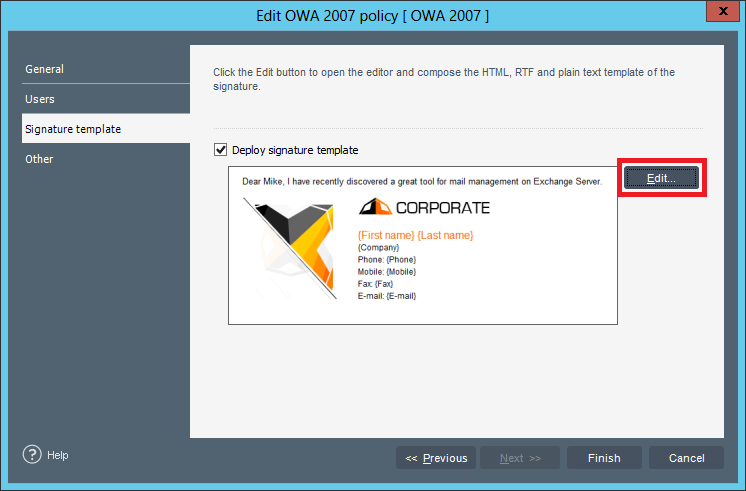
To add a signature to OWA 2007, you need to tick the Deploy signature template option. Checking this option enables the creation of a signature (the Edit button will be unblocked) that will be added to the OWA 2007 signatures list and set as default after it's created.
-
Opening the Signature/Diclaimer Template Editor
To open up the Signature/Disclaimer Template Editor, click the Edit button located on the right hand side of the signature preview window (Fig. 9.).

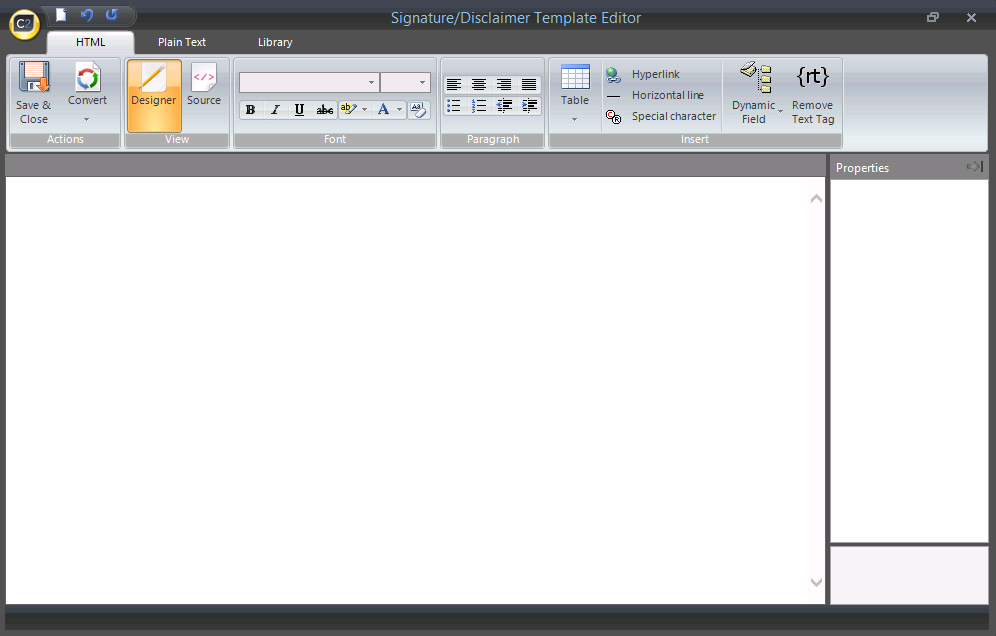
Fig. 9. The button that opens the Signature template editor. The Signature/Disclaimer Template Editor for OWA 2007 lets you create and edit footers in HTML and Plain Text formats (Fig. 10.). You can easily change the format by switching between HTML and Plain Text tabs. The editor contains the standard set of tools that lets you create professional looking signatures. You can choose the font type, size and color. Furthermore, you may change the background color, bold, italicize and underline text and add tables. In addition, the ribbon includes the Dynamic Field button which makes it easier to personalize your signatures. Thanks to this feature you will be able to insert AD variables automatically to your signatures.

Fig. 10. The Signature template editor. Note that instead of creating the signature from scratch, you can make use of the library and pick one of the ready-made templates.
Learn more about the Signature/Diclaimer Template Editor
Other settings
While you're creating or editing the OWA 2007 policy type you may also define the appearance and e-mail format settings. Additionally, you can define settings associated with the font of a new e-mail. Please note that these settings are not associated with the signature itself, but the whole new message. To define the additional settings, go to the Other tab while you're editing the OWA 2007 policy (Fig. 11.).
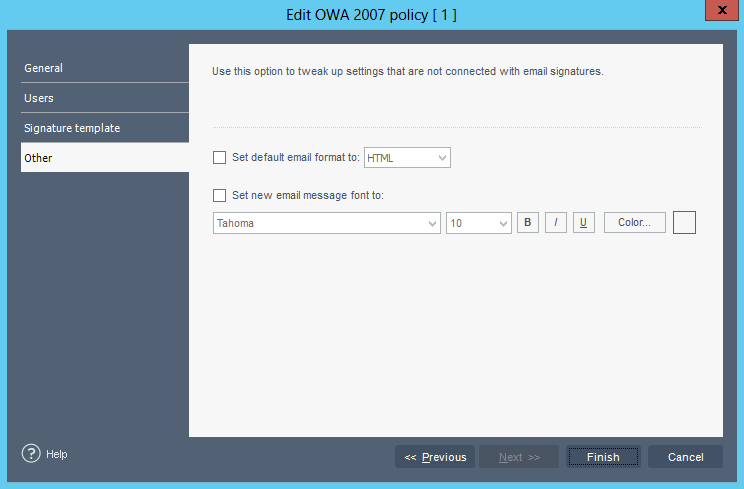 |
| Fig. 11. The Other tab. |
All options in the Other tab are switched off by default.
-
Set default email format to option
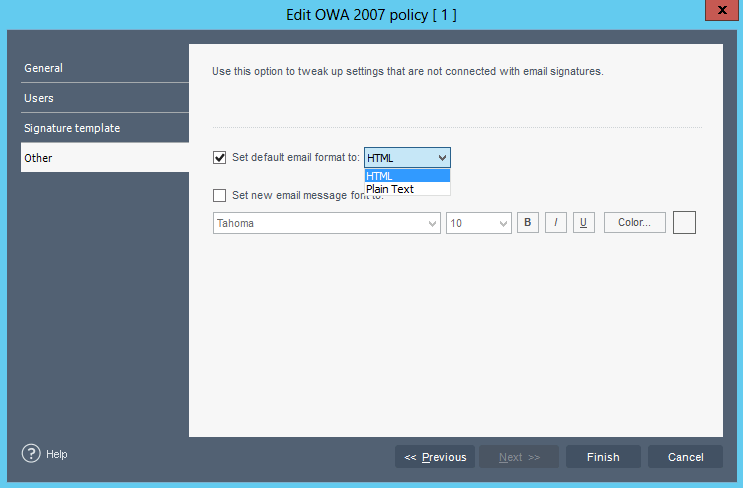
Once set, this option unblocks the default e-mail format choice: HTML and Plain Text (Fig. 12.).

Fig. 12. Choosing the default e-mail format. This option changes the OWA 2007 default settings concerning new e-mail format for the users listed in the Users list of the policy. From this moment, each new e-mail will have a default format set.
-
Set new email message font to option
Once set, this feature unblocks the tool that enables the edition of a new e-mail font. There are the following options available:
-
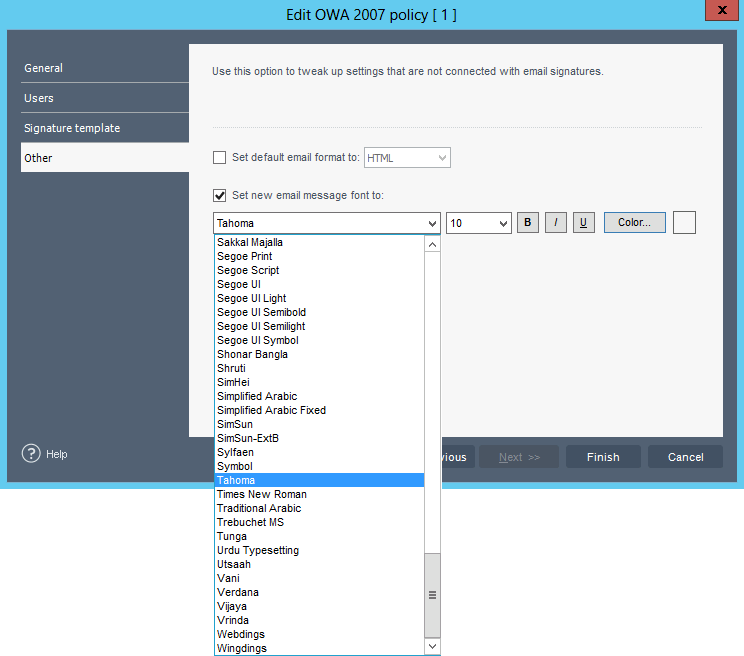
Font type selection - by clicking on the drop-down list, you may choose the most appropriate font type of a new email (Fig. 13.).
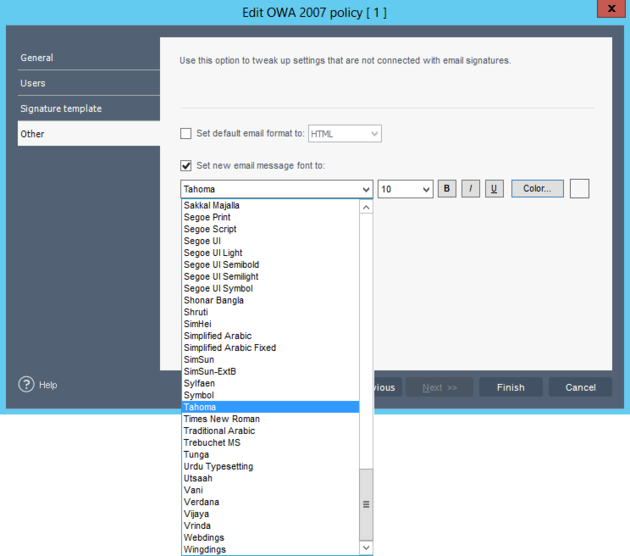
Fig. 13. Selecting the email font type. -
Font size selection - in the drop-down list, a user will be able to choose the most appropriate font size of an email (Fig. 14.).

Fig. 14. Selecting the email font size. - Bold font.
- Italics font.
- Underline font.
-
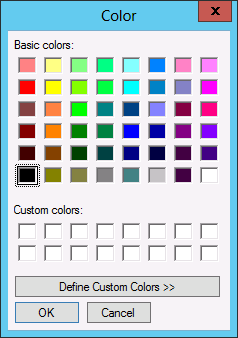
Font color selection - by clicking the Color button, a window will open where you can choose the appropriate font color of your e-mail (Fig. 15.). After the selection, your chosen color will display on the right hand side of the Color button.
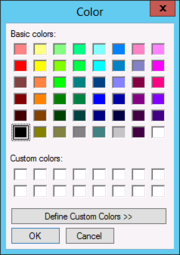
Fig. 15. Selecting the e-mail font color.
-

The options included in the Other tab have the direct impact on the OWA 2007 settings. It means that even though you disable them, all the changes applied to your OWA 2007 will remain untouched.
Finalizing the creation / edition of the policy
To finalize the creation/edition of a policy, click the Finish button located in the Edit policy window. Next, save your newly created/edited policy by clicking Save in the main window of the Administration Panel (Fig. 16.).
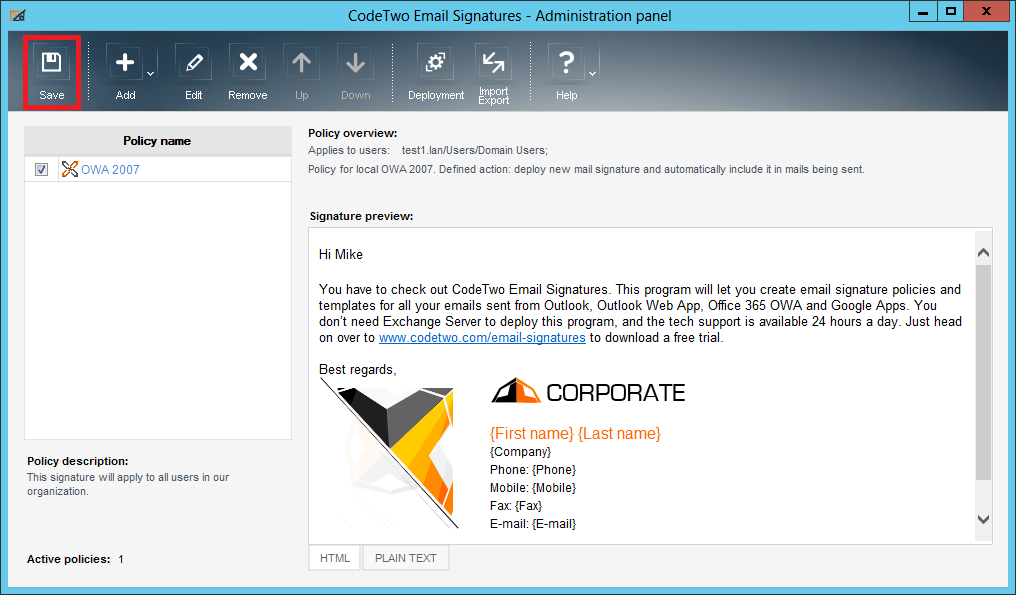 |
| Fig. 16. Saving the newly created rule. |
Distributing Client Applications on Client machines
After setting up a new OWA 2007 policy or changing the settings' distribution method of the existing policy of this type and saving your changes in the Administration Panel of the program, the package with the Client Applications' installer is automatically generated. Furthermore, it needs to be distributed on client machines whose email clients will benefit from the policy. As the available distribution methods are exactly the same as in the case of the Outlook policy type, please refer to this article to learn more about the methods that can be used to distribute the Client Applications onto the client machines.
See also:
Configuration of Outlook policy
Configuration of OWA 2010/2013/2016 policy
Configuration of Office 365 policy
Configuration of Google Apps (G Suite) policy