Individual photo management
The program offers various options to manage photos individually for each Office 365 (Microsoft 365) user. You can:
- add/import a local photo: assign a new image to your user or replace the existing one,
- export a profile picture of your Office 365 user to a local computer and save it as an image file in the default Office 365 file format (currently: JPEG),
- edit a photo via the built-in photo editor,
- remove a profile image of your Office 365 user.
Usually, there is more than one way to perform each action. For example, the shortcut menu (available when you right-click any user), lets you perform most of the actions mentioned in this article. You can also copy and paste images between individual users.
Important
The following article has been written from an Office 365 admin’s perspective. If you’re a non-global admin user, some features described below may not be made available for you (you can manage your own photo only). Learn more
Adding/changing a user photo
To add a photograph or change a current picture, select an Office 365 user from the list in the main program panel and click the Browse ( ) button next to the thumbnail image of your user (Fig. 1.). Alternatively, right-click anywhere on your selection and click Choose photo in the shortcut menu.
Info
You can also use the Import ( ) button in the toolbar to add/change user photos. This method, however, does not let you select a source image directly - you have to specify a source folder and define a proper file name pattern. That is why importing is more convenient to manage photos for multiple users. See this article for details.
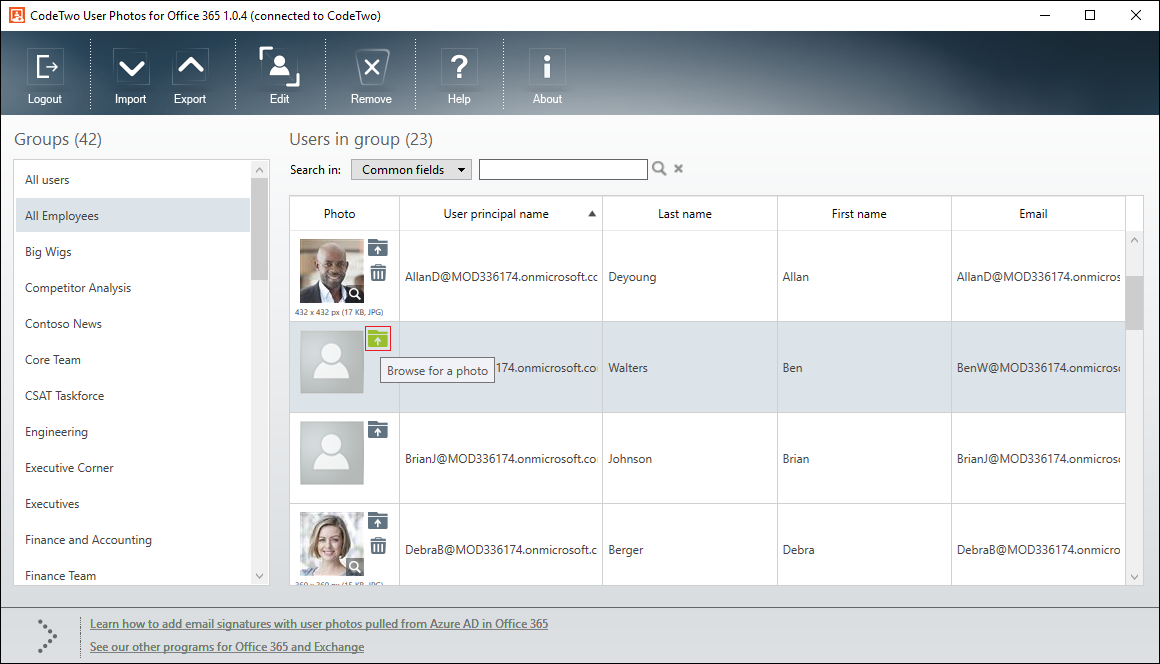 |
| Fig. 1. Adding a photo to an Office 365 user. |
Now you need to find and open a local picture file on your computer.
- JPEG, BMP, PNG, and GIF files are supported.
- There are no image resolution limits. Photos are only limited by file size: the size of the uploaded image cannot exceed the maximum size allowed in Office 365 (currently: 4 MB). If your picture exceeds this limit, the built-in photo editor will reduce the image quality (JPEG files only) and, if necessary, also reduce its resolution. If you would like to specify your own destination image file size, use the resize options available in the editor (see Fig. 2.).
Once the image file is selected, a built-in photo editor appears (Fig. 2.). You can modify or resize your image and preview the final effect. Note that the Previous/Next buttons are active only when you edit pictures for multiple users, as described in this article.
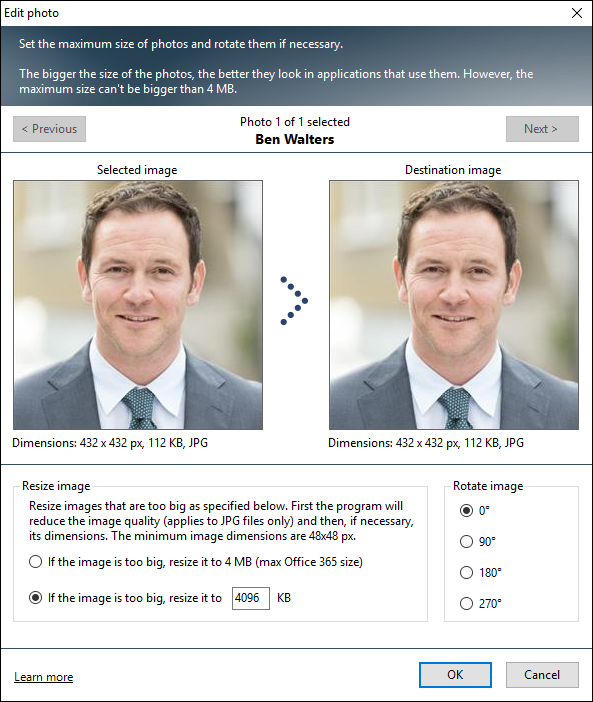 |
| Fig. 2. The built-in photo editor. |
When you are ready, click OK to assign the photo. The image will be uploaded to the Office 365 account of your user.
It may take up to 48 hours for your images to appear in SharePoint Online and associated services. In other Office 365 applications, image updates typically take around 1.5 hours. If you still have any problems with the visibility of images across various Office 365 components, see Frequently Asked Questions.
Entra ID (Azure AD) might reconvert and/or resize images after they are uploaded by the program, as described earlier.
Exporting an Office 365 user photo to a local computer
If you want to save a photo of your Office 365 user to a local computer, use the Export ( ) button in the toolbar. You can also select a user, right-click the selection, choose Copy photo from the shortcut menu and paste the image into another application such as MS Paint.
Editing a photo
If you want to edit a current photo of your Office 365 user, double-click on the person's thumbnail image (alternatively: right-click your selection and choose Edit photo or use the corresponding button in the toolbar). This will open the photo editor (described earlier in this article). Note that the editor does not let you change the image file. For that, you need to use the Browse () button next to your user or the Import () button in the toolbar, as described above.
Removing a user photo
To delete a photo of your Office 365 user, right-click on the user and select Remove photo from the shortcut menu. You can also use the Remove ( ) button next to the thumbnail image of your user or the Remove (
 ) button available in the toolbar.
Info
When you remove a photo, the program will replace it with a default blank photo avatar.
See next
Multiple photo management - this article explains how to manage user photos collectively.