Interface of the program
The program's interface (Fig. 1.) is simple and intuitive. There are 3 major components: there is a toolbar, a main panel and a bottom panel with useful links.
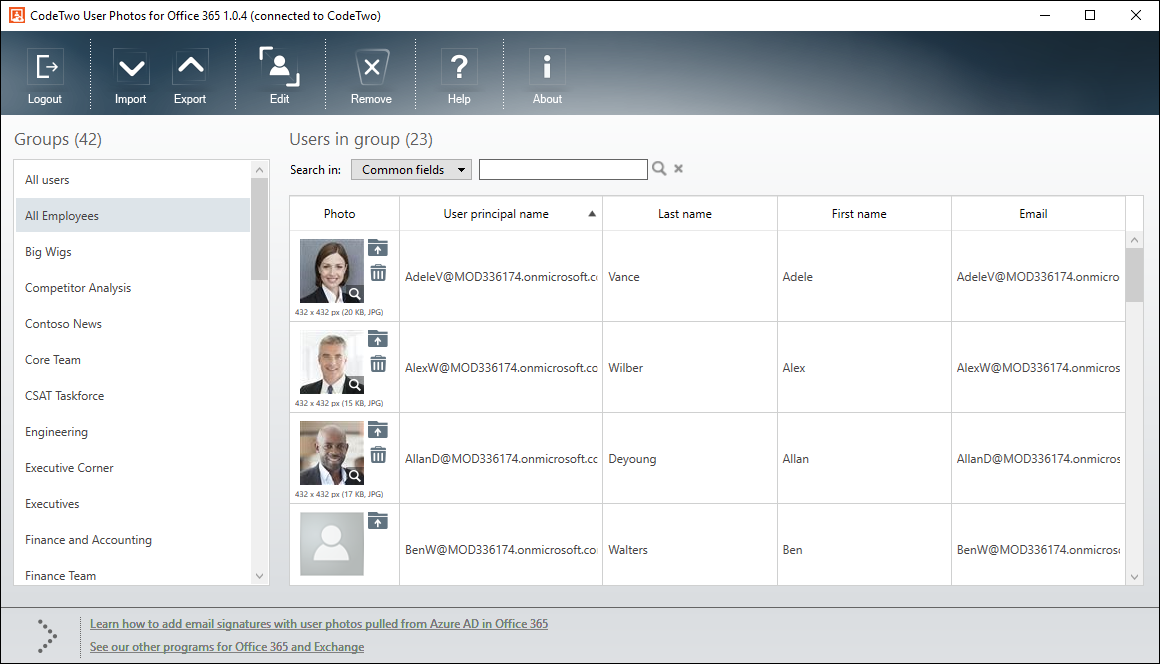 |
| Fig. 1. The main window of the program. |
The toolbar contains buttons responsible for various actions, such as signing in to your Office 365 (Microsoft 365) tenant or managing user photos.
The main panel of the program is divided into 2 sections: the expandable tree on the left contains your Exchange/Office 365 groups and the right section shows a list of users in a chosen group. There are many ways to display your Office 365 users. You can:
- show users belonging to a specific Exchange/AD group in your organization: select a group from the tree on the left and all of its users will be displayed in the section on the right. Both distribution groups/lists and Office 365 groups are supported;
- filter users by the most common AD/Exchange attributes (e.g. UPN, Department, E-mail, etc.) or via custom filters (more information below);
- sort users according to the image file size (ascending/descending - only the Photo column) or in alphabetical/reverse order (the other columns). By default, all users in a group are sorted alphabetically by User principal name (see Fig. 1.).
The users are displayed in the same way as in the Active users section of your Microsoft 365 admin center (Office 365 admin center). This means that all types of mailboxes (including resources and shared mailboxes) are visible on the list. Remember that you can only manage the photographs of user mailboxes. Resource mailboxes (such as conference rooms) and shared mailboxes are currently not supported.
The application allows you to create user-defined filters based on Exchange Online data. Select Custom filter from the drop-down list of filters. This will open a window (Fig. 2.) in which you can define several filtering conditions and name your new filter.
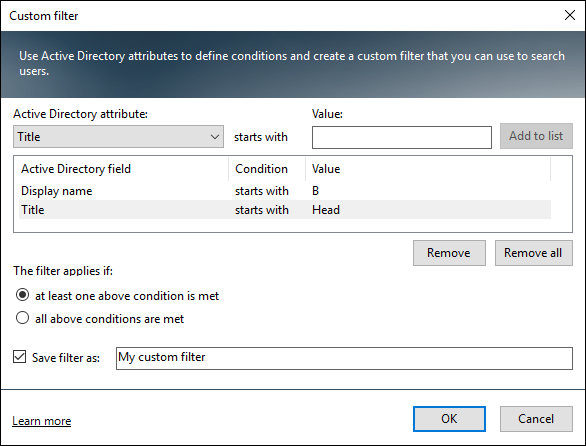 |
| Fig. 2. Adding a custom filter. |
If you want to apply or edit a custom filter, use the drop-down menu, as shown in Fig. 3.
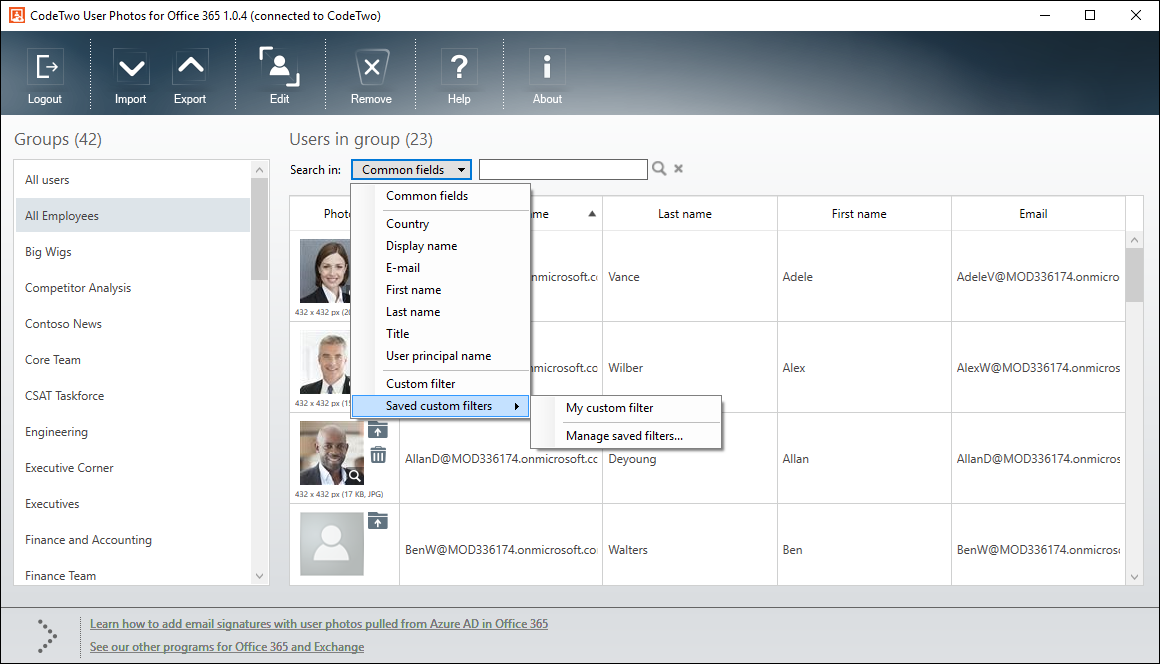 |
| Fig. 3. Accessing custom filters. |
See next
Individual photo management - this article explains how to manage user photos individually.
Multiple photo management - learn how to manage user photos collectively.