This manual refers to an old version of CodeTwo Exchange Sync. Go here if you use the latest version.
Quick guide to creating synchronization tasks
CodeTwo Exchange Sync enables real-time synchronization of items located in the Microsoft Exchange Server folders. The program provides two types of synchronization: One-Way and Two-Way.
Below you can see a sample setup of the program enabling One-Way synchronization of data from one public contacts folder to Exchange personal contact folders of three users.
-
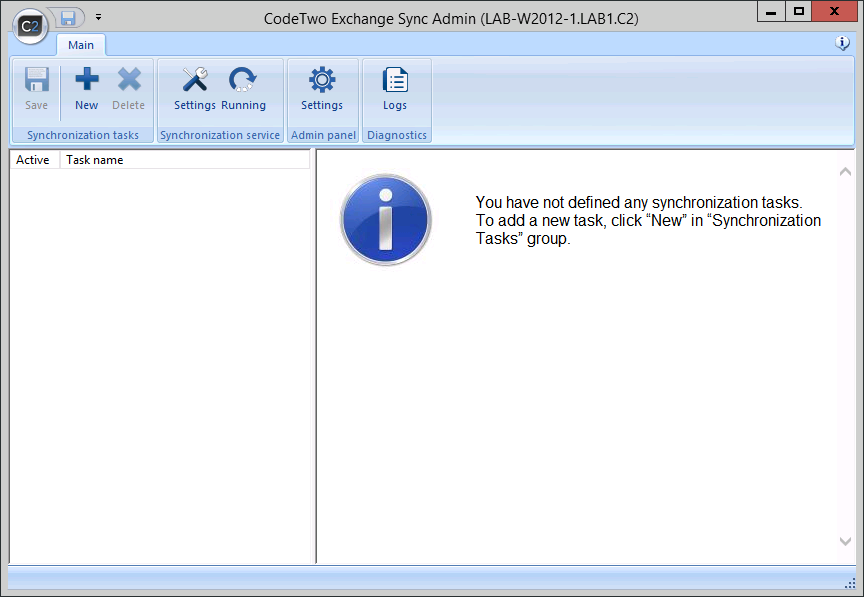
Run CodeTwo Exchange Sync Administration Panel. The main screen of the application will display (Fig. 1.). Click New to add a new synchronization task.

Fig. 1. Administration Panel with no synchronization tasks defined. -
The dialog box iwill appear (Fig. 2.) that is used to assign a name to the synchronization task and choose the synchronization type.
In our case we will choose to replicate items from contacts public folder into personal contacts folders of three users. TO do that expand Synchronization type dropdown menu and choose One-Way synchronization: One-To-Many and then click OK.
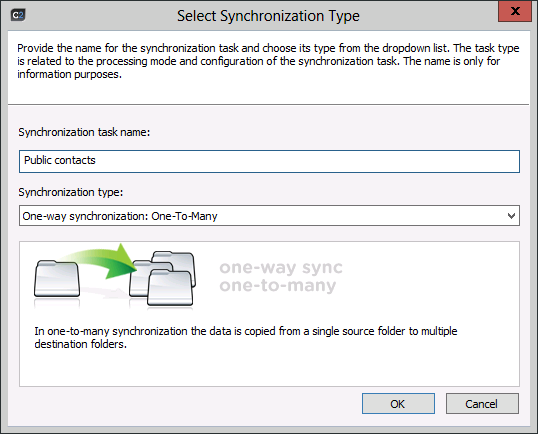
Fig. 2. Dialog box where the name and type for the sync task is selected. -
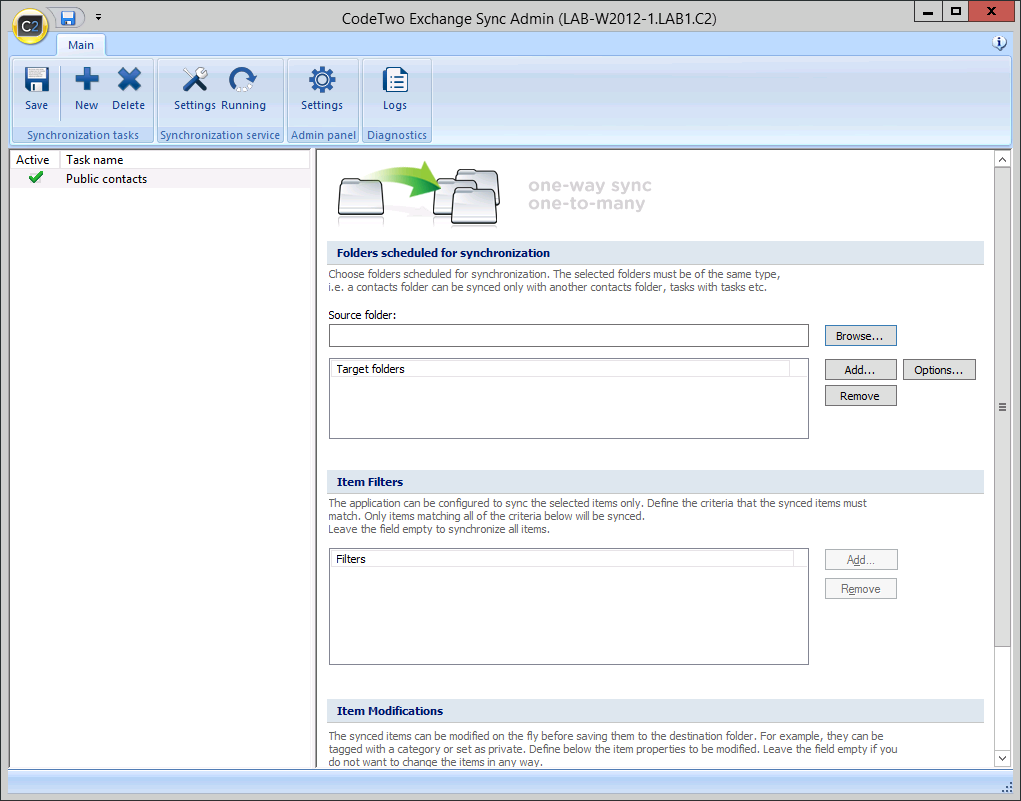
As you can see, the Administration Panel includes a newly created task (Fig. 3.).
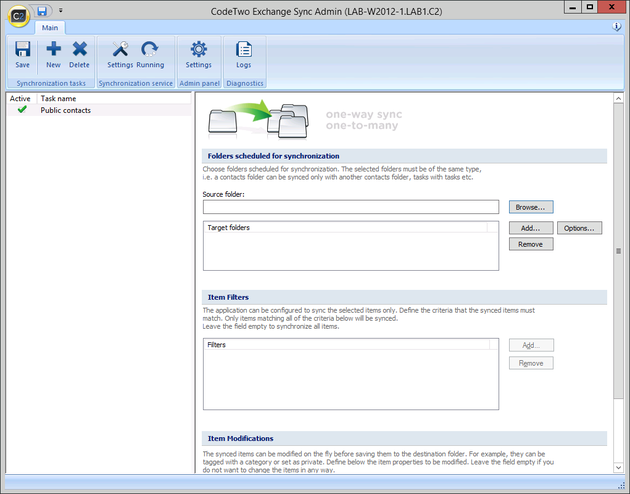
Fig. 3. Administration panel screen containing a new One-Way synchronization task. -
The next step is making the public contacts folder act as the source folder.
After checking the synchronization task, the right pane will contain the Folders scheduled for synchronization section (Fig. 4.).
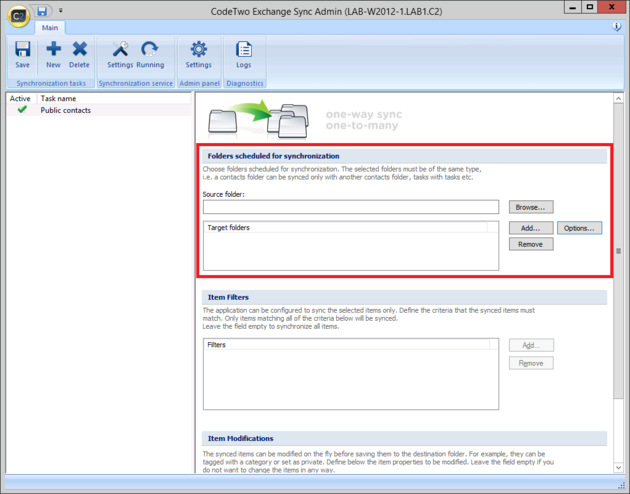
Fig. 4. Administration Panel with the section for choosing folders marked. Click Browse next to the Source Folder field. In the dialog box that opens, choose the source folder from the list of available Exchange folders (Fig. 5.). After selecting the public contacts folder, click OK.
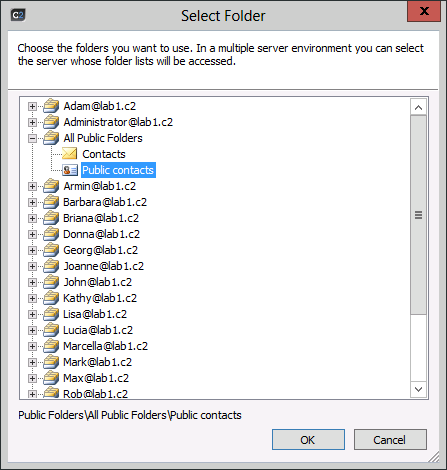
Fig. 5. Dialog box showing the list of source folders available for selection. -
Now move on to define the target folders – these will be the default personal folders of users.
In the Folders scheduled for synchronization section (Fig. 4.) click Add next to the Target Folders list. In the dialog box will appears you choose the target folders from the available Exchange folders (Fig. 6.). After checking the box next to the folder’s name, a new item is added to the list of selected folders. Click OK to confirm the selected folders as target and close the dialog box.

Fig. 6. Dialog box showing the list of target folders available for selection. -
Now in the main screen of the Admin's Panel you can see all selected folders. Submit settings by clicking Save. From now on, all items in the public folder will replicate to the personal folders of other users.

If One-Way synchronization is used, the Administrator can define filters and modifiers. After configuring the filter, only items meeting defined criteria will sync. By defining a modifier you enable changing item attributes on the fly, i.e. while the item is being synchronized to the target folder.
Learn more about using filters
Learn more about using modifiers