This manual refers to an old version of CodeTwo Exchange Sync. Go here if you use the latest version.
Modifiers
CodeTwo Exchange Sync enables a modification of item attributes during the process of synchronization. You can for example tag all items with a selected category, change its subject, set a new start date etc. It is an on-the-fly modification and does not change the items in the source folder. All changes are reflected only in the replicated items in the target folder(s).
Only items synchronized by way of one-way task can be modified.
To add attribute fields that you want to change during the synchronization, click Add in the Item Modifications section (Fig. 1.).
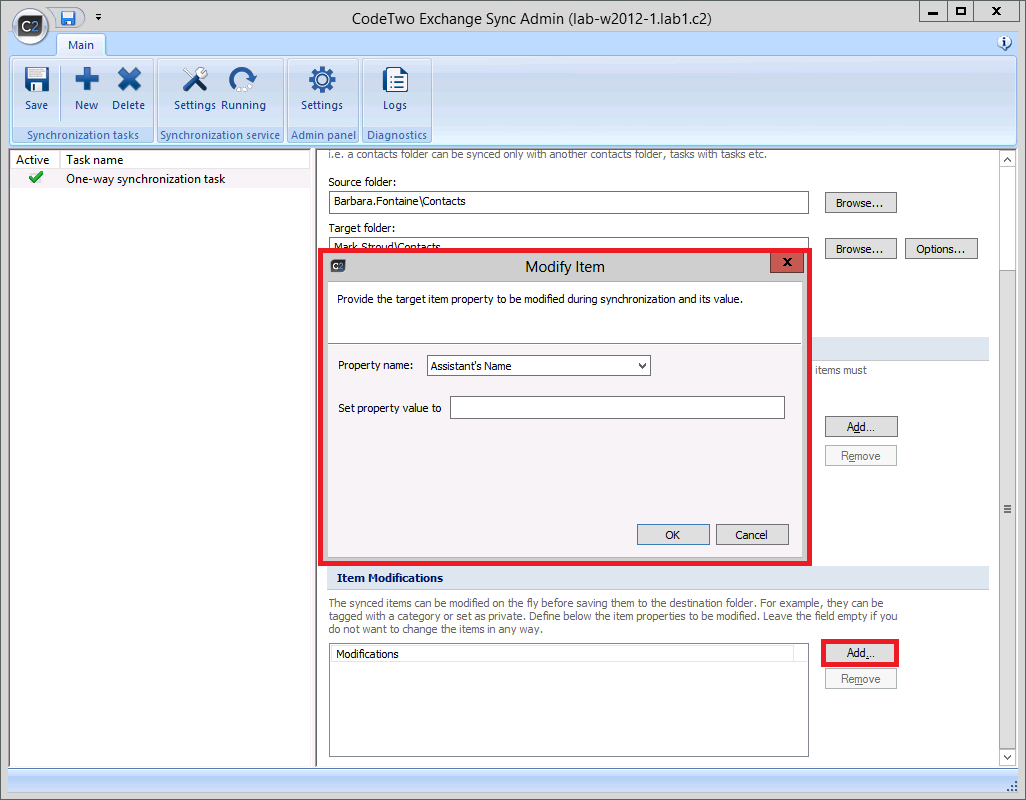 |
| Fig. 1. Main panel screen with a sample one-way synchronization task with the highlight around the modifiers section. |
In the dialog box that opens (Fig. 2.), choose the attribute and set the value that will be appended while synchronizing the items.
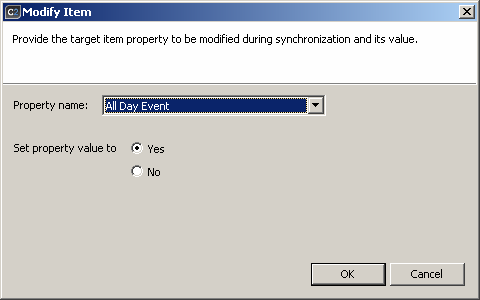 |
| Fig. 2. A sample modifier dialog box. |
In Property name dropdown menu choose the attribute of the synchronized item that will be modified. The user can choose from between a number of attributes that are directly related to the type of synchronized items. The names displayed in the Property name menu are compliant with the names used in Microsoft Outlook.
Choose the new value for the synchronized item in the section below the Property name menu. The look of this section may vary depending on the type of selected attribute. There is a different screen for the attributes giving a Yes/No choice only, and a different one for text attributes.
In (Fig. 2.) you can see a sample modifier setup for a calendar item that will mark each item as an All Day Event. The All Day Event attribute can be toggled between Yes and No and so the Set property value to section shows only two options for this attribute.
After configuring the attribute modifier, it will be added to the list of modifiers in Item Modifications section (Fig. 3.).
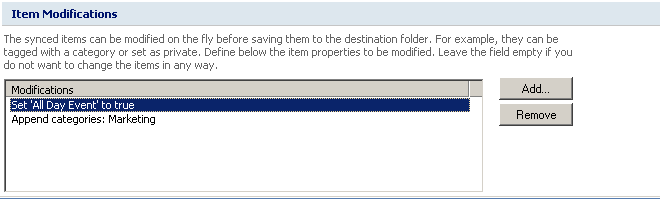 |
| Fig. 3. Sample list of configured modifiers for the synchronized items. |
After applying the modifiers in (Fig. 3.) all items of the synchronized calendars will be tagged with the Marketing category and will be marked as All Day Events.
Modifying Subjects
In this section you can find information how to modify the synchronized item subject on the fly. The subject modifier is different from other attributes as it enables creating a template that will be used to form the new subject of the synchronized item.
To create a subject modifier, click Add in the Item Modifications section. In dialog Modify Item, from Property field choose Subject (Fig. 4.).
 |
| Fig. 4. Subject modifier dialog box. |
Use String template field to create a template that will be used while modifying the subject of the synchronized item. When composing the template, you can make use of the available placeholders, that will be replaced during the item synchronization with appropriate values dependent on the item type.
Access the placeholders menu by clicking Insert Placeholder.
The table below shows the available placeholders as well as the values they are replaced with during the synchronization:
| Placeholder | Placeholder Value |
|---|---|
| {OriginalText} | Item original subject |
| {CurrentDate} | Item synchronization time |
| {SourceFolderName} | Item source folder name |
| {SourceFolderPath} | Path to item source folder |
| {SourceMailboxName} | Name of item source Exchange mailbox |
Example:
The subject modifier was configured as follows:
„{OriginalText} – from {SourceMailboxName}”
In Tom’s source calendar there is an item named "Meeting with Matt".
When the synchronization is finished, the target calendar will contain a new item that will contain a new value in its subject " – from Mailbox - ".
As you can see the {OriginalText} and {SourceMailBoxName} placeholders of the template have been replaced with current values Meeting with Matt i Mailbox - Tom.